
If you’ve ever found yourself staring at your counter wondering how to use Ninja blender without ending up with half-chopped fruit stuck at the bottom or a weird foamy mess on top, yeah, that moment is more common than people admit out loud. You open the box, see all those sharp-looking blades and different cups, and suddenly it feels like you’re supposed to already know what you’re doing.
Let’s just go step by step in a normal, human way, like someone actually standing in a kitchen next to you instead of reading from a perfectly polished manual.
First things first, just get familiar with it
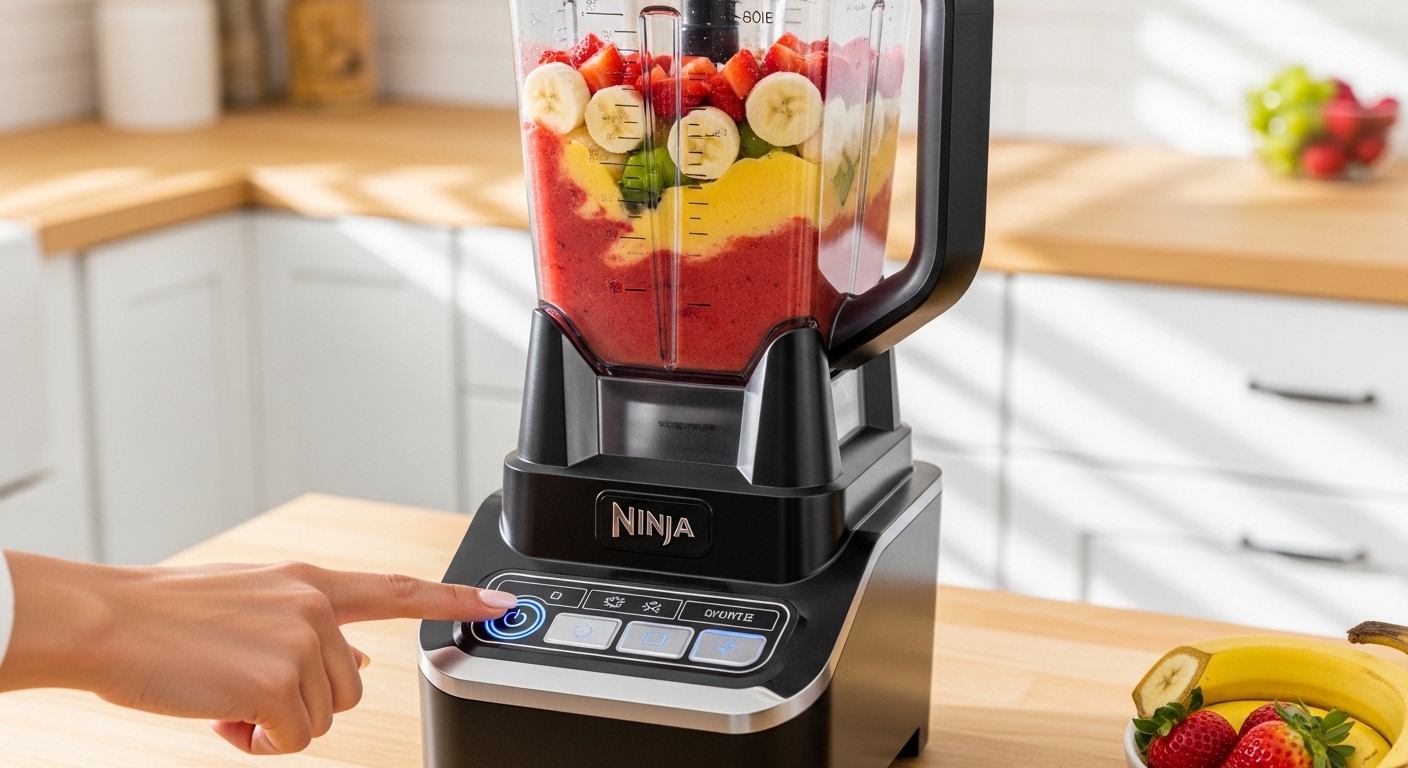
Before you even press anything, take a minute to look at what you’ve got. Ninja blenders (made by SharkNinja, a well-known kitchen appliance company) usually come with a pretty powerful motor base, often ranging around 900 to 1200+ watts depending on the model, which is why they handle ice and frozen fruit like it’s nothing.
But that power also means one thing: respect it a little. Don’t rush into it.
You’ll usually see:
- A motor base (heavy bottom part)
- Sharp stacked blade assembly
- Single-serve cups or a large pitcher
- Tight-fitting lids
- Sometimes a tamper tool in bigger models
One thing people mess up early is assembling it while it’s plugged in. Just don’t. Even if you’re in a hurry, it’s not worth it.
How to use Ninja blender step by step without overthinking it
Now let’s actually get into the real process of how to use Ninja blender in a way that feels natural, not stressful or complicated.
Step 1: Prep your ingredients properly
You don’t need chef-level precision, but you do need basic sense here. Bigger chunks make the blender work harder than it needs to.
A simple guide:
| Ingredient type | What you should do |
|---|---|
| Soft fruits | Can go in whole or halved |
| Frozen fruits | Break slightly or let sit briefly |
| Ice cubes | Prefer small or medium size |
| Vegetables | Chop into rough chunks |
| Nuts/seeds | Keep to small handfuls |
If everything is the same size-ish, blending becomes smoother automatically.
Step 2: Add ingredients in a smart order
This part matters more than people think. A small trick that actually helps a lot is layering.
Start with liquids first, then soft ingredients, then frozen or hard items on top. It helps the blades move freely instead of getting stuck in a dry pocket.
If you do it the opposite way, you might hear that struggling “whirrrr” sound where nothing really moves properly inside.
Step 3: Lock everything in place
Once your ingredients are inside, attach the blade assembly carefully and twist it onto the cup or pitcher. Then place it onto the motor base and lock it.
Most Ninja blenders have safety locks, so if it’s not aligned properly, it simply won’t start. That’s actually a good thing even if it feels annoying at first.
Step 4: Start with short pulses
Don’t just press full speed immediately. That’s where a lot of uneven blending happens.
Try this instead:
- 2–3 quick pulses for chopping
- 5–10 seconds for rough blending
- 20–40 seconds for smooth textures like smoothies
Pulsing helps everything settle and mix evenly before full blending begins.
Step 5: Blend in short intervals
Instead of running it nonstop like you’re in a race, pause every 10–15 seconds. Shake the cup gently if needed (only when it’s safe and not spinning), then continue.
It sounds unnecessary, but it makes a big difference in texture, especially for thick smoothies or frozen mixtures.
What you can actually make with a Ninja blender
People often think it’s just a smoothie machine, but honestly, it does more than that once you get comfortable.
You can make:
- Smoothies and protein shakes
- Frozen fruit bowls
- Ice-based drinks
- Soups (hot or cold depending on model)
- Nut butters like peanut or almond
- Pancake or waffle batter
- Sauces, dips, and dressings
A lot of home kitchen appliance reviews point out that high-powered blenders like Ninja reduce prep time significantly, especially for people who use them daily for meal routines.
Small tips that make a big difference
These are the little things nobody really tells you when you first start learning how to use Ninja blender.
Don’t overfill it
Even if it looks like there’s space, leave some room. Ingredients need space to move around, or they just sit there spinning uselessly.
Liquid balance matters
Too little liquid and everything gets stuck. Too much and you get watery results. The sweet spot is usually just enough to help things move freely.
Let frozen items soften slightly
You don’t need to thaw them fully, just give them a minute or two out of the freezer. It reduces strain on the blades.
Listen to the sound
This sounds odd, but after a few uses you can literally hear when the blender is struggling versus when it’s working smoothly.
Don’t run it forever
Short bursts are better than long continuous blending. It helps texture and also keeps the motor from overheating.
Common mistakes people make
Most problems with Ninja blenders come from small habits, not broken machines.
Overloading everything at once
Trying to fit too much in one go is probably the biggest issue. It leads to uneven blending and stuck chunks.
Wrong blade use
Some models have different blade setups. Using the wrong one can affect performance more than you’d expect.
Ignoring layering order
Throwing everything in randomly often causes air pockets that stop the blades from grabbing ingredients.
Not pausing during blending
Continuous blending sounds efficient but often gives worse texture compared to short bursts.
Cleaning it without making it a headache
Nobody loves cleaning kitchen tools, but this part is actually pretty simple with Ninja blenders.
Quick cleaning method
Fill the cup halfway with warm water, add a drop of dish soap, and blend for about 20–30 seconds. Then rinse it out. That’s usually enough for most daily use.
Deep cleaning occasionally
- Carefully remove blades
- Wash with warm soapy water
- Let everything dry fully before reassembling
And one important reminder, don’t ever submerge the motor base in water. It’s a mistake people still somehow try.
A simple real-life smoothie example
Let’s say you’re making something basic like a morning smoothie:
- 1 banana
- Handful of frozen berries
- 1 cup milk or almond milk
- 1 spoon peanut butter
Here’s how it actually goes:
Start with milk first, then fruits, then peanut butter on top. Pulse a few times, then blend for around 20–30 seconds. Stop, check texture, and give it another short blend if needed.
What you end up with is usually smooth, thick enough, and actually drinkable without weird chunks floating around.
Why Ninja blenders feel so different
Ninja blenders stand out mainly because of their power and blade design. The stacked blades create a vortex inside the cup that pulls ingredients downward instead of just spinning them around uselessly.
High-powered kitchen appliances like these are often mentioned in general consumer studies as tools that make home food prep faster and more consistent, especially for people who regularly make smoothies or blended meals.
Quick reference table for everyday use
| Task | Best approach |
|---|---|
| Smoothies | Pulse then 20–40 sec blend |
| Ice crushing | Short bursts only |
| Nut butter | Longer blend with pauses |
| Soups | Medium cycles |
| Sauces | Low to medium pulses |
Final thoughts
Once you get past the first couple of tries, how to use Ninja blender stops feeling like a technical skill and becomes something you just naturally do while cooking. You stop worrying about the steps and start just tossing things in without overthinking it.
It’s one of those kitchen tools that quietly becomes part of your routine. Not because it’s complicated, but because once it clicks, it just makes everyday food prep feel easier without you even noticing it happening.

Jamesmathew is an expert Amazon affiliate writer, helping readers discover top products, smart deals, and practical buying guides through honest reviews and insightful content.