

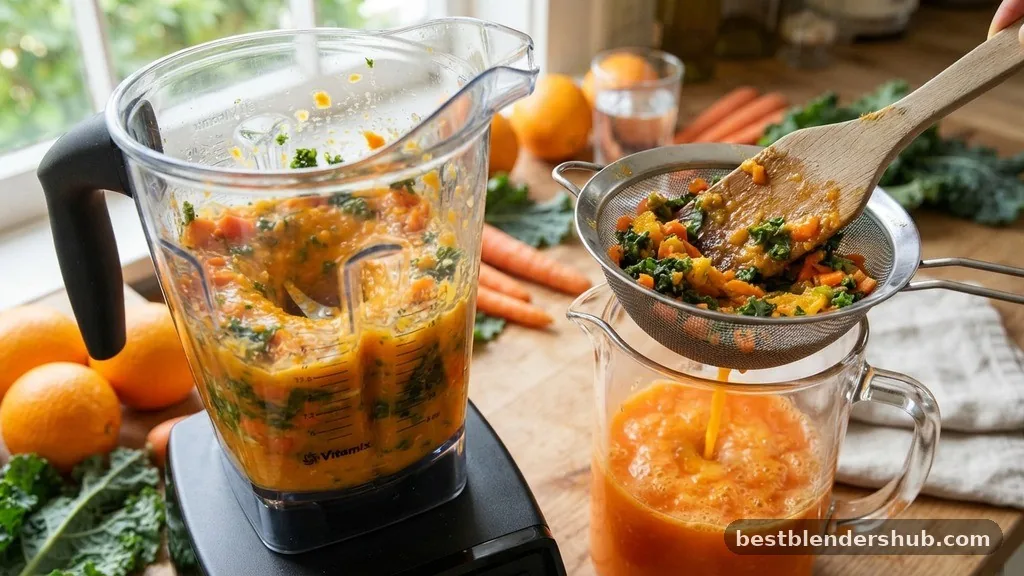
Learning how to make juice with a blender is a straightforward way to incorporate more nutrient density into your daily routine without investing in expensive specialized equipment. While traditional juicers strip away the fibrous parts of produce, a blender retains the whole fruit and vegetable, offering a different approach to your morning beverage.
You can easily achieve a smooth, drinkable consistency by combining your produce with a bit of water and using the right filtration techniques. This method is not only cost-effective but also keeps your kitchen counter free of bulky, single-purpose appliances that are notoriously difficult to clean.
Understanding the Blender Juicing Process
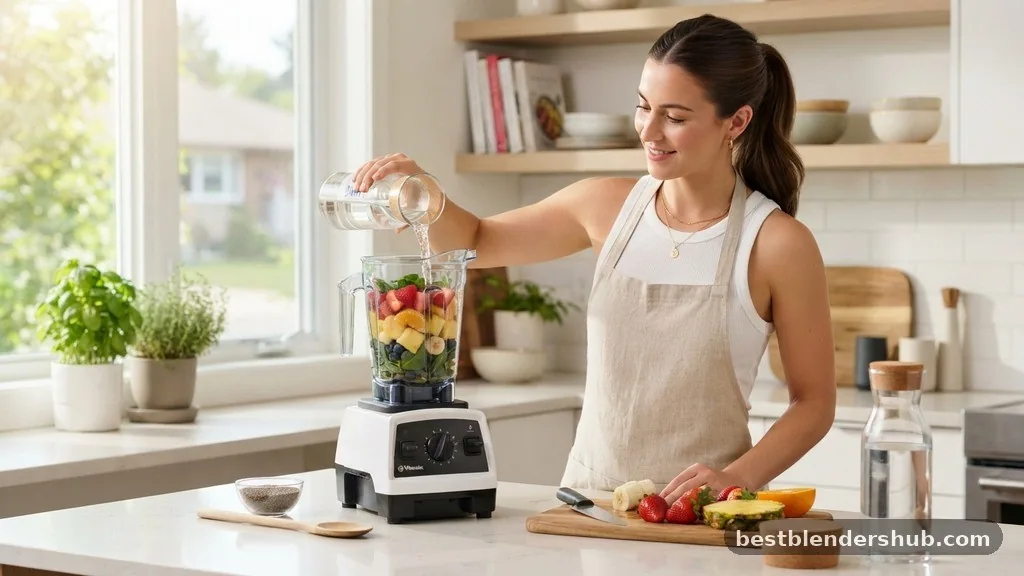
Making juice with a blender involves breaking down solid produce into a liquid state through high-speed mechanical action. Unlike a centrifugal or masticating juicer, a blender creates a smoothie-like base that requires an extra step to remove the excess pulp.
The result is a vibrant, fresh drink that maintains high nutrient density because you are consuming the entirety of the plant matter. By controlling the blender speed settings, you can ensure that even tougher ingredients like carrots or beets are pulverized into a fine consistency before the straining phase.
The fundamental secret to success is the liquid-to-solid ratio. If you add too little water, your blender will struggle to process the ingredients, leading to uneven chunks. If you add too much, your juice will lose its concentrated flavor.
Aim for a ratio that allows the blades to move freely without air pockets forming at the base. Using the pulse function in short bursts helps draw larger chunks toward the blades, ensuring a uniform blend before you switch to a high, continuous speed for liquefaction.
Essential Tools for Pulp Separation
Since a blender does not automatically separate solids from liquids, you must perform this task manually to achieve a standard juice texture. The quality of your results depends heavily on the tools you choose for pulp separation.
A high-quality nut milk bag is the gold standard for this task because the fine mesh allows liquid to pass through while trapping even the smallest particles of fiber. If you do not have a specialized bag, common household items can serve as effective alternatives.
| Tool | Efficiency | Best Use Case |
|---|---|---|
| Nut Milk Bag | High | Perfect for smooth, pulp-free juice |
| Cheesecloth | Medium | Great for small batches, requires folding |
| Fine Mesh Strainer | Low | Best for thicker, pulpy juices |
When using a cheesecloth, make sure to use at least two or three layers to catch the finer bits of plant material. Simply pour your blended mixture into the fabric, gather the edges, and twist firmly over a bowl to squeeze out every drop of liquid. This process keeps the fiber content manageable while ensuring the drink remains refreshing and easy to swallow.
Choosing Ingredients for Optimal Flavor
The flavor profile of your drink depends on how you balance your ingredients. Pairing sweet fruits with earthy leafy greens creates a balanced beverage that avoids the overwhelming bitterness often found in pure vegetable drinks.
When selecting items, consider how they contribute to the final volume and sweetness. Apples and pears are excellent bases because they provide a high water content and natural sugars, which help mask the taste of stronger greens like kale or spinach.
For a refreshing twist, don’t forget to include small amounts of citrus zest. The oils in the peel of oranges, lemons, or limes add a bright, aromatic quality that elevates a simple homemade blend.
However, keep the quantity small, as too much zest can introduce an unwanted bitter note. If you are aiming for a cold-pressed alternative feel, prioritize ingredients with high water content, such as cucumbers, celery, and watermelon, as these require less added water to achieve a smooth, drinkable consistency.
Managing Oxidation and Freshness
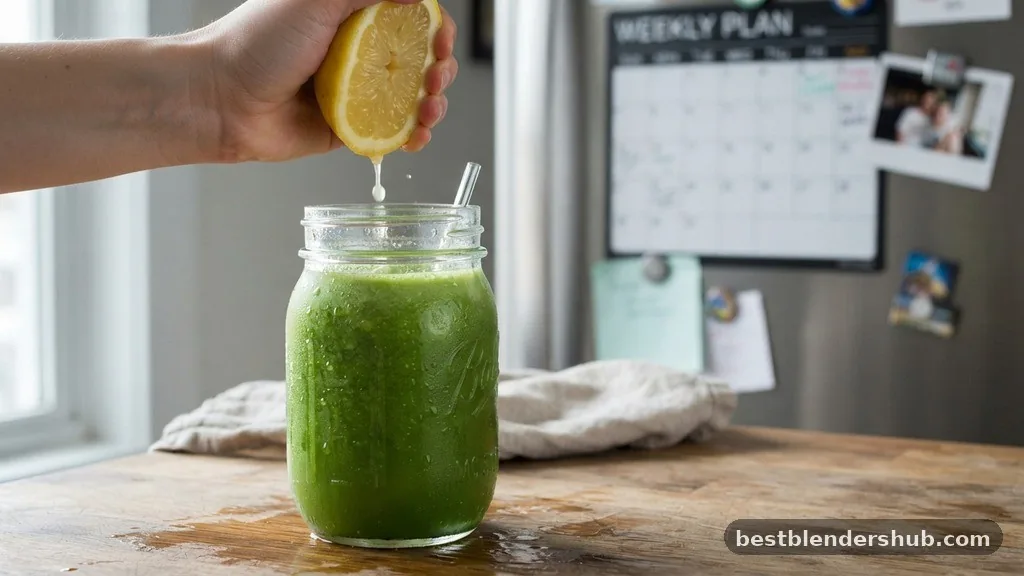
One major consideration when using a blender is the speed at which oxidation occurs. Because blenders introduce a significant amount of air into the mixture during the high-speed processing, the nutrients can begin to degrade if the juice sits out for too long.
To minimize this, always consume your juice immediately after preparation. If you must store it, fill an airtight glass jar to the very top to reduce the amount of air contact, and keep it in the refrigerator for no more than 24 hours.
Adding a small amount of lemon or lime juice can also help inhibit the browning effect caused by oxygen exposure. This simple trick preserves the vibrant color of your produce, especially when using ingredients that turn brown quickly, like apples or bananas.
Keep in mind that while your blender setup mimics the results of professional juicers, it remains a different process. The heat generated by the blades during long blending sessions can also impact the fresh quality, so try to keep your blending time under sixty seconds.
Addressing Common Challenges and Gaps
Many people struggle with the texture of blender-made juice, often finding it too thick or grainy. This issue usually stems from not blending for long enough or failing to strain properly. If your juice feels gritty, run it through the mesh strainer a second time or use a tighter-weave fabric.
Another common gap in knowledge is the impact of fiber. Some users worry that by straining the pulp, they are losing all the health benefits. While it is true that you remove some fiber content, you are still retaining the essential vitamins, minerals, and antioxidants that are dissolved in the water-soluble portion of the produce.
You might also encounter issues with “blender stall,” where the ingredients simply won’t move. This happens when the liquid-to-solid ratio is off or the pieces are too large. Always cut your fruits and vegetables into uniform, one-inch cubes to ensure they circulate evenly.
If you are working with very hard vegetables like raw beets or ginger, consider grating them first or adding a splash of coconut water or plain water to the base before adding the solid components. This creates the necessary vortex to pull ingredients down into the blades.
Incorporating Superfoods for Extra Benefits
Beyond basic fruits and vegetables, you can enhance the nutritional profile of your juice by incorporating various superfoods. Adding a small handful of chia seeds or flax seeds during the blending process introduces healthy fats, though keep in mind these will thicken the mixture significantly. If you prefer a thinner consistency, it is better to add these seeds after straining or use them as a garnish.
Fresh herbs like mint, parsley, or cilantro add a layer of complexity and extra phytonutrients to your blends. Because these are delicate, add them toward the end of the blending cycle to preserve their bright color and delicate flavor.
You can also experiment with ginger or turmeric root for a spicy kick that aids digestion. These ingredients are potent, so start with small amounts until you find a balance that suits your personal taste preference.
Best Practices for Equipment Maintenance
Proper care of your blender ensures that it remains efficient for years. After making juice, rinse the jar immediately to prevent the acidic components of the fruits from staining or etching the plastic.
A quick blend with warm water and a drop of dish soap is usually sufficient to clean the blades and jar thoroughly. Avoid letting the pulp sit and dry on the blades, as this can make cleaning much more labor-intensive later on.
If you notice a lingering smell from strong ingredients like garlic or onion, a mixture of baking soda and water allowed to sit in the jar for a few minutes will neutralize the odor. Always ensure that the rubber gasket, if your model has one, is removed and cleaned periodically to prevent mold buildup. Keeping your equipment clean is just as important as the quality of the ingredients you choose, as it guarantees that your next batch of juice will be as fresh and delicious as the first.
Conclusion
Making juice with a blender is a accessible way to boost your daily intake of micronutrients without needing a dedicated juicing appliance. By mastering the balance of liquid and produce, utilizing a quality straining method, and consuming your creations quickly, you can enjoy fresh, vibrant drinks at home. Whether you are experimenting with green blends or fruit-forward combinations, the process is simple once you get the hang of the mechanics.
Start with simple recipes that focus on high-water-content items, and gradually introduce more complex flavors as you become more comfortable with your equipment. Grab your favorite seasonal produce and see how easy it is to create refreshing, nutrient-dense drinks right in your own kitchen today.
Frequently Asked Questions
Can I use a blender to make juice?
Yes, you can make juice by blending produce with water and straining the pulp through a bag.
What is the best way to remove pulp?
Using a nut milk bag provides the most efficient filtration for a smooth, pulp-free juice consistency at home.
How do I prevent juice from browning?
Add a splash of lemon or lime juice and store the finished beverage in an airtight glass container.
Does blending destroy nutrients?
Blending creates heat and oxidation, so consume your juice immediately to ensure maximum vitamin and mineral retention.
How much water should I add?
Start with a half-cup of water for every two cups of produce, adjusting until you achieve desired thickness.
Can I use frozen fruit?
Yes, frozen fruit works well, but you may need to add more water to maintain the correct consistency.
What is the benefit of this method?
It is a cost-effective alternative to expensive juicers while allowing you to retain more of the whole fruit.

Jamesmathew is an expert Amazon affiliate writer, helping readers discover top products, smart deals, and practical buying guides through honest reviews and insightful content.