

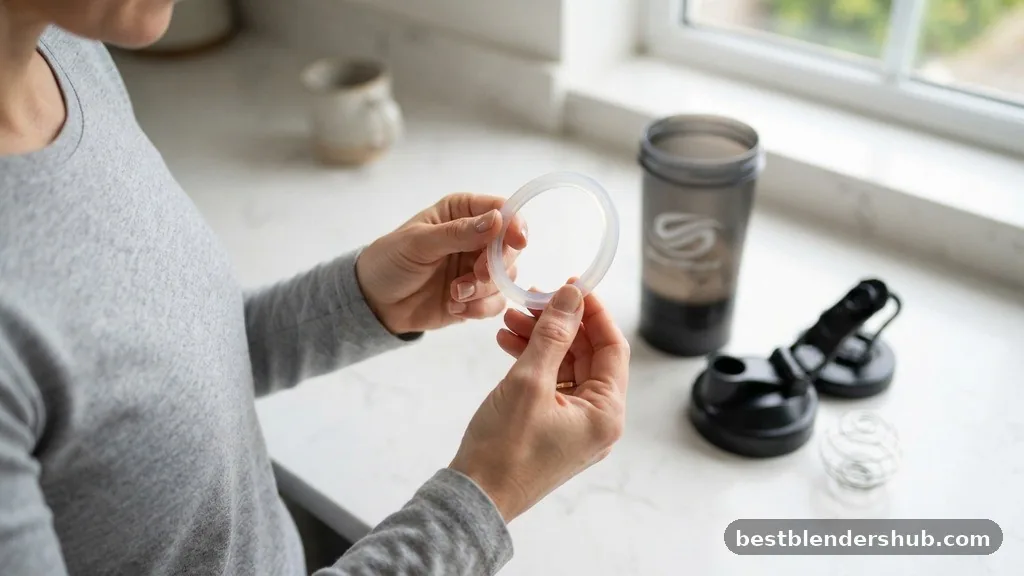
Mastering the art of how to use blender bottle equipment is a simple yet effective way to streamline your daily nutrition. Whether you are mixing a standard protein powder supplement or a complex meal replacement shake, the efficiency of these tools relies on a few key mechanics.
By following the correct sequence, you can avoid the frustration of a lumpy protein shake and ensure your post-workout fuel is smooth and ready to consume in seconds. This guide helps you get the most out of your gear, focusing on the specific techniques that make a difference in your daily routine.
Mastering the Liquid-First Method
The secret to a perfect consistency every time you mix is the liquid-first method. Adding your water, milk, or dairy alternative before the dry ingredients prevents powder from getting stuck in the crevices at the bottom of the shaker bottle.
When the powder hits the liquid, it begins to hydrate immediately. If you add the powder first, it often creates a dry, compacted layer that the BlenderBall wire whisk cannot easily penetrate. By pouring your liquid in first, you create a dynamic environment where the whisk can move freely and break up clumps as you shake.
Follow these steps for optimal results:
- Pour your desired amount of liquid into the container first.
- Add your protein powder or other nutritional supplements on top of the liquid.
- Drop the stainless steel whisk ball into the bottle.
- Ensure the screw-on lid is tightened firmly before you begin to shake.
- Shake vigorously in an up-and-down motion for about 15 to 30 seconds.
Understanding the BlenderBall Wire Whisk
The BlenderBall wire whisk is the primary engine of your shaker bottle. Unlike traditional plastic agitators that might struggle with thicker ingredients, the weighted wire design mimics the action of a kitchen whisk. It moves through the liquid with every movement of your arm, shearing through clumps and ensuring a smooth, consistent texture.
You do not need to remove the ball while drinking. It is designed to stay inside the container while you sip, as the flip cap design keeps the ball from interfering with the flow of your beverage. If you prefer to remove it, ensure you have a clean place to set it down, but most users find it perfectly fine to leave it in place until the bottle is empty.
Optimizing Your Shaker Bottle Components
Modern bottles are engineered with specific features to prevent leaks and improve durability. Understanding the role of the silicone seal and the locking mechanism of the flip cap is essential for a mess-free experience.
The Role of the Silicone Seal
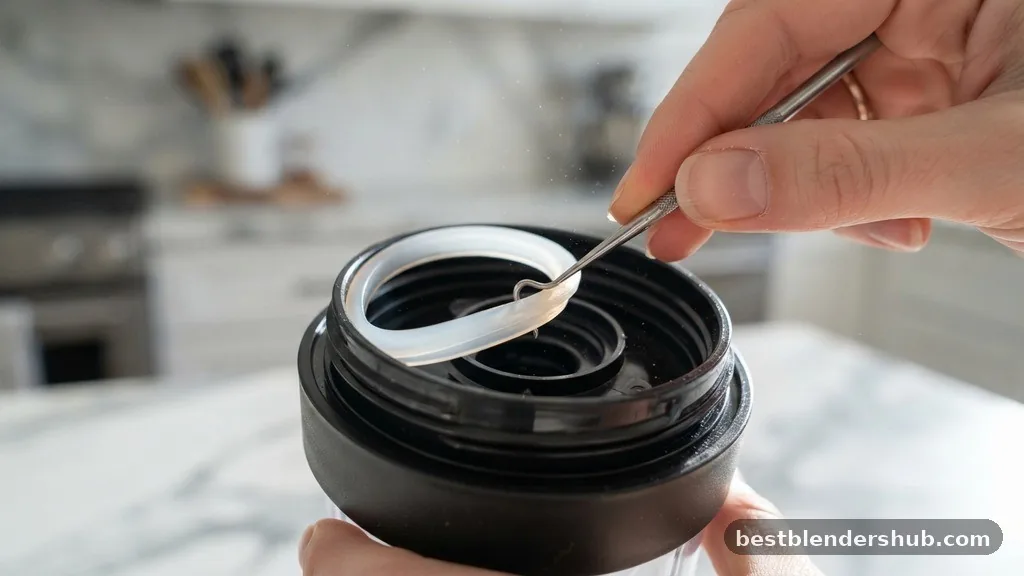
The silicone seal creates a watertight barrier between the cap and the cup. If your bottle begins to leak, check this ring for debris or improper seating. Regularly removing it for cleaning prevents buildup that could compromise the seal’s integrity over time.
Selecting the Right Material
Most high-quality bottles are crafted from BPA-free plastic. This material is lightweight, durable, and generally resistant to staining. While these bottles are typically dishwasher safe, placing them on the top rack is the best way to maintain the longevity of the plastic and the tightness of the lid.
| Feature | Benefit |
|---|---|
| BlenderBall Whisk | Eliminates lumps and ensures smooth mixing |
| BPA-Free Plastic | Safe, durable, and lightweight construction |
| Screw-on Lid | Prevents accidental spills during transport |
| Flip Cap | Allows for quick access without unscrewing |
Addressing Common Cleaning and Odor Issues
Maintaining your gear is just as important as knowing how to use blender bottle systems effectively. If you leave a shake in your gym bag for too long, you might encounter lingering smells. This is a common issue, but it is easily managed with the right approach to cleaning odor and mold prevention.
Deep Cleaning Techniques
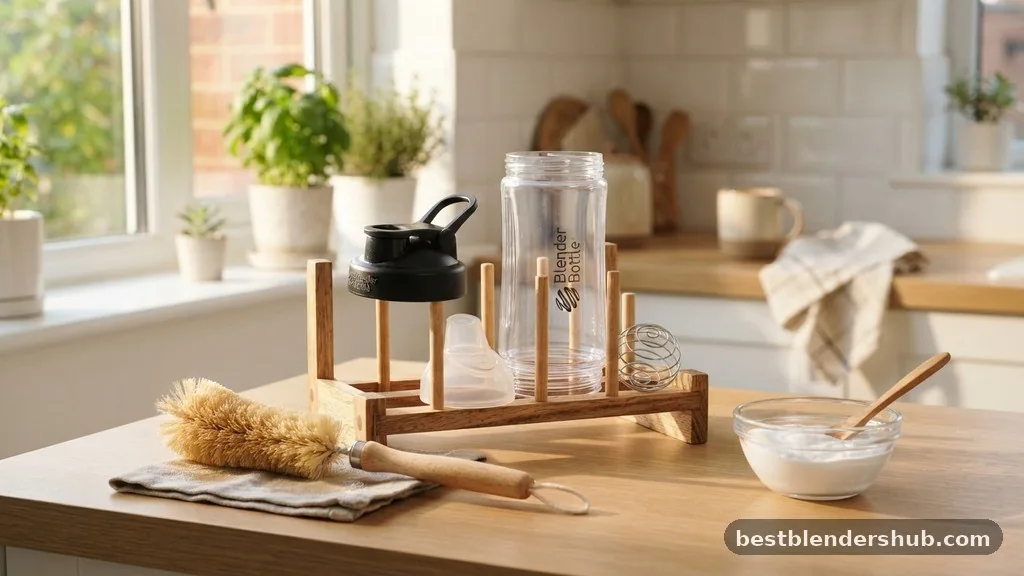
For a thorough clean, use a bottle brush to scrub the corners of the base, where residue often hides. If you notice a persistent smell, a mixture of baking soda and water left to soak overnight can neutralize odors. Always ensure the bottle is completely dry before storing it, as trapped moisture is the primary cause of mildew.
Preventing Mold Growth
Never store your bottle with the lid tightly closed if it is even slightly damp. The dark, airtight environment inside the bottle is a breeding ground for bacteria. Store it in a dry, ventilated area, and keep the cap off to allow for proper airflow.
Topical Gaps: Beyond the Basics
Many users struggle with the temperature of their liquids. A common question is whether you can use hot liquids. While the materials are durable, avoid using boiling water.
High heat can cause the BPA-free plastic to warp or the pressure to build up unexpectedly, causing the flip cap to pop open. If you need to mix a warm drink, use lukewarm liquids and leave extra room for air expansion.
Another gap is the use of non-protein additives. You can absolutely use your bottle for things other than supplements.
It works well for salad dressings, pancake batter, or even scrambled eggs. The wire whisk is versatile enough to emulsify oils and vinegars or break up egg yolks, making it a handy tool for quick kitchen prep tasks.
Maximizing Your Post-Workout Nutrition
Efficiency is critical when it comes to post-workout nutrition. Having your powder pre-measured in a separate container or using a shaker with a built-in storage compartment saves time. By keeping your dry ingredients separate from your liquid until you are ready to drink, you ensure the freshest possible shake.
If you are on the go, fill your bottle with the dry powder and bring a separate small container of water. When your workout ends, pour the water in, add the ball, and shake. This avoids the risk of the mixture spoiling in your car or gym bag, providing you with a fresh, clump-free drink exactly when your muscles need it most.
Conclusion
Learning how to use blender bottle equipment correctly transforms a simple mixing task into a reliable part of your fitness lifestyle. By prioritizing the liquid-first method, keeping your components clean, and understanding the nuances of your specific bottle, you ensure that every shake is smooth, delicious, and free of unpleasant odors. Proper maintenance with a bottle brush and careful attention to the silicone seal will keep your gear in top shape for years.
If you have been struggling with clumpy shakes, try these techniques tomorrow to see the difference for yourself. We hope this information helps you get the most out of your daily routine and keeps your nutrition on track.
What do you do with a BlenderBottle?
You use it to mix protein shakes, meal replacements, or other nutritional powders with liquids using a whisk.
Do you leave the ball in the BlenderBottle?
Yes, the ball is designed to stay in the bottle while you drink to maintain the shake’s consistency.
How does a bottle blender work?
The internal wire whisk moves through the liquid as you shake, mechanically breaking up powder clumps for smoothness.
Can I put boiling water in my BlenderBottle?
No, boiling water can warp the plastic and create dangerous pressure, so stick to warm or cool liquids.
Is the shaker bottle dishwasher safe?
Most models are dishwasher safe, but placing them on the top rack helps preserve the plastic and seals.
How do you prevent bad smells?
Wash it immediately after use, let it air dry completely with the lid off, and deep-clean with baking soda.
Should I put powder or liquid in first?
Always add the liquid first to prevent powder from sticking to the bottom and creating unwanted, stubborn clumps.

Jamesmathew is an expert Amazon affiliate writer, helping readers discover top products, smart deals, and practical buying guides through honest reviews and insightful content.