

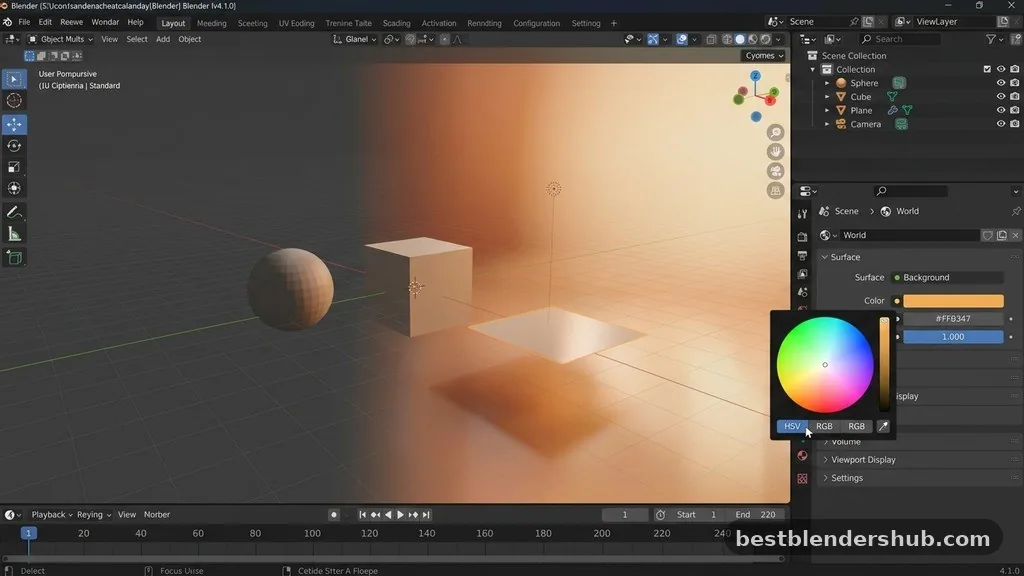
Adjusting the environment in your workspace is one of the first things you should learn when mastering 3D software. Knowing Blender how to change background color effectively allows you to customize your interface for better visibility, reduce eye strain during long sessions, or prepare your scene for final output.
Whether you are working on complex 3D animation or simple modeling, the environment color influences how you perceive your materials and lighting. By understanding how to manipulate these settings, you gain full control over both your 3D Viewport and your final render output, ensuring your creative vision remains consistent from start to finish.
Modifying the 3D Viewport Background
If you want to change the color of your workspace without affecting the actual lighting of your scene, you need to adjust the 3D Viewport theme settings. This is purely for your personal comfort and does not impact your render.
To modify the interface colors, follow these steps:
- Open the Edit menu in the top left corner of the screen.
- Select Preferences to open the settings window.
- Navigate to the Themes tab on the left sidebar.
- Expand the 3D Viewport section to see all available color options.
- Click on the color swatch for Gradient High or Gradient Low to select your preferred shade.
By separating your viewport theme from the scene lighting, you can keep a neutral gray background while working, regardless of how bright or dark your final environment is set to be. This is a common trick for artists who find the default dark gray hard on the eyes when working with dark textures or materials.
Changing the Background for Renders
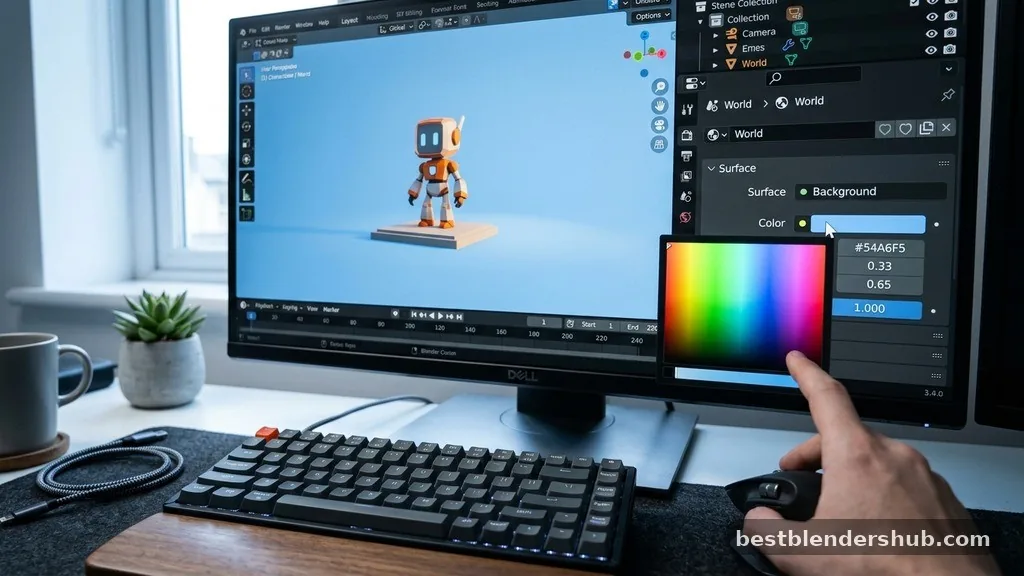
When you are ready to produce a final image, the viewport settings will no longer apply. Instead, you must use the World Properties tab to define the color that appears behind your objects in the final output. This setting directly affects the lighting, as the background acts as a light source for your scene.
Using the World Properties Tab
The World Properties tab is where you define the global environment. To change the background color for your render:
- Locate the Properties panel on the right side of the interface.
- Click on the red globe icon, which represents the World Properties tab.
- Click on the color bar labeled Color under the Surface section.
- Use the color wheel to pick your desired background shade.
Keep in mind that if you are using a HDRi for lighting, changing this color might override or blend with your lighting environment. Always check your render preview to ensure the background color behaves as expected.
Working with Background Nodes
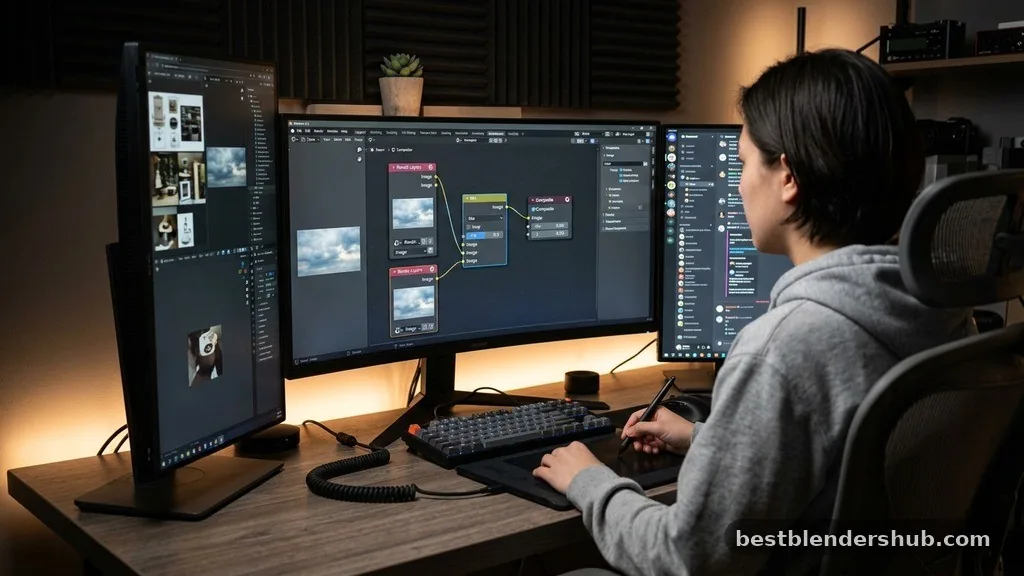
For more complex lighting setups, you might want to use the Shader Editor. By switching the context to World in the top header of the Shader Editor, you can manipulate the background using nodes. This allows for gradients, textures, or even mixing multiple colors to create a custom skybox effect. This method is essential for artists who need advanced control over their lighting environment.
Managing Background Images
Sometimes you don’t need a solid color but rather a reference image to guide your modeling process. Managing these images correctly prevents them from cluttering your scene while ensuring they stay visible while you build your geometry.
Setting Up Reference Images
You can add a reference image by pressing Shift+A and selecting Image followed by Reference. Once the image is in your viewport, you can adjust its opacity in the Object Data Properties tab. This ensures the image doesn’t distract you from the actual mesh. By separating your viewport theme, world background color, and reference images, you keep your workspace organized and efficient.
| Setting Type | Impact | Primary Use |
|---|---|---|
| Theme/Viewport Color | Visual Only | Reducing eye strain while modeling |
| World Background | Render/Lighting | Setting the final scene environment |
| Reference Image | Workflow Aid | Guiding 3D modeling and proportions |
Addressing Common Topical Gaps
Many users struggle with the difference between a solid color background and an alpha-transparent background. If you want to render an object without any background color at all, you must adjust your Film settings.
Go to the Render Properties tab, look for the Film section, and check the box labeled Transparent. This tells the software to render the background as a transparent layer, which is perfect for compositing your work in external software like Photoshop or After Effects. Without this checked, your background color will always be baked into the final image, making it difficult to place your object into a different scene later.
Best Practices for Scene Composition
Your background choice should always support the focal point of your work. If your object is light-colored, a dark background provides necessary contrast. Conversely, dark objects often pop better against a lighter, neutral background.
Avoid using pure black or pure white for your final scene composition unless you have a specific artistic reason. Pure black can crush the shadows of your model, making it difficult to see the silhouette, while pure white can wash out the details of your materials. Instead, aim for a soft off-white or a deep charcoal color to maintain depth and clarity in your renders.
Advanced Environment Customization
If you want to move beyond simple colors, you can use a sky texture node. This simulates a natural atmosphere based on the sun’s position. It is far more realistic than a flat color and adds immediate depth to any exterior render.
Simply go back to the World Properties, click the yellow dot next to the Color field, and select Sky Texture. You can then adjust the sun’s elevation and intensity to change the mood of your scene. This is often the preferred method for outdoor scenes where a solid color would look too artificial or flat.
Summary and Next Steps
Mastering Blender how to change background color is a fundamental skill that shifts your workflow from basic navigation to professional-grade control. By distinguishing between your viewport interface, your render environment, and your reference materials, you can create a workspace that is both comfortable and highly functional. Remember that your background settings aren’t just for aesthetics; they are critical components of your lighting and final output.
Experiment with the world nodes and transparent film settings to see how they impact your specific project needs. Now that you have a clear understanding of these tools, try applying a custom environment to your current project and see how it transforms the final result. If you have further questions or need help with specific lighting setups, feel free to keep experimenting and refining your process.
Is the background color change permanent?
No, changing the theme color only affects your current interface and resets if you change themes.
Does the viewport background affect lighting?
No, changing the theme color in the Preferences menu does not affect your actual scene lighting setup.
How do I make the background transparent?
Go to Render Properties, open the Film tab, and check the Transparent box for your final render.
Can I use an image as a background?
Yes, you can import images as references or use an environment texture node for background lighting.
Why is my render background black?
The default background color is black; you must change it in the World Properties tab manually.
What is the shortcut for reference images?
There isn’t a single key, but Shift+A allows you to add an Image reference to your viewport.
Does the background color affect shadows?
Yes, the World color acts as an ambient light source, which directly impacts the intensity of shadows.

Jamesmathew is an expert Amazon affiliate writer, helping readers discover top products, smart deals, and practical buying guides through honest reviews and insightful content.