

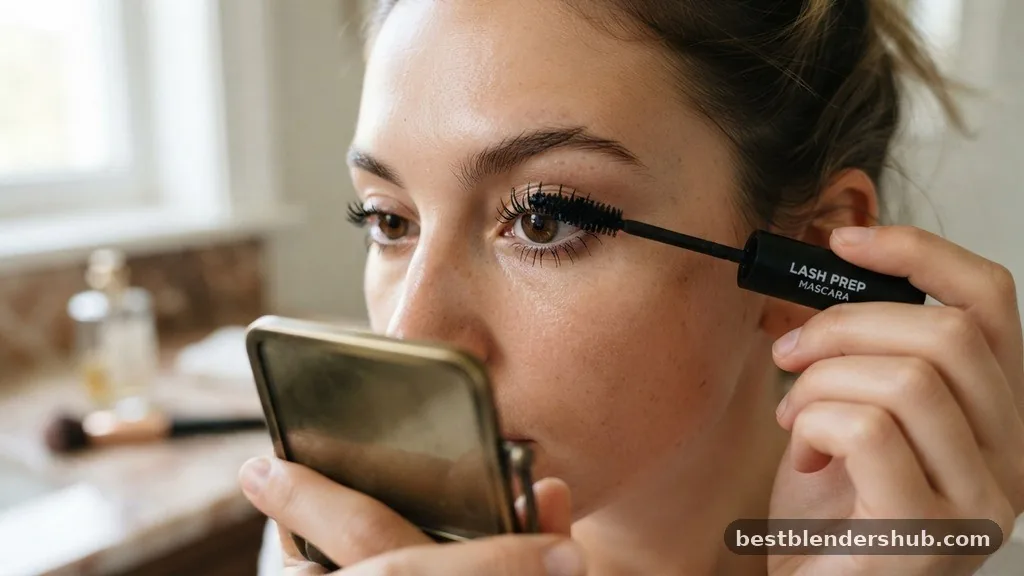
Learning how to put on mascara effectively is a foundational skill in any makeup routine, yet it is one of the most frequently misunderstood techniques. While the process seems intuitive—pull the wand out, apply to lashes, and move on—the difference between a messy, clumpy application and a clean, wide-eyed look lies in the nuance of your movement and the preparation of your lashes.
Achieving that coveted fluttery, high-definition finish requires understanding how your specific lash structure interacts with different brush shapes and formulas. By refining your grip, your motion, and your aftercare, you can transform your eyes, creating the illusion of more depth and brightness without needing false lashes or expensive extensions.
The Importance of Lash Preparation
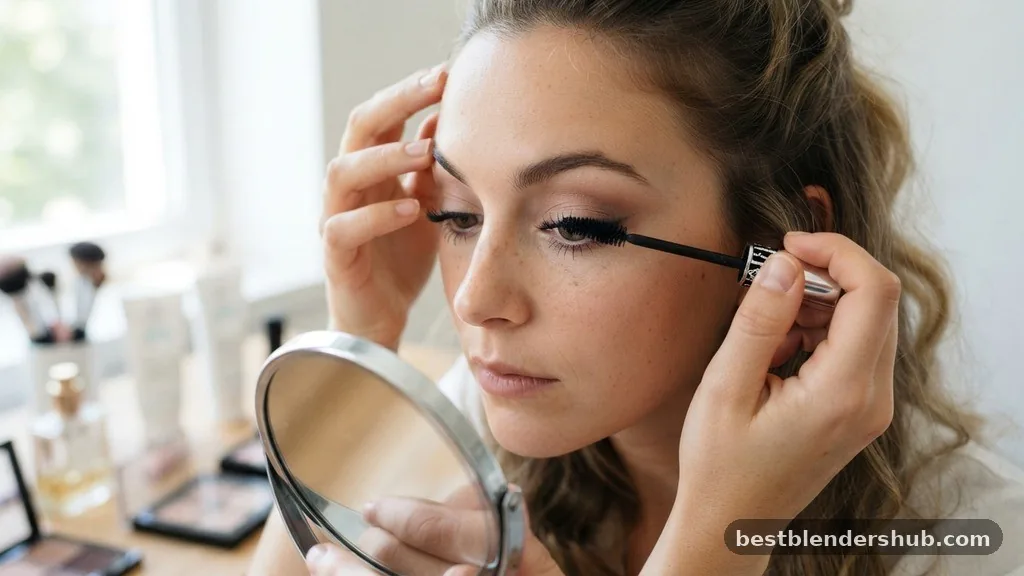
Before the mascara wand ever touches your eyelids, the canvas must be properly prepared. Many people skip this step, assuming that the product will adhere regardless of the state of their lashes, but residue from previous makeup, natural facial oils, or skincare products can significantly impact the final result. Oils are particularly problematic because they break down many mascara formulas, leading to smudging or “raccoon eyes” by mid-day.
A simple, effective prep involves gently cleansing the eye area with a mild, oil-free cleanser. If you have leftover traces of yesterday’s makeup, your fresh coat of mascara will struggle to grip the hair, leading to premature flaking or uneven coverage that looks patchy.
Additionally, consider the state of your lashes’ moisture. If you have just applied a heavy eye cream, give it several minutes to fully absorb before you begin your makeup application. If the skin around your eyes is too slick, the product will inevitably transfer during the blink-and-apply process.
Many professionals also recommend a quick pass with a clean spoolie brush through your lashes to ensure they are properly separated and free of any dust or lint before you start. This minor detail prevents the “spidery” look that often happens when mascara is applied over tangled or dusty lashes. By starting with a clean, dry surface, you create an environment where the formula can adhere evenly from the root to the tip, ensuring that every lash is coated with precision rather than clumps.
Mastering the Eyelash Curler
The eyelash curler is arguably the most important tool for those who want their lashes to look long and lifted. Many beginners find the tool intimidating, but it is the secret to opening up the eye area. To use one correctly, start by positioning the curler as close to the lash root as possible without pinching the skin of your eyelid.
Squeeze gently and hold for about ten seconds, but avoid “pumping” the curler repeatedly, which can weaken or even break your delicate lashes. Instead, use a steady, firm pressure to create a natural-looking curve that starts at the base rather than a sharp, unnatural crimp in the middle of the hair.
If you struggle to reach the corners of your eyes, try a specialized mini-curler or simply angle the standard curler to catch those elusive outer lashes. The goal is to create a consistent arc across the entire lash line, which makes the subsequent application of mascara much easier because the lashes are already lifted and separated.
If you do not have an eyelash curler, you can achieve a similar effect by using your index finger to gently push your lashes upward against your eyelid for a few seconds while the mascara is still wet, though this is less precise. For those who prioritize longevity, heating your eyelash curler with a blow dryer for just a few seconds—ensuring it is warm, not hot, to the touch—can help “set” the curl in a way that lasts throughout the day, much like a curling iron works on the hair on your head.
Selecting the Right Mascara Formula
Understanding the difference between various types of mascara is essential for achieving your desired look. If your primary goal is length and volume, look for formulas designed with specific polymers that stretch along the hair shaft.
Waterproof mascara is often the best choice for those with oily lids or those who live in humid climates, as it is formulated to resist moisture and sweat. However, keep in mind that waterproof formulas are notoriously difficult to remove; you will need a dedicated oil-based eye makeup remover to break down the wax and pigments without tugging at your lashes.
If you find that your lashes are particularly sparse, consider incorporating an eyelash primer into your routine. A primer is usually white or clear, and it coats the lashes to provide a thicker base for the black pigment to cling to, which can drastically improve the appearance of volume. Fiber mascara is another option for those looking for extreme length, as it contains tiny synthetic filaments that adhere to your natural lashes, extending them significantly.
However, be cautious with fiber formulas if you wear contact lenses, as the fibers can sometimes flake off into the eye and cause irritation. When choosing your mascara, pay close attention to the wand as well; plastic bristles are generally better for separation and definition, while large, dense-bristled wands are typically designed to deposit more product for a bold, voluminous look.
The Zig-Zag Motion for Maximum Volume
The “zig-zag” technique is the gold standard for applying mascara, and for good reason. When you pull the wand straight up, you often coat only the tips of the lashes, which can weigh them down and leave the roots looking sparse.
Instead, place the mascara wand at the very lash root and gently wiggle it back and forth as you pull upward toward the tips. This horizontal movement allows the bristles of the wand to get in between individual lashes, coating each one from all sides and ensuring that the base—where the most pigment is needed to define the eye—is fully saturated.
This technique is particularly effective for preventing clumping. By wiggling at the root, you are essentially combing through the lashes while depositing product, which naturally separates them as you work the wand upward. If you find that you have a tendency to get mascara on your eyelid while performing this motion, try holding a small handheld mirror below your chin and looking down into it while you apply.
This forces your lashes to extend outward and upward, creating more space between your eyelid and your lashes, which significantly reduces the likelihood of accidental smudging. Remember to move slowly; speed is the enemy of a clean application. Taking the time to wiggle the wand through the entire length of the lash will result in a professional, fanned-out effect that looks far more natural than a single, rushed stroke.
Applying to the Bottom Lash Line
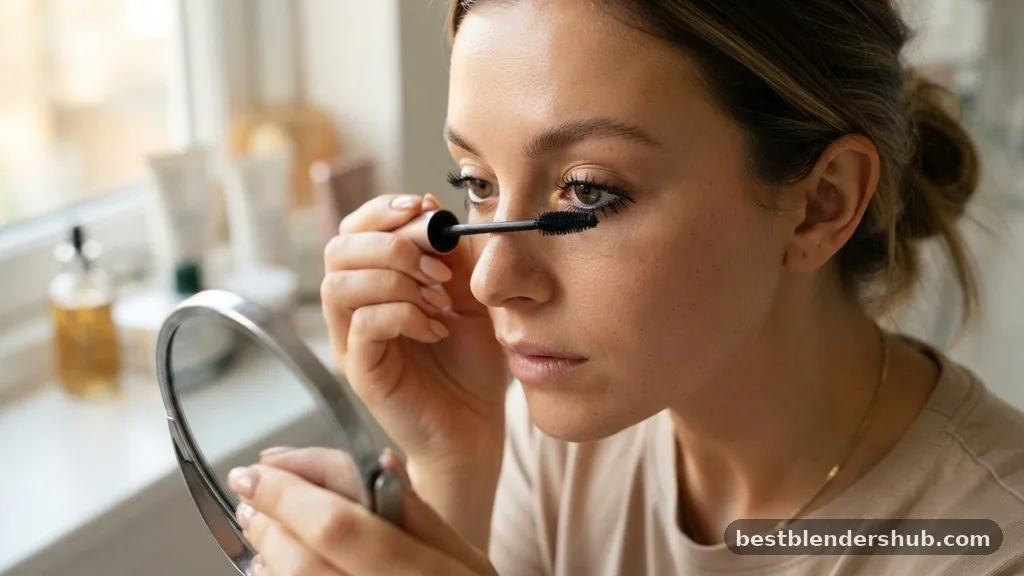
Applying mascara to your bottom lash line is a stylistic choice that can make your eyes look larger and more awake, but it requires a very steady hand and a light touch. Because the bottom lashes are usually shorter and thinner than the top lashes, they are prone to smudging if you apply too much product.
To avoid this, use the very tip of your mascara wand—many brushes have a specific shape at the end meant for detail work—rather than the full side of the wand. You can also hold the wand vertically, moving it side to side with very small, controlled strokes to pick up each individual lash without overloading them.
Another professional trick is to hold a small piece of tissue or a plastic business card just beneath your bottom lashes as you apply. This acts as a barrier, allowing you to press the wand right against the roots of your lashes without fear of the pigment staining your under-eye skin. This is especially useful if you are in a rush or if you are using a very wet, high-pigment formula.
If you do happen to get a smudge, don’t try to wipe it off immediately while it is wet, as this will only spread the black pigment across your skin. Wait for the mascara to dry completely, and then use a clean, dry spoolie brush or a Q-tip to gently flick the dried flake away; it will usually crumble off without leaving a trace or disturbing your concealer.
Managing Clumping and Lash Separation
Clumping is the most common frustration when learning how to put on mascara, and it usually occurs when too much product is applied at once or when the formula has begun to dry out. If you find that your wand is coming out of the tube with a large “glob” of product at the tip, wipe the excess off on the rim of the tube or a clean tissue before bringing it to your eyes. It is much easier to build up thin, even layers than it is to remove a thick, clumpy mess.
A great habit to adopt is using a clean, dry spoolie brush immediately after your first coat of mascara. While the formula is still slightly tacky, run the spoolie through your lashes to comb out any knots and ensure they are perfectly separated.
If you are aiming for a very natural, “no-makeup” look, you might even consider using only a spoolie brush dipped in a tiny amount of mascara to apply the product, rather than the wand itself. This gives you total control over the amount of pigment being deposited. Furthermore, keep an eye on the age of your mascara.
Most formulas are designed to last about three months; once you hit that mark, the formula begins to thicken and oxidize, which naturally leads to more clumping and flaking. If you notice your mascara becoming dry or difficult to apply, it is time to replace it. Trying to “revive” an old tube with water or eye drops can introduce bacteria into the formula, which poses a risk to your eye health.
Layering for Length and Volume
The question of how many layers of mascara to apply is subjective, but there is a point of diminishing returns. Generally, two coats are sufficient for most daytime looks. The first coat should focus on creating a base, separating the lashes, and providing initial length.
Once that coat is about 80% dry, apply the second coat. If you wait until the first layer is 100% dry and hard, the second layer may cause the lashes to become brittle or clumpy. If you wait too long, the friction of the wand against the dry lashes can cause them to pull or break.
If you are looking for extra drama, you can focus the second coat specifically on the outer corners of your eyes to create a “cat-eye” effect. By applying more product to the lashes on the outer third of your eye, you draw the eye outward, which is a flattering shape for almost everyone. Avoid applying more than three coats, as the weight of the product will eventually cause your lashes to droop, effectively undoing the work you did with your eyelash curler.
If you find that you need more volume, consider using a specialized volumizing formula rather than just adding more layers of a lengthening one. Different formulas have different consistencies, and layering a volumizing formula over a lengthening one is a professional technique often used on photo shoots to achieve lashes that are both long and thick.
Dealing with Smudges and Mistakes
Even the most experienced makeup artists occasionally get mascara on their eyelid or under their eyes. The key to maintaining a flawless look is knowing how to handle these mistakes without having to start your entire eye makeup routine over. As mentioned previously, the cardinal rule is to let the smudge dry completely.
If you attempt to wipe it while it is wet, you will create a smear that is much harder to remove and will likely ruin your eyeshadow or concealer. Once the smudge is fully dry, it will turn into a small, brittle flake. You can easily remove this with a clean, dry spoolie or a stiff-bristled makeup brush.
If you find that you are constantly getting mascara on your upper eyelid, it might be that your wand is too large for your eye shape, or you are looking straight ahead instead of down. Adjusting your angle is usually the fastest fix. Additionally, check your mascara formula.
Some formulas are designed to stay flexible, which is great for the lashes but can lead to transfer on the lids if you have deep-set eyes or hooded eyelids. In this case, a smudge-proof, tubing mascara may be your best friend. Tubing mascaras form tiny “tubes” around each lash that don’t smudge or run, even if your eyelids are oily, and they are easily removed with nothing more than warm water and a gentle downward pull.
Post-Application Care and Removal
How you remove your mascara at the end of the day is just as important as how you put it on. If you are aggressive with your removal, you will inevitably lose lashes, which makes it harder to get a good application the next day. Never rub your eyes back and forth.
Instead, saturate a cotton pad or a reusable bamboo pad with an effective eye makeup remover. Hold the pad against your closed eyelid for 15 to 30 seconds.
This allows the remover to break down the mascara formula, effectively “melting” it off the lashes. Once the formula is soft, gently wipe downward—following the natural growth of your lashes—to remove the product.
After you have removed your makeup, consider using a lash serum or a drop of castor oil to keep your lashes healthy and hydrated. Healthy lashes are more flexible, less prone to breakage, and hold a curl much better than dry, brittle lashes. If you wear mascara every single day, giving your lashes a “break” once or twice a week can also be beneficial.
During these off-days, focus on nourishing the lashes so they remain strong. By treating your lashes with the same care you treat your skin, you ensure that they stay full and healthy, providing the best possible base for your mascara application.
Ultimately, mastering the art of mascara is a combination of using the right tools, maintaining the health of your lashes, and having the patience to work through the application process step-by-step. With these techniques, you can achieve a polished, beautiful look that enhances your natural features every single day.

Jamesmathew is an expert Amazon affiliate writer, helping readers discover top products, smart deals, and practical buying guides through honest reviews and insightful content.