

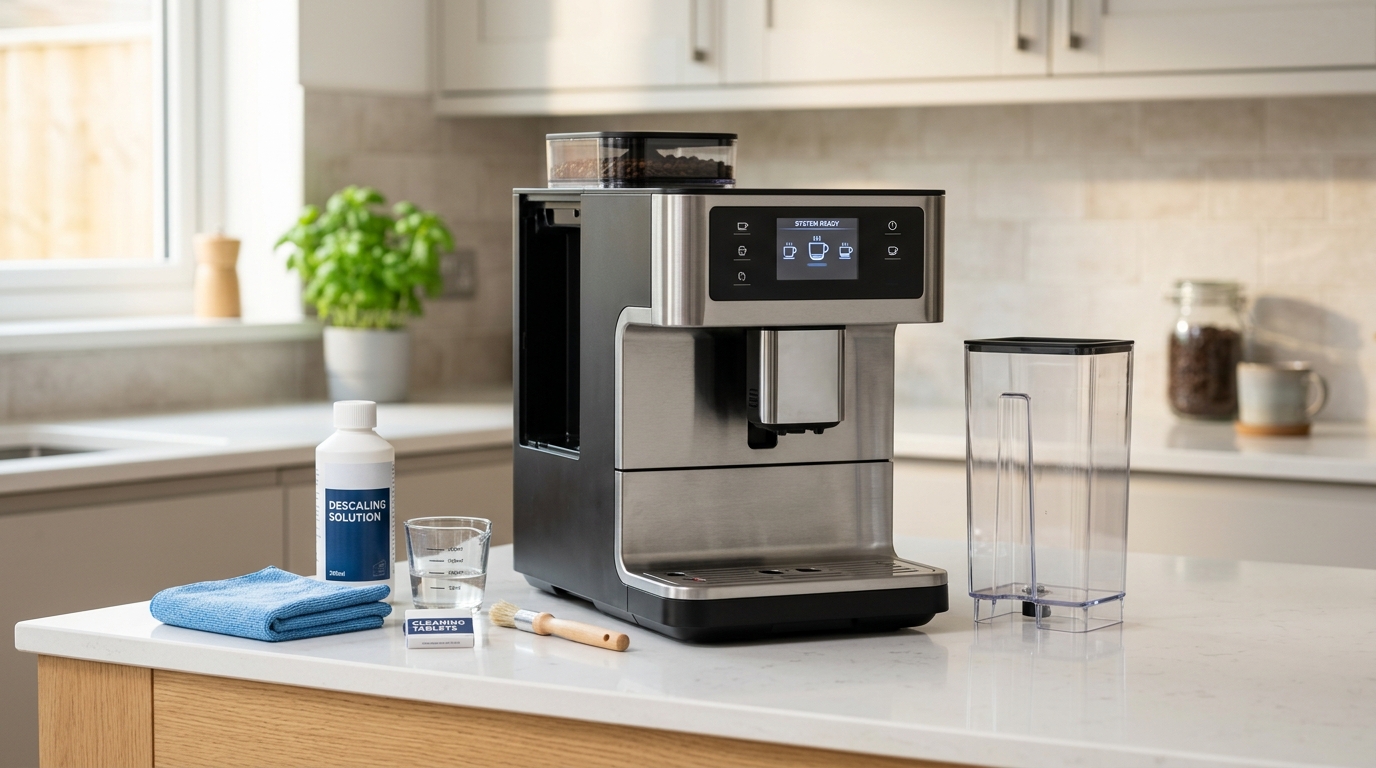
So you finally noticed your coffee’s been tasting kinda off lately, and now you’re standing in the kitchen googling how to descale breville coffee maker with grinder because that little descale light won’t stop blinking at you like its judging your life choices. Yeah, I been there too. It’s annoying, it feels like it shouldnt be this complicated, and honestly most manuals make it sound way more technical then it actually is.
Here’s the thing though — descaling isnt optional, its basically maintenance your machine is begging you for. Mineral buildup from hard water clogs up the internals, slows the brew, and eventually messes with the grinder mechanism too if you never bother with it. According to the Water Quality Association, over 85% of homes in the US deal with some degree of hard water, which is a huge reason why coffee machines everywhere start acting cranky after a few months of regular use.
Why Your Breville Needs Descaling (Even If You Don’t Want To Deal With It)
Let’s be real for a second. Nobody wakes up excited to descale a coffee maker. But if you skip it, calcium and magnesium deposits build up inside the heating element and water lines, and that buildup is exactly what’s causing your coffee to taste flat, bitter, or just weirdly metallic sometimes.
Breville actually recommends descaling every 2-3 months for average use, though if you’re brewing multiple cups daily or live somewhere with notoriously hard water (looking at you, Arizona and parts of Texas), you might need to do it monthly. The machine usually tells you when — theres a light or icon that turns on, though a lot of people ignore it for way too long, which honestly just makes the whole process take longer once you finally get around to it.
Signs Your Breville Grinder Coffee Maker Needs Descaling
- Brew time takes noticeably longer than usual
- Coffee tastes bitter or sour even with fresh beans
- Water flow seems weaker or sputters
- Descale indicator light stays on or blinks
- Steam wand (if your model has one) produces less pressure
- Strange gurgling noises during the brew cycle
If you’re noticing two or more of these, its probably overdue. Don’t wait for it to get worse, cause the longer you leave it, the harder the buildup is to remove later.
What You’ll Need Before You Start
Gather this stuff first so you’re not running around mid-process:
| Item | Purpose |
|---|---|
| Breville descaling solution (or citric acid) | Breaks down mineral deposits |
| Fresh water | Rinsing after descale cycle |
| Soft cloth | Wiping down exterior and grinder area |
| Small brush | Cleaning grinder burrs and chute |
| Empty carafe or mug | Catching descale solution runoff |
A quick note here — Breville specifically recommends using their branded descaling solution because its formulated to not corrode internal parts, though plenty of users online swear by plain citric acid diluted in water, and honestly it works fine too, just don’t use vinegar. Vinegar leaves a smell that lingers for weeks and some models actually warn against it in the manual.
Step-by-Step: How to Descale a Breville Coffee Maker with Grinder
Okay so here’s the actual process, broken down so it doesnt feel overwhelming.
Step 1: Empty and Clean the Grinder First
Before touching the descale cycle, empty your bean hopper completely. Run the grinder empty for a few seconds to clear out any leftover grounds stuck in the burrs — this matters more then people realize because leftover coffee oils in the grinder can go rancid and mess with flavor even after you’ve descaled everything else.
Use your small brush to get into the chute and around the burrs. Some Breville models, like the Barista Express or the Oracle Touch, have removable grinder components which makes this way easier, so check your manual for that specific detail.
Step 2: Empty the Water Tank and Add Descaling Solution
Remove the water reservoir, dump whatever’s left, and rinse it out. Fill it with water according to the descaling solution’s instructions — usually its a ratio like one packet per liter, though check your specific product since ratios do vary a bit between brands.
Step 3: Run the Descale Cycle
Most Breville machines have a dedicated descale setting accessible through the menu button. Press and hold it (or navigate to it depending on your model) until the descale cycle starts. This part takes anywhere from 15 to 30 minutes depending on the machine, and you basically just gotta let it do its thing.
Don’t interrupt it halfway through even if it seems like its taking forever. Interrupting mid-cycle can leave solution sitting in the lines which isnt great for the machine long term.
Step 4: Rinse Thoroughly
Once the descale cycle finishes, empty the tank again, rinse it out real good, and refill with plain fresh water. Run at least two full water-only cycles through the machine to flush out any leftover descaling residue. This step gets skipped a lot and it shouldnt be, cause leftover solution taste is genuinely unpleasant in your next few cups.
Step 5: Reassemble and Test Brew
Put the grinder components back if you removed them, reattach everything, and run one test brew that you’re willing to toss out. This first cup after descaling sometimes tastes slightly off cause of residual cleaning agents, so don’t judge the whole process based on that one cup.
How Often Should You Actually Do This?
There’s kind of a myth going around that you only need to descale once a year, which honestly isnt accurate for most households. A 2022 survey by the Specialty Coffee Association found that machines descaled quarterly showed significantly less mineral buildup and lasted an average of 18 months longer than machines descaled only annually.
Coffee expert James Hoffmann has mentioned in interviews that “regular descaling is one of the cheapest ways to extend the life of any home espresso machine,” which lines up with what most manufacturers including Breville actually recommend in their own care guides.
Common Mistakes People Make While Descaling
- Using tap water with the descale solution instead of filtered water, which can actually reintroduce minerals
- Forgetting to clean the grinder separately, thinking the descale cycle handles everything (it doesnt)
- Not rinsing enough afterward and wondering why coffee tastes weird for days
- Using too much or too little descaling solution, which effects how well it actually works
- Ignoring the light for months, letting buildup get to the point where it damages the heating element
Final Thoughts on Keeping Your Breville Running Smooth
Look, nobody’s thrilled about spending 30 minutes descaling a machine when you’d rather just be drinking coffee already. But once you get the hang of how to descale breville coffee maker with grinder, it genuinely becomes routine — like maybe fifteen minutes of actual effort every couple months, and your coffee tastes noticeably better for it.
Your machine’s basically an investment, and a Breville with a built in grinder isnt cheap, so treating the descaling process as regular maintenance rather then some annoying chore probably saves you money and frustration down the line. Trust me, future you drinking a properly brewed cup will thank present you for not skipping this.

Jamesmathew is an expert Amazon affiliate writer, helping readers discover top products, smart deals, and practical buying guides through honest reviews and insightful content.