

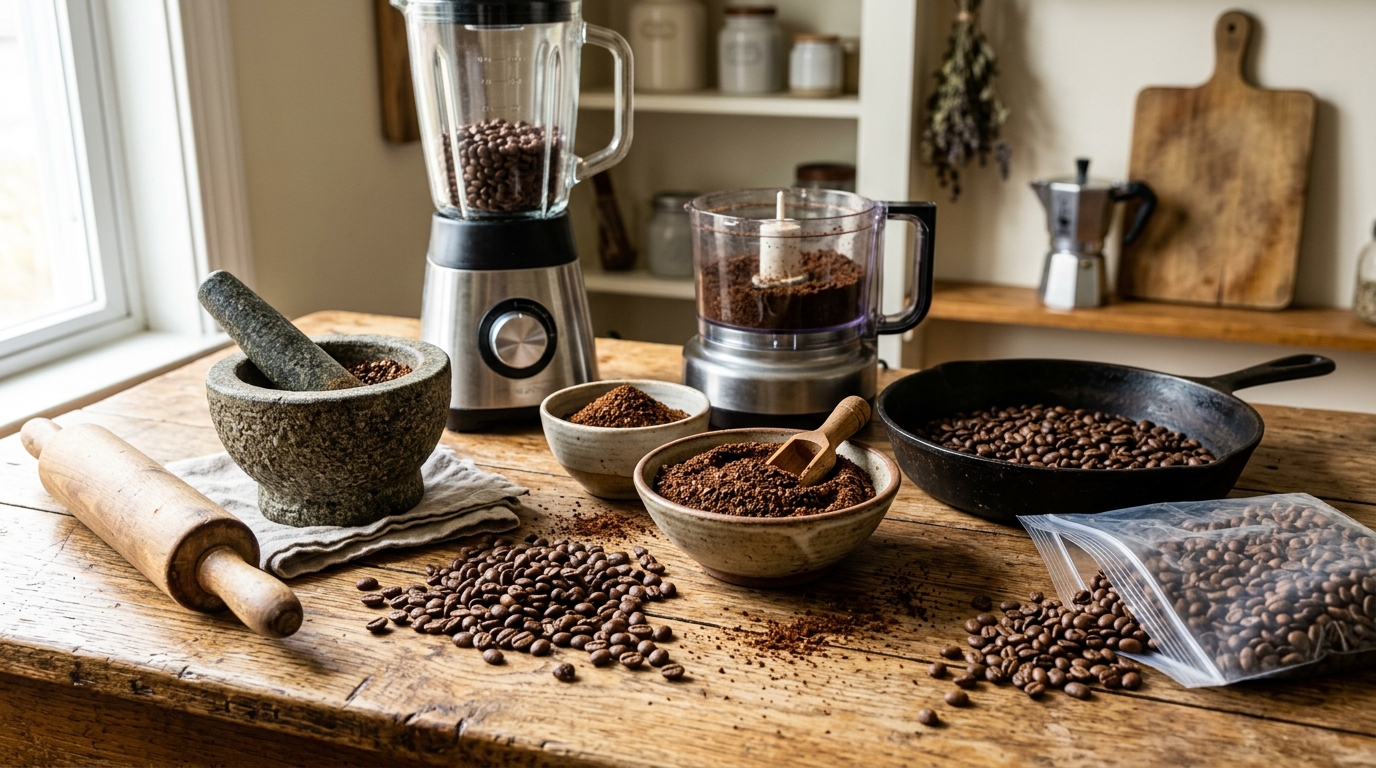
So you woke up, stumbled to the kitchen half asleep, and realized your grinder is either broken, missing, or you just never owned one in the first place, and now you’re standing there holding a bag of whole beans like they owe you an apology. Yeah, that’s the exact situation this post is for. You don’t need to run to the store or give up on your morning cup, because there’s a handful of ways to grind coffee beans without a coffee grinder using stuff that’s probably already sitting in your cupboard right now.
I’ll be honest, none of these methods are gonna give you that perfectly even, boutique-cafe grind. But they work, and “works” is really all you need at 6am when caffeine deprivation is starting to make you question your life choices. Let’s get into it.
Why Grinding Matters in the First Place
Whole beans and water don’t really get along very fast. When a bean is whole, water can only touch the outside surface, so brewing takes forever and the coffee ends up weak, sour, and kind of sad. Grinding breaks the bean into smaller peices, which massively increases the surface area, letting water pull out the oils, sugars, and aromatic compounds much quicker and more evenly. That’s basically the whole science of it, in plain words.
Different brewing methods also need different grind sizes, and this matters a lot more than people think when your not using a proper burr grinder. Espresso wants a grind fine like powdered sugar. Pour-over wants something closer to table salt. French press and cold brew are more forgiving and want a coarse, chunky grind like breadcrumbs or kosher salt. Keep this in the back of your mind as you pick your method below, cause it’ll save you from a cup that tastes like dishwater or one that’s so bitter it makes your face scrunch up.
Method 1: Mortar and Pestle (The Classic)
If your grandma had one of these sitting in her kitchen for grinding spices, congrats, you’ve basically got the best manual tool for the job. A mortar and pestle gives you way more control over grind size than anything else on this list, and its been used for this exact purpose for literal centuries.
Here’s how you do it:
- Fill the mortar bowl about a quarter full with beans, don’t overload it
- Hold the bowl steady with one hand
- Press down hard with the pestle using a twisting, crushing motion until the beans crack
- Once they’re broken up, switch to a circular grinding motion around the sides
- Keep checking the texture every minute or so, you’re aiming for consistency not speed
It’s slow, it’ll probably take you five to ten minutes for a single serving, and your arm might get a little tired, but the control you get is genuinely unmatched among the DIY options. This method suits basically any grind size if you’re patient enough, from coarse cowboy coffee to a surprisingly fine espresso-ish grind.
Method 2: Blender or Food Processor
This is probably the fastest option if you already own either appliance. Here’s the catch though — blenders were built to liquify things, not grind them into neat little particles, so don’t expect miracles.
To do it right:
- Select the “grind” setting if your blender has one, or just go medium-high
- Pour in a small batch of beans, don’t fill it up
- Pulse in short one-to-two second bursts instead of running it continuous
- Shake or tilt the blender between pulses so the bigger chunks fall toward the blade
- Stop and check the consistency often
The biggest mistake people make here is letting the blender run non stop, which heats up the oils in the bean and can actually cook them a little, giving you a bitter, burnt-tasting cup. Short bursts is the whole trick. This method tends to land you somewhere between a coarse and medium grind, which honestly works great for French press or drip coffee.
Method 3: Rolling Pin (or Anything Heavy and Cylindrical)
No blender, no mortar, no problem, cause chances are you’ve got a rolling pin tucked away somewhere, or a wine bottle, or even a solid metal water bottle will do in a pinch.
- Put your beans inside a thick, heavy-duty ziplock bag (a flimsy sandwich bag WILL tear, trust me)
- Squeeze most of the air out before sealing so it doesn’t pop
- Lay the bag flat on a sturdy cutting board or counter
- Start by pressing down firmly to crack the beans open
- Once they’re cracked, roll back and forth with steady pressure for 30-45 seconds
- Rotate the bag 90 degrees and roll again to catch any leftover chunks
This gives you a coarse, uneven grind that’s honestly perfect for French press or cold brew, both of which are pretty forgiving when it comes to consistency.
Method 4: Hammer or Heavy Pan
A little more primal, a little more satisfying if you’re having a rough morning. Wrap your beans in a clean kitchen towel or place them in that same heavy-duty bag, set it on a cutting board, and give it controlled taps with a hammer or the flat bottom of a cast iron pan. Don’t go swinging like your auditioning for a superhero movie, medium pressure moving around the surface will do the job just fine and keep beans from flying everywhere.
Method 5: Sil Batta or Flat Stone
If you cook South Asian food you might already own one of these without realizing it works for coffee too. It’s a flat stone slab with a cylindrical grinding stone you roll across it using downward pressure. It’s slower than most other methods, but the stone-on-stone contact generates way less heat than metal blades, which actually helps preserve more of the bean’s aromatic oils.
Quick Reference Table: Grind Size by Brewing Method
| Brew Method | Ideal Grind Size | Best DIY Tool |
|---|---|---|
| French Press | Coarse | Rolling pin, hammer, mortar |
| Cold Brew | Coarse to extra coarse | Rolling pin, hammer |
| Drip Coffee | Medium | Blender, mortar |
| Pour Over | Medium | Blender, mortar |
| Espresso / Moka Pot | Fine | Mortar and pestle (with patience) |
A Few Honest Notes Before You Start
None of these techniques will match a real burr grinder, and that’s just the truth of it, no point pretending otherwise. As one coffee retailer put it, brewing whole beans without grinding at all is technically possible but it takes way, way longer than anyone has patience for on a weekday morning. So grinding, even imperfectly, beats not grinding at all by a mile.
You’ll also end up with a grind that mixes fine dust and bigger chunks together, which can cause uneven extraction, meaning parts of your coffee taste over-extracted and bitter while other parts taste weak and sour at the same time. It’s not the end of the world, just extend your brew time a little to compensate, especially with French press, an extra minute or two of steeping helps the coarser bits catch up.
And whatever tool you borrow from the kitchen, wash it thoroughly afterward. Nobody wants their next smoothie or curry tasting faintly of espresso.
Final Thoughts
Grinding coffee beans without a coffee grinder isn’t glamorous, and it definitely isn’t the most efficient way to start your day, but it works, and sometimes that’s exactly what you need when your options are limited. Mortar and pestle for control, blender for speed, rolling pin or hammer for pure improvisation. Pick whatever’s closest to hand, put a little elbow grease into it, and you’ll have a cup brewing in no time. Once things settle down, grabbing an actual hand grinder or a cheap burr grinder is worth it long term, but for now, you’ve got everything you need already sitting in your kitchen.

Jamesmathew is an expert Amazon affiliate writer, helping readers discover top products, smart deals, and practical buying guides through honest reviews and insightful content.