

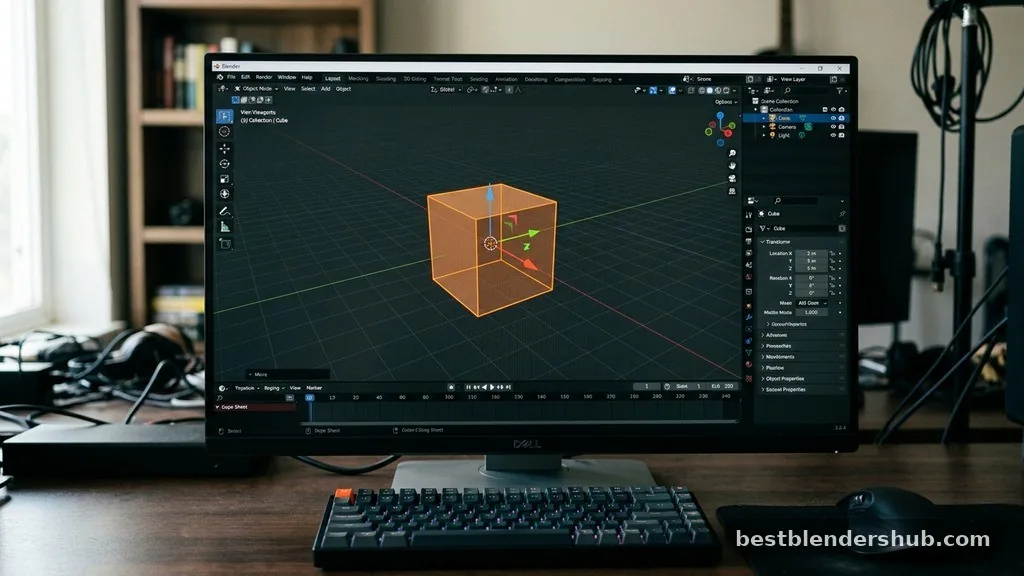
Mastering the 3D workspace begins with understanding how to move an object in Blender effectively. Whether you are a total beginner or transitioning from other software, getting your geometry into the right position is the foundation of every scene.
You will find that navigating the viewport and manipulating meshes becomes second nature once you grasp the core translation tools. By learning these fundamentals, you save time and focus more on the creative aspects of your 3D modeling projects.
Core Translation Techniques for 3D Objects
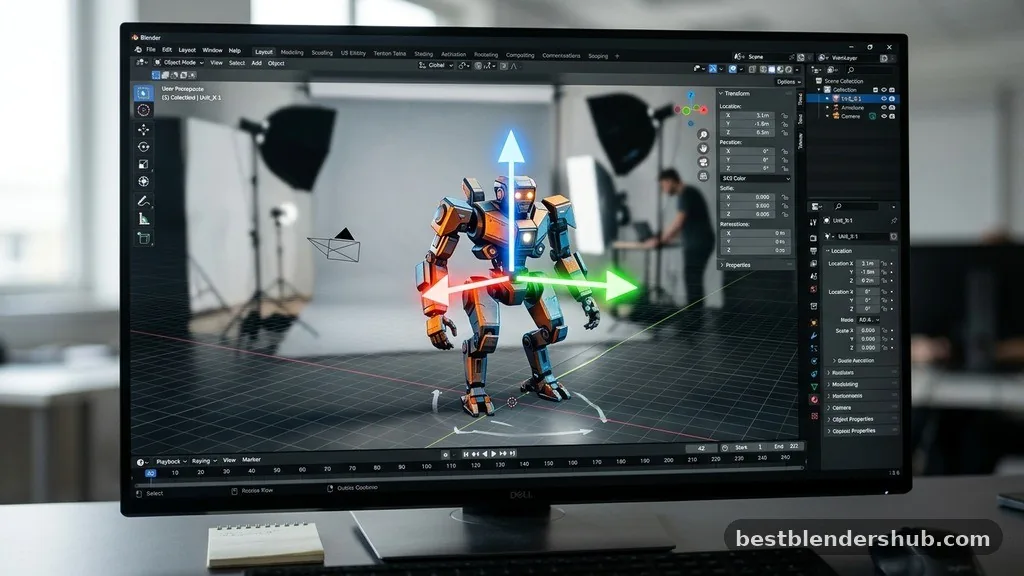
Moving objects in 3D space is primarily handled through the grab tool. The most common way to initiate this is by pressing G on your keyboard. Once active, your object will follow your mouse cursor freely across the screen.
To finalize the location, simply click the left mouse button to drop the object exactly where you want it. If you change your mind mid-move, you can click the right mouse button to cancel the action and snap the object back to its original starting position.
Utilizing Axis Constraints for Accuracy
Free-form movement is helpful, but precision is what makes a scene look professional. After pressing G, you can restrict movement to specific axes by tapping X, Y, or Z.
Blender uses color-coding to help you keep track of these orientations: green for Y, red for X, and blue for Z. By combining these keyboard shortcuts, you can slide an object along a single line, ensuring your layout remains perfectly aligned without manual guesswork.
- Press G + X to move along the red axis.
- Press G + Y to move along the green axis.
- Press G + Z to move along the blue axis.
- Press Shift + (Axis Key) to lock movement to a plane (e.g., Shift + Z ignores the Z-axis).
Working with Gizmos and Visual Manipulators
If you prefer a visual interface over hotkeys, the transform gizmo is your best friend. Located in the top right corner of the viewport, the gizmo icon allows you to click and drag colored arrows to translate objects.
This visual approach is excellent for beginners who are still learning how to move an object in Blender without relying solely on muscle memory. You can toggle these gizmos on or off depending on your preference for a cleaner viewport.
When using the gizmo, the colored handles correspond directly to the global coordinate system. Clicking the center white circle allows for movement relative to your current camera view, which is useful for quick adjustments.
However, relying too heavily on the mouse can slow down your workflow compared to mastering the standard keyboard shortcuts. Experienced artists often toggle between the gizmo for large-scale positioning and hotkeys for fine-tuned placement.
Snapping and Precision Placement
Professional 3D work requires exact alignment, which is where the snapping system comes in. You can toggle snapping by clicking the magnet icon at the top of the viewport. To use snapping effectively: you must decide what the object should snap to. You can align your selection to edges, faces, or even the grid floor. This ensures that your meshes sit perfectly flush against one another, which is critical for clean modeling.
Advanced Snapping Options
The snapping menu provides several modes that dictate how an object interacts with its environment. For example, selecting “Vertex” allows you to snap a specific corner of your model to another vertex in the scene.
This is a game-changer when you need to bridge gaps between separate meshes. By holding Ctrl while moving an object, you can temporarily enable or disable snapping, giving you the best of both worlds during complex editing tasks.
| Snapping Mode | Best Use Case | Shortcut Modifier |
|---|---|---|
| Increment | Aligning to the grid | Ctrl (Hold) |
| Vertex | Connecting meshes | Shift + Ctrl |
| Edge | Aligning along borders | Ctrl |
| Face | Placing objects on surfaces | Ctrl |
Managing Origins and Pivot Points
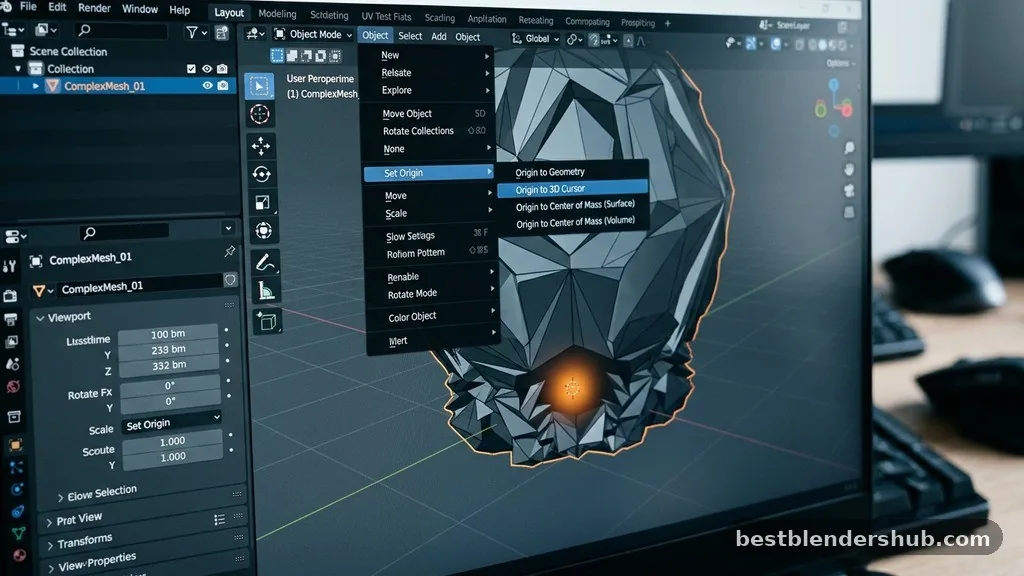
A common point of confusion is how an object moves relative to its internal pivot point. The origin is the small orange dot you see when you select an object.
When you move an object, you are technically moving its origin, which pulls the entire mesh along with it. If you find your object rotating or moving from a weird location, you likely need to reset or move the origin point.
You can change the pivot point by right-clicking the object and selecting the Set Origin menu. Moving the origin to the center of mass or to the geometry itself makes movement much more predictable.
Understanding this relationship helps you avoid common pitfalls where objects seem to “jump” unexpectedly during translation. This is an essential skill when working with complex assemblies or rigged characters.
Addressing Common Workflow Gaps
Many tutorials focus on simple translation but ignore how to handle multiple objects or complex hierarchies. When you need to move a collection of items, you can select them all and move them as a single unit.
If you parent one object to another, moving the parent will automatically move the child. This hierarchy system is vital for complex scenes where you want to keep your structure organized.
Another frequent issue involves moving objects in local versus global space. By default, Blender moves objects along the world grid. However, if you rotate an object, you might want to move it along its own local axis instead of the world’s.
You can toggle this by changing the orientation setting in the header from “Global” to “Local.” This small adjustment ensures that “forward” for your object is always relative to its own orientation rather than the global coordinate system.
Refining Your 3D Workflow
Consistency is the secret to becoming proficient with Blender’s transformation tools. Instead of forcing yourself to memorize every shortcut at once, focus on the G-X-Y-Z flow first.
Once that becomes natural, incorporate the snapping tools to handle more complex assemblies. You will find that your speed increases significantly when you stop looking at the menus and start relying on the hotkeys.
Practicing on simple primitives like cubes and spheres is the best way to get comfortable. Try building a simple house or a stack of objects using only the move and snap tools.
These exercises build the coordination needed for professional-level modeling. As you move forward, keep experimenting with the different coordinate orientations to see how they change the way you interact with your scene.
Frequently Asked Questions
How do I undo a movement in Blender?
Press Ctrl + Z to revert the last action, including any object movement you just performed.
Can I move an object along two axes at once?
Yes, press G followed by Shift + (Axis Key) to move while excluding that specific axis.
What is the shortcut to reset an object’s location?
Press Alt + G to reset the location of your selected object back to the world origin.
Why is my object moving from the wrong point?
The origin point is likely offset; you can reset it by right-clicking and selecting Set Origin.
How do I move an object to the center of the grid?
Select the object, press Shift + S, and choose Selection to World Origin to snap it.
Does moving an object affect its scale or rotation?
No, using the grab tool only changes the location coordinates, leaving scale and rotation values untouched.
Can I move objects using exact numerical values?
Yes, after pressing G and an axis key, type the exact distance on your keyboard and press Enter.

Jamesmathew is an expert Amazon affiliate writer, helping readers discover top products, smart deals, and practical buying guides through honest reviews and insightful content.