
You keep wondering how to clean a beauty blender because right now it’s sitting there… kinda damp, kinda stained, and honestly a bit suspicious-looking, like it’s been through things you don’t wanna think about too deeply. And yeah, you’ve probably rinsed it before, squeezed it a bit, thought “that’s fine,” but it never actually looks clean-clean, does it?
So let’s fix that, properly this time, without turning your sponge into a sad, crumbly blob.
why your beauty blender gets so gross so fast
It’s weirdly impressive how fast a tiny sponge can go from soft and bouncy to… well, questionable. The thing is, your beauty blender absorbs everything. Not just foundation, but oils, dead skin cells (yep), leftover skincare, and even dust from your vanity that just floats around like it owns the place.
And because it stays damp a lot of the time, it becomes the perfect little vacation home for bacteria. Not in a dramatic horror-movie way, but still… enough to mess with your skin.
A small stat that gets thrown around by dermatologists: makeup tools can harbor bacteria levels similar to everyday household surfaces if not cleaned regularly. Which is not exactly comforting, I mean, who wants to dab their face with that.
how often should you clean your beauty blender (be honest)
You already know the answer, but you’re hoping it’s less frequent than it actually is.
Ideally:
- Light use: every 2–3 days
- Daily use: every single day (yeah, I know… sounds like a lot)
- Deep clean: at least once a week
Skipping a day or two won’t end civilization, but letting it go for a week or more? That’s when breakouts start whispering “hello there.”
the basic method: soap and water (but done right)
This is the method most people try… but also kinda rush through.
step-by-step cleaning process
- Soak it properly
Run your beauty blender under lukewarm water. Not hot, don’t cook it. Let it fully expand and soak up water first. - Add cleanser
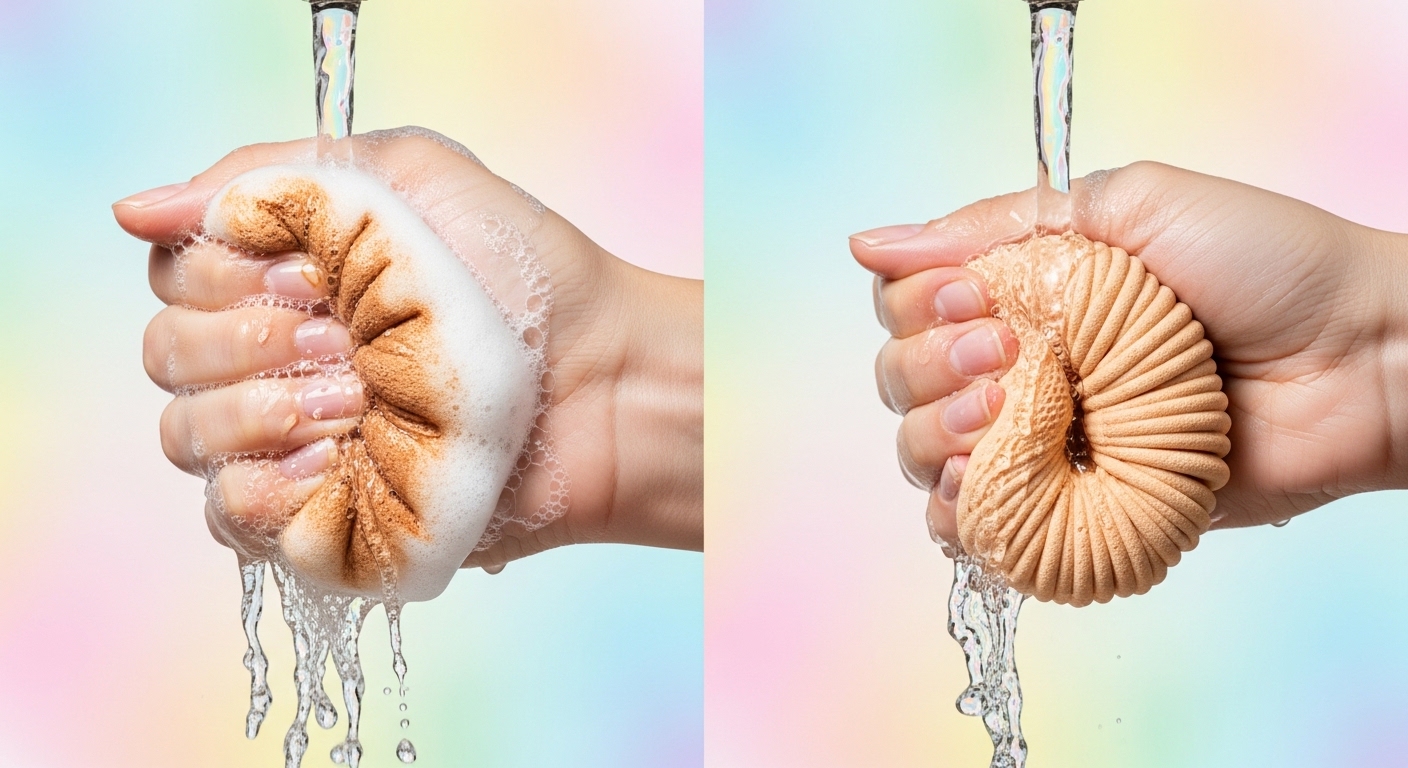
Use a gentle liquid soap, baby shampoo, or a cleanser made for brushes/sponges. A tiny amount goes a long way, seriously. - Squeeze, don’t twist
Gently press and release the sponge so the soap moves through it. Twisting it aggressively feels effective but slowly destroys the texture. - Focus on stained areas
Dab a bit more soap on the stubborn spots and massage lightly with your fingers. - Rinse thoroughly
Keep squeezing under running water until the water runs clear. If it’s still slightly tinted, keep going… patience matters here. - Air dry completely
Place it in an open, airy space. Not inside a closed makeup bag where it just sits damp and sad.
quick checklist
- No harsh scrubbing
- No wringing like laundry
- No leaving soap inside
the microwave hack (yes, but also… careful)
You’ve probably heard about this one and thought it sounds a bit chaotic. It works, but only if you do it properly.
how to do it safely
- Fill a microwave-safe cup with water
- Add a small amount of liquid soap
- Submerge the beauty blender fully
- Microwave for about 30–60 seconds
- Let it cool before touching it (seriously, don’t rush this part)
What this does is help loosen deep-set makeup and kill bacteria. It’s oddly satisfying to see the water change color, not gonna lie.
but don’t mess this up
- Never microwave it dry
- Don’t overheat it (it can melt or tear)
- Don’t do this too often, once a week is enough
It’s more of a deep-clean method, not your daily routine.
using solid cleansers or bar soap
Some people swear by solid cleansers, and honestly, they’re kinda great if you like a bit more control.
how it works
- Wet the sponge
- Rub it directly onto the soap bar
- Gently massage until it lathers
- Rinse thoroughly
These tend to be slightly more effective at breaking down heavy foundation or cream products. Also, they last longer, which is nice if you’re trying not to keep buying new stuff every other week.
stubborn stains that just won’t leave
Let’s be real, sometimes your beauty blender is clean… but doesn’t look clean. That’s because pigments can stain the sponge permanently.
And here’s the thing:
A stain doesn’t always mean it’s dirty.
Still, if you wanna try removing it:
- Use a tiny bit of oil (like coconut oil) before washing
- Massage gently to break down pigment
- Follow up with soap to remove the oil
This two-step trick works surprisingly well, although not perfectly. Some stains just live there now, like permanent residents.
what not to do (this part matters more than you think)
People accidentally ruin their beauty blenders all the time without realizing it.
avoid these mistakes
- Using hot water
It weakens the sponge structure over time - Wringing it hard
Causes tiny tears that grow into full damage - Using harsh detergents
Leaves residue and irritates skin - Storing it while damp in closed spaces
That’s basically asking for mold - Cleaning it “later” repeatedly
We both know what that turns into
It’s not about perfection, just not doing the things that quietly wreck it.
how long does a beauty blender actually last
Even if you clean it perfectly, it’s not meant to last forever.
typical lifespan
- Around 3 months with regular use
- Maybe longer if you’re gentle and consistent
signs it’s time to replace it
- It starts tearing or flaking
- It doesn’t expand properly anymore
- It smells… off, even after cleaning
- Texture feels rough instead of soft
At that point, cleaning won’t save it. It’s just done.
a quick comparison of cleaning methods
| Method | Best For | Frequency | Effort Level |
|---|---|---|---|
| Soap & water | Daily cleaning | Every use | Low |
| Microwave method | Deep cleaning + bacteria | Weekly | Medium |
| Solid cleanser | Heavy makeup buildup | 2–3 times/week | Low-Medium |
| Oil + soap combo | Stubborn stains | Occasionally | Medium |
No single method does everything perfectly, so mixing them works best.
a small routine that actually sticks
Instead of overthinking it, just build a tiny habit around it.
Something like:
- Quick rinse after each use
- Proper wash every 2–3 days
- Deep clean once a week
It sounds like a lot when written out, but in real life it takes like… a minute or two most days. Less time than scrolling through one random video you didn’t even mean to watch.
real talk: does it really affect your skin
Short answer, yes… but not in a dramatic overnight way.
Dirty beauty blenders can:
- Contribute to breakouts
- Spread bacteria across your face
- Mess with how your makeup applies
It’s one of those small things that quietly adds up. You don’t notice immediately, but when you fix it, your skin kinda thanks you in subtle ways.
final thoughts (the part you’ll remember later)
Cleaning your beauty blender isn’t complicated, it just feels like one more thing you keep putting off for no real reason. And then suddenly it’s been… way too long, and now it looks like it belongs in a science experiment.
If you take anything from this, let it be this:
Don’t aim for perfect, just aim for consistent-ish.
A quick clean is always better than no clean, even if it’s not done in some perfectly aesthetic routine you saw somewhere. Your skin doesn’t care about that, it just wants you to stop dabbing bacteria all over it, honestly.
And next time you look at your beauty blender and hesitate for a second… yeah, that’s your sign.

Jamesmathew is an expert Amazon affiliate writer, helping readers discover top products, smart deals, and practical buying guides through honest reviews and insightful content.