
So you picked up a sponge and now you’re wondering how to use a beauty blender without accidentally making your foundation look… worse, yeah? It happens, more than people admit, like you dab and dab and somehow your face ends up streaky or just oddly patchy in places you swear you didn’t even touch.
The weird part is, it’s not really about skill first, it’s about tiny habits—little things nobody tells you properly, and then you just assume you’re doing it wrong, which maybe you are, but not in the way you think.
Let’s go through it properly, but not in that stiff tutorial tone, more like someone leaning over and saying “no no, you’re holding it weird, here do it like this.”
What even is a beauty blender and why does it act so dramatic
A beauty blender, or makeup sponge if you wanna be less brand-y about it, is basically a soft, squishy tool meant to blend liquid and cream products into your skin so they look less like makeup and more like… skin, ideally. But it’s picky. Like annoyingly picky.
The sponge is designed to be used damp, not dry, which is the first thing people mess up. A dry sponge will just drink your foundation like it’s been lost in a desert for 3 days.
There’s actual reasoning behind it though:
- When damp, it expands and becomes softer
- It stops absorbing too much product
- It helps spread makeup more evenly
- It gives that slightly airbrushed finish everyone chases but rarely names correctly
And yeah, makeup artists have been using sponges for decades, but the egg-shape version kinda exploded after the original Beautyblender brand launched around 2003. Before that, people were cutting wedges and making do, which sounds chaotic but also kinda fun.
Step-by-step: how to use a beauty blender the right-ish way
Step 1: Get it wet (like actually wet, not pretend wet)
Hold it under running water and squeeze it a few times. You want it fully soaked, not just damp on the outside. Then squeeze out the excess water until it feels soft and bouncy, not dripping.
If it’s dripping, your makeup will slide around. If it’s too dry, it’ll eat your product. There’s a middle zone, and yeah, it takes a couple tries to get it right.
Step 2: Apply your product somewhere first
Don’t go straight from bottle to sponge, that’s a rookie mistake and also a slightly expensive one.
Instead:
- Dot foundation onto your face
- Or put a little on the back of your hand
- Then pick it up with the sponge
This helps control how much product you’re using. Otherwise you end up with that heavy look where your skin forgets how to breathe.
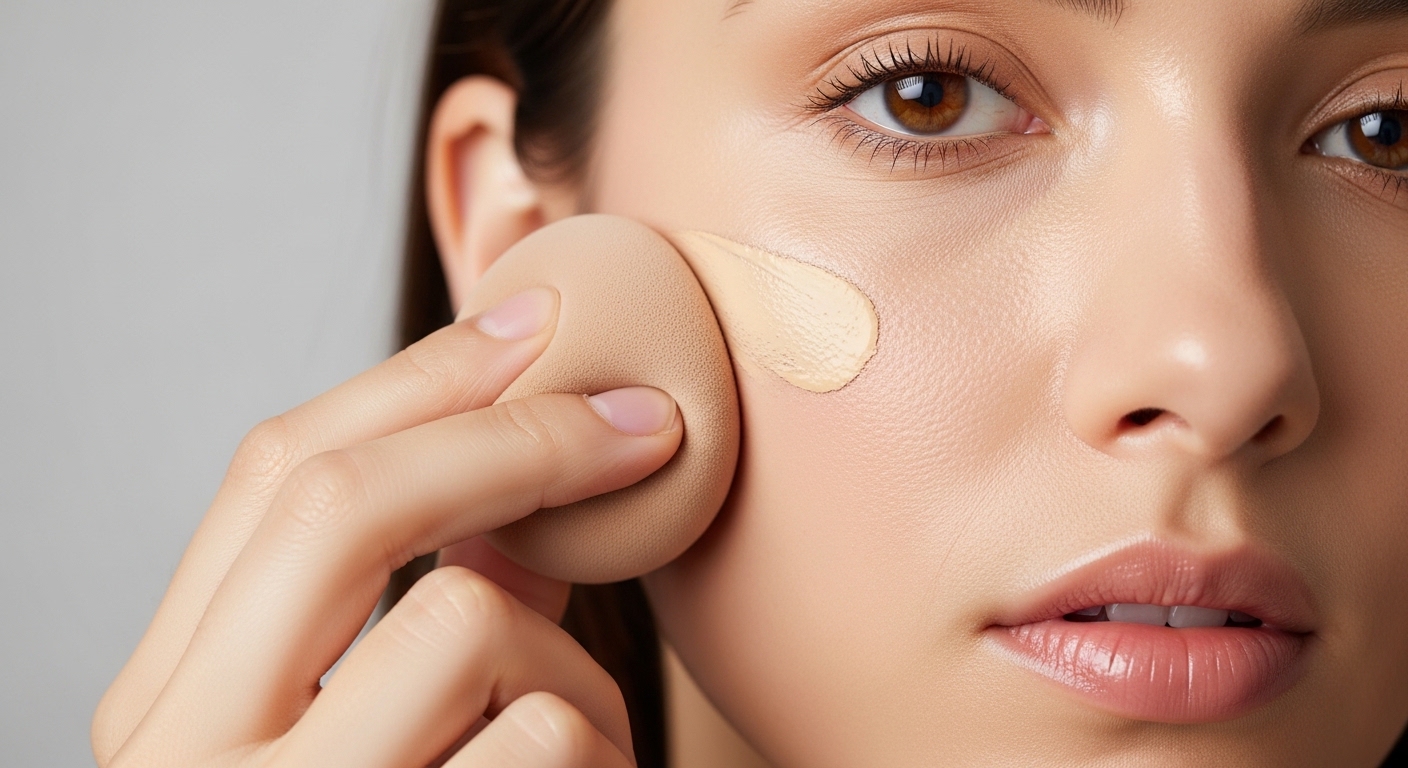
Step 3: Bounce, don’t drag (seriously, don’t drag it)
This is where most people go wrong, and I mean most.
You don’t swipe the sponge across your face like it’s a brush. You dab or “bounce” it. Light tapping motions. Repeated, slightly annoying tapping.
Why?
- It presses product into the skin
- It avoids streaks
- It builds coverage gradually
Dragging it will just move the product around instead of blending it. It’s like trying to smooth sand with a broom.
Step 4: Use different sides for different jobs
That teardrop shape isn’t just for aesthetics, it actually matters.
- Rounded bottom: cheeks, forehead, big areas
- Pointed tip: under eyes, around nose, corners
- Flat edges (if your sponge has one): contour or precise blending
You don’t have to overthink it, but switching angles makes things easier, like using the right knife in the kitchen instead of forcing one to do everything.
Step 5: Blend until it looks like nothing happened
That sounds weird but it’s true. Good blending doesn’t look like blending. It looks like you didn’t do much at all.
If you can clearly see where your foundation starts and ends, keep going. Light taps, not aggressive ones. You’re not punishing your face.
Common mistakes when using a beauty blender (and yeah, you’ve probably done at least one)
Let’s just call them out.
Using it dry
This makes your makeup patchy and wastes product. It also feels weirdly scratchy, which should’ve been your first clue something’s off.
Pressing too hard
You don’t need force. The sponge does the work. Pressing harder just moves product away and can even irritate your skin.
Not cleaning it enough
A dirty sponge is basically a bacteria party you’re re-inviting to your face daily. Not ideal.
Dermatologists often warn that unclean makeup tools can contribute to breakouts and skin irritation, especially if used repeatedly without washing.
Using too much product
A sponge blends best when there’s less to move around. If your face feels heavy, you probably overdid it.
How to clean your beauty blender (because yes, you have to)
You can’t just rinse it once and call it clean, even though it looks clean-ish.
Quick daily clean
- Rinse under warm water
- Add a bit of gentle soap or cleanser
- Squeeze and release until water runs clear
- Let it air dry
Deep clean (once a week, ideally)
- Soak in warm soapy water for a few minutes
- Massage out buildup
- Rinse thoroughly
- Let it dry in an open space
Some people microwave damp sponges for sanitizing, but honestly, that’s risky if you don’t know what you’re doing. You can overheat it or damage the material.
Can you use a beauty blender for everything?
Not everything, but a surprising amount of things.
Here’s where it works well:
- Foundation
- Concealer
- Cream blush
- Liquid highlighter
- Setting powder (lightly)
For powder, use a barely damp sponge or even a dry one if you want more control. It gives a more pressed-in finish compared to a fluffy brush.
But for things like eyeshadow? Not really ideal. You could try, but it’s like using a spoon to cut bread. Possible, not practical.
Pro tips that people don’t always say out loud
Use leftover product on the sponge
After applying foundation, don’t add more product for small touch-ups. Use what’s already on the sponge. It’s usually enough.
Roll, don’t just tap
A slight rolling motion can help blend edges better, especially around the jawline. It’s subtle, but it works.
Keep two sponges if you can
One for base products, one for powders or lighter stuff. It keeps things cleaner and avoids muddying colors.
Replace it when it starts falling apart
A beauty blender isn’t forever. If it’s tearing, cracking, or just not bouncing back, it’s time. Usually every 2–3 months if you use it regularly.
A quick comparison: sponge vs brush
| Feature | Beauty Blender | Brush |
|---|---|---|
| Finish | Natural, skin-like | Can be fuller coverage |
| Product use | Slightly higher | More controlled |
| Ease of use | Beginner-friendly-ish | Requires technique |
| Cleaning | More frequent | Still important |
Neither is better universally, it just depends on what you like. Some people even use both—brush first, sponge after to smooth things out.
Real-world example (because theory is nice but practice is messier)
Imagine you’re getting ready quickly, you slap on foundation, and it looks okay-ish but not quite right. Instead of adding more, you grab your damp sponge and lightly tap over everything.
Suddenly:
- Edges soften
- Product melts into skin
- That slightly cakey look disappears
That’s the beauty blender doing its thing. Not adding, just refining.
Final thoughts on how to use a beauty blender without overthinking it
Honestly, learning how to use a beauty blender is less about mastering some perfect technique and more about noticing what your face is doing in response. If it looks heavy, ease up. If it’s patchy, maybe your sponge is too dry or you’re dragging instead of bouncing.
You don’t need to be precise every second. Makeup isn’t that strict, even if tutorials make it seem like there’s only one correct way.
Just remember:
- Damp sponge always
- Bounce, don’t swipe
- Less product works better
- Clean it regularly
And yeah, the first few tries might feel awkward, like you’re just repeatedly poking your own face for unclear reasons, but then one day it clicks and you’re like “ohhh, that’s what it was supposed to do.”

Jamesmathew is an expert Amazon affiliate writer, helping readers discover top products, smart deals, and practical buying guides through honest reviews and insightful content.