
You’re standing there wondering how to juice with a blender, staring at fruits like they owe you answers, and yeah… it kinda feels like you’re missing a step everyone else just magically knows. The thing is, nobody tells you straight that a blender doesn’t behave like a juicer, and if you treat it the same way, you’ll end up with something weirdly thick, not quite juice, not quite smoothie, just… confused liquid, honestly.
So let’s untangle this properly, in a way that doesn’t feel like reading a machine manual someone forgot to humanize.
What “Juicing with a Blender” Actually Means (even if no one says it plainly)
First odd truth, you’re not technically juicing when using a blender. You’re blending and then separating. That’s the quiet part people skip, which is why so many first tries go sideways.
A traditional juicer extracts liquid and leaves pulp behind automatically. A blender? It smashes everything together like it’s in a hurry, fiber included, no discrimination whatsoever.
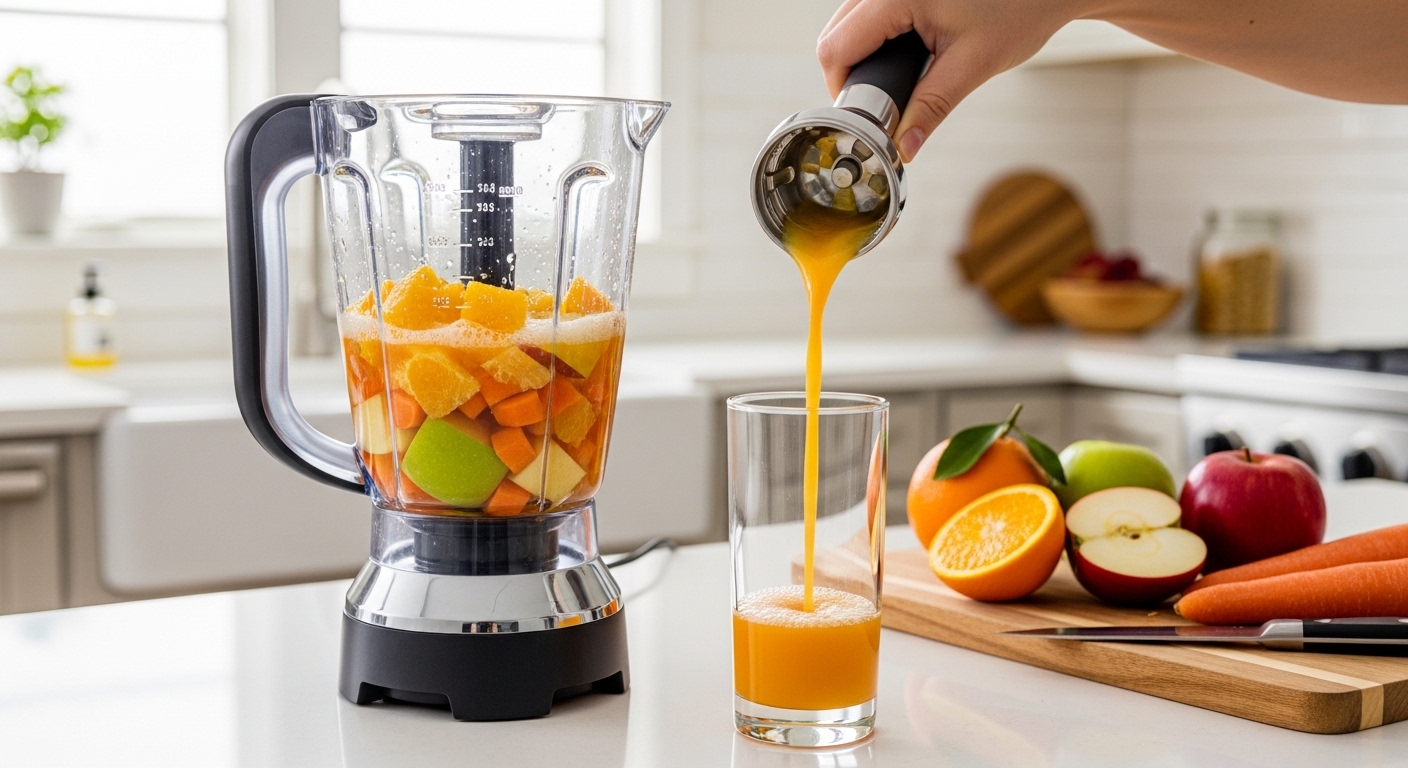
So when you learn how to juice with a blender, you’re really learning a two-step rhythm:
- Blend fruits or vegetables with a bit of liquid
- Strain the mixture to remove pulp
And yeah, skipping that second step is exactly why your “juice” felt like baby food last time.
Why People Even Use a Blender Instead of a Juicer
Not everyone owns a juicer, and honestly, not everyone needs one either. Blenders are more common, more flexible, and less annoying to clean (well… usually).
Some practical reasons people go this route:
- A blender can do smoothies, soups, sauces, and juices
- Juicers can be expensive and single-purpose
- Cleaning a juicer can feel like disassembling a small engine
- You already have a blender sitting there, probably judging you
According to kitchen appliance market data, over 60% of households own a blender, while juicers sit way lower in adoption. So yeah, you’re not behind, you’re just using what’s there.
The Basic Method: How to Juice with a Blender Step by Step
Let’s do this properly, but not in that robotic way where steps feel like they were written by a microwave.
Step 1: Choose Your Ingredients (don’t overthink it, but also don’t be chaotic)
Good juice starts with decent combinations. You don’t need exotic stuff, just balance.
A simple starting combo:
- 1 apple (sweet base)
- 1 carrot (body and color)
- ½ cucumber (freshness)
- Small piece of ginger (optional, but kinda magic)
Wash everything. Peel if needed, especially citrus or anything with tough skin.
Step 2: Chop Things Smaller Than You Think Necessary
Blenders aren’t invincible. Big chunks make them struggle, and you’ll hear it… that sad grinding sound.
Cut ingredients into:
- Small cubes or slices
- Roughly equal sizes for even blending
This step feels boring, but skipping it makes everything worse later.
Step 3: Add Liquid (this is where most people mess up)
A blender needs liquid to move things around. Without it, it just spins angrily.
Use:
- Water (most neutral)
- Coconut water (slightly sweet)
- Fresh orange juice (adds flavor, but changes profile)
Typical ratio:
- 1 cup chopped produce
- ½ to 1 cup liquid
Too little liquid = chunky paste
Too much liquid = watered-down sadness
Step 4: Blend Until It’s Smooth-ish, Not Perfect
Blend for about 30–60 seconds. You’re aiming for a thick, uniform mixture.
Don’t obsess over making it silky smooth. The straining step handles the rest.
Step 5: Strain It (the part everyone skips once, then regrets forever)
Now pour the blended mixture through:
- A fine mesh strainer
- Cheesecloth
- Nut milk bag
Press or squeeze to extract liquid. This part is slightly messy, slightly satisfying, kinda therapeutic if you’re in the mood.
What you get:
- Liquid = your juice
- Leftover pulp = don’t throw it yet (we’ll talk about that)
Tools That Actually Make This Easier (and less annoying)
You don’t need fancy gear, but a few things help a lot.
| Tool | Why It Helps |
|---|---|
| High-speed blender | Smoother blend, less effort |
| Fine mesh strainer | Cleaner juice texture |
| Cheesecloth | Better extraction |
| Nut milk bag | Reusable and efficient |
A quote from nutrition expert Dr. Joanne Slavin puts it in a grounded way: “Blending preserves fiber, while straining removes it, so your choice depends on your nutritional goals.” Which is a polite way of saying, you decide what matters more.
Best Fruits and Vegetables for Blender Juicing
Some ingredients just behave better. Others… not so much.
Works really well
- Apples
- Oranges (peeled)
- Carrots
- Cucumbers
- Pineapple
- Spinach
Slightly tricky but doable
- Beets (strong flavor, use less)
- Kale (fibrous, needs good straining)
- Mango (thick, can clog strainer a bit)
Avoid or use carefully
- Bananas (too thick, turns into smoothie territory fast)
- Avocado (not juice, just… no)
Juice Combinations That Don’t Taste Like Regret
Some mixes just work. You don’t need to reinvent flavor science here.
Fresh Start Juice
- Apple
- Cucumber
- Lemon
- Mint
Light, refreshing, feels like you made a good decision today.
Sweet Energy Juice
- Carrot
- Orange
- Ginger
Naturally sweet, a bit spicy, wakes you up without yelling.
Green-ish Juice (for when you’re trying to be healthy but not miserable)
- Spinach
- Apple
- Cucumber
- Lemon
The apple carries everything, honestly.
What to Do with the Leftover Pulp (seriously don’t toss it)
Throwing pulp away feels wasteful once you realize it’s still useful.
You can:
- Add it to smoothies for fiber
- Mix into baking (muffins, pancakes)
- Stir into soups or sauces
- Compost it if you’re feeling responsible
It’s not glamorous, but it’s practical, and sometimes that’s enough.
Blender Juicing vs Traditional Juicing: The Real Difference
Here’s where it gets slightly nerdy, but not in a boring way.
| Aspect | Blender Juicing | Traditional Juicing |
|---|---|---|
| Fiber | Mostly removed after straining | Almost completely removed |
| Speed | Slightly slower | Faster |
| Cost | Lower | Higher |
| Texture control | You control thickness | Fixed output |
Nutrition-wise, both methods have value. Removing fiber makes nutrients absorb faster, but keeping fiber supports digestion.
According to dietary guidelines, adults should consume about 25–38 grams of fiber daily. So if you’re straining everything all the time, you might be missing out a bit, not drastically, but still.
Common Mistakes (you’ve probably done at least one)
Let’s be honest, everyone messes this up at first.
- Not adding enough liquid
- Skipping the straining step
- Using too many ingredients at once
- Expecting juicer-level clarity from a blender
- Overloading the blender
One weird but true thing, simpler recipes usually taste better. The more stuff you throw in, the more confused the flavor gets.
Tips to Make Your Blender Juice Actually Taste Good
A few small tweaks go a long way, even if they seem minor.
- Always include something sweet (apple, orange)
- Add a little acid (lemon or lime)
- Balance strong flavors (like ginger or beet)
- Chill ingredients beforehand for better taste
Temperature matters more than people think. Cold juice just hits better, there’s no scientific poetry here, it just does.
Is Blender Juice Healthy? (short answer: yeah, mostly)
It depends how you make it, obviously.
Pros:
- Packed with vitamins
- Hydrating
- Customizable
Cons:
- Less fiber if strained
- Easy to overconsume sugar if fruit-heavy
A study published in the Journal of Food Science notes that blending can retain more phytonutrients compared to some juicing methods, especially when fiber is partially preserved.
So it’s not worse, just… different.
Final Thoughts (the part where it all settles a bit)
Learning how to juice with a blender isn’t some elite kitchen skill, it just feels confusing because nobody explains the small steps that actually matter. Once you understand that blending and straining are two halves of the same idea, everything clicks in a quiet, almost annoying way, like “oh… that’s it?”
You don’t need perfect recipes or expensive tools. You need a decent balance of ingredients, a bit of liquid, and the patience to strain properly, even when it feels like extra work.
And yeah, the first few tries might be weird. Too thick, too watery, too something. That’s normal. You adjust, you tweak, you accidentally make something really good one day and then try to recreate it and somehow can’t, which is also part of the whole experience.
But once it works, it really works.

Jamesmathew is an expert Amazon affiliate writer, helping readers discover top products, smart deals, and practical buying guides through honest reviews and insightful content.