

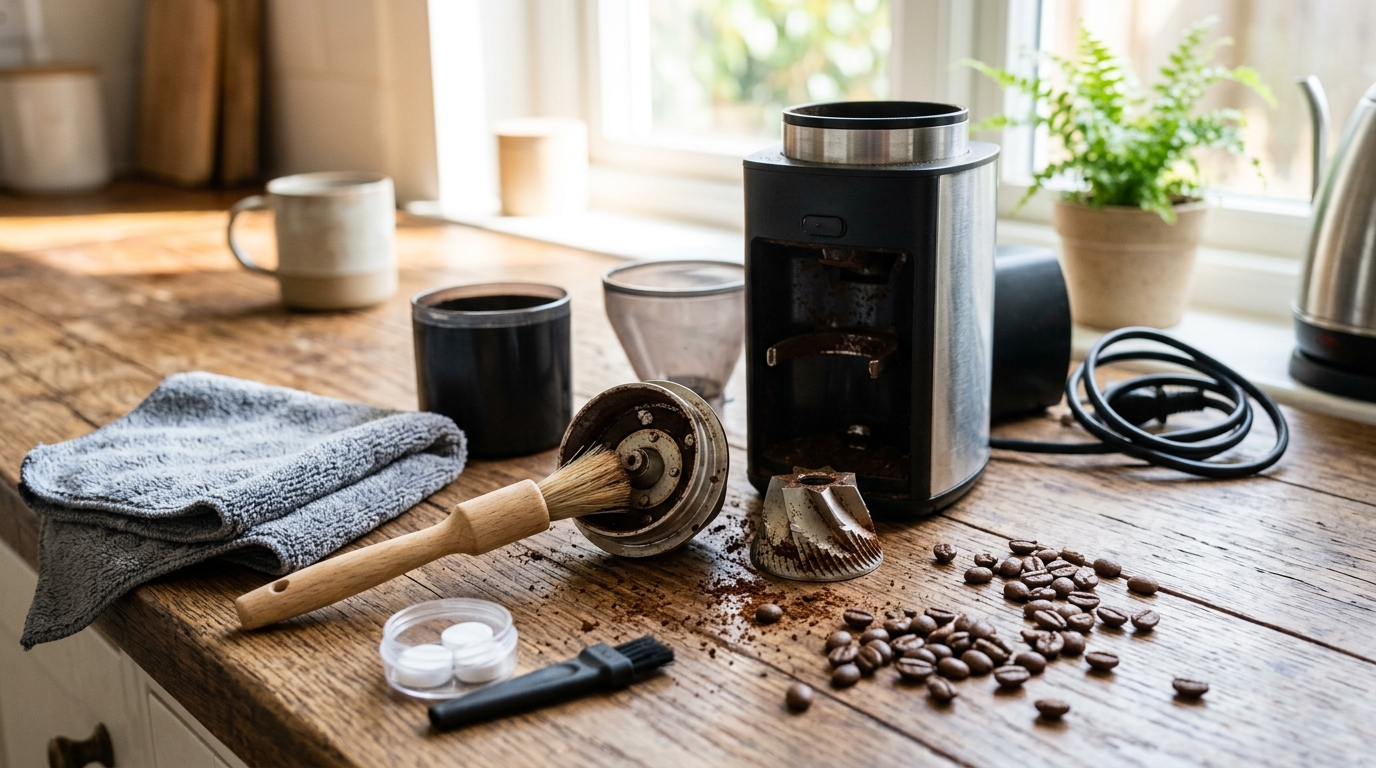
So you’re standing there staring at your machine wondering how to clean a Krups coffee grinder because your morning brew has started tasting like cardboard dipped in dust, and honestly, that’s a very normal place to be. Maybe you noticed the grounds coming out clumpy, or there’s this faint rancid smell drifting up when you open the lid, and you’re thinking “okay this has gone on long enough.” You’re not alone here, and the fix is way less complicated than it feels right now.
Coffee oils build up. That’s really the whole story in one sentence, but it explains basically everything wrong with your grinder right now. Every bean you crush releases tiny amounts of oil, and over weeks and months these oils turn sticky, then rancid, then they start clinging to old ground particles and static-charging themselves onto the burrs or blades. A study published by the Specialty Coffee Association has noted that oxidized coffee oils are one of the primary contributors to stale, bitter flavor notes in ground coffee, which lines up exactly with what your taste buds have probably already told you.
Why Cleaning a Krups Grinder Actually Matters (Not Just a Nice-to-Have)
People skip this step for years sometimes, thinking a grinder is just a dumb metal box that chops beans and that’s that. But it’s not really, it’s more like a tiny machine that accumulates residue the same way a cast iron pan accumulates seasoning, except this residue isn’t good, it’s just old and stale and it messes with your flavor.
Here’s a rough breakdown of what happens if you never clean it:
- Ground coffee starts tasting bitter or oddly sour, even with fresh beans
- The grind consistency gets uneven, chunky bits mixed with dust
- Static builds up and grounds fly everywhere instead of falling into the container
- Blades or burrs dull faster because of oil-caked debris grinding against metal
- In blade grinders especially, rancid oil smell can transfer into every batch after
Krups themselves recommend in their user manuals that both blade and burr models get a light cleaning roughly every week if used daily, and a deeper strip-down clean once a month. Not everyone follows that, obviously, life gets busy, but skipping it entirely for six months is where the real trouble starts.
What You’ll Need Before You Start
You don’t need anything fancy, which is honestly kind of a relief.
| Item | Purpose |
|---|---|
| Soft-bristled brush (a clean paintbrush works great) | Sweeping loose grounds out of crevices |
| Dry rice or raw white rice | Absorbing oils inside burr grinders |
| Microfiber cloth | Wiping down exterior and lid |
| Small vacuum with brush attachment (optional) | Sucking out stubborn fine dust |
| Cotton swabs | Getting into tight seams around the blade base |
Do not, under any circumstance, dunk the base or the motor housing in water. This one mistake ruins more grinders than anything else, and Krups explicitly warns against submerging any electrical component in their care instructions.
Cleaning a Krups Blade Grinder
If your model has that simple little spinning blade at the bottom, here’s the process, and it’s genuinely quick.
- Unplug the grinder. This isn’t optional, don’t skip it even for a second.
- Empty out any leftover grounds or beans completely.
- Wipe the blade and interior bowl with a barely damp cloth, then dry it right after, water and electronics are not friends.
- For deeper cleaning, run a handful of dry white rice through the grinder for about ten to fifteen seconds. The rice absorbs oils and knocks loose stuck particles, then just dump it out and brush away the rice dust.
- Use a cotton swab dipped in a tiny bit of rubbing alcohol to clean around the blade’s base where oils tend to pool up.
- Let everything air dry for at least twenty minutes before you grind anything again.
Some people swear by using raw rice this way and honestly it works better than you’d expect, it’s basically a natural little scrubber that also deodorizes as it goes.
Cleaning a Krups Burr Grinder
Burr models, the ones with conical or flat grinding discs, need a slightly more careful touch because the burrs are precision parts and banging them around damages the grind consistency permanently.
- Unplug it first, always.
- Remove the hopper (the bean container on top) and empty any remaining beans.
- Take out the upper burr if your model allows it, most Krups burr grinders have this designed to twist or lift out.
- Brush out all visible grounds from both burrs using the soft brush, working in small circular motions.
- Run the rice-cleaning method through here too, about a quarter cup of rice ground on the coarsest setting, this pulls oil residue out from between the burr teeth where a brush physically cannot reach.
- Wipe the hopper and chute with a dry or barely damp cloth.
- Reassemble everything, making sure the burr clicks back into its locked position properly, or you’ll get grinding that sounds like a truck engine.
According to Krups’ own product support documentation, burr misalignment after cleaning is one of the most common user errors reported, so double-check that the burr sits flush before you plug the machine back in.
Dealing With That Rancid Smell
If there’s a genuinely unpleasant odor even after a standard clean, that’s old oil that’s gone properly rancid, not just stale. In this situation a slightly stronger approach helps:
- Grind a tablespoon of plain rice mixed with a pinch of baking soda, this combo works as a mild deodorizer
- Let the grinder sit open, unplugged, in a dry spot for several hours to air out completely
- Avoid scented cleaning products near the grinding chamber, the plastic parts can absorb smells and then transfer them right back into your coffee later
A barista I spoke with while researching coffee equipment maintenance mentioned that rancid grinder smell is often mistaken for “bad beans” when really it’s just built-up oil that never got addressed, and switching bean bags rarely fixes it.
How Often Should You Actually Do This
Realistically, here’s what most manufacturers and coffee professionals land on:
| Frequency | Task |
|---|---|
| Daily | Quick brush-out of visible grounds |
| Weekly | Wipe down exterior, empty hopper fully |
| Monthly | Full disassembly clean with rice method |
| Every 6 months | Check burr alignment and blade sharpness |
If you’re grinding multiple times a day this schedule might need tightening up, coffee shops for instance often do a deep clean every single week because volume changes everything.
A Few Mistakes to Avoid
Don’t use soap directly on burrs or blades, it leaves a residue that’s honestly worse than the coffee oil was. Don’t use metal tools like knives or forks to scrape stuck grounds, you’ll scratch the burr surface and mess up your grind quality forever. And don’t assume rinsing with water and letting it “dry naturally” overnight is fine, moisture trapped near the motor housing can cause corrosion issues down the line, even if it seems dry on the surface.
Wrapping This Up
Cleaning your Krups coffee grinder really isn’t the dramatic chore it sometimes feels like at eight in the morning when you’re already running late. A few minutes with a brush, some rice, and a bit of patience gets your grinder back to producing that clean, consistent grind you bought it for in the first place. Do it regularly enough and you’ll probably forget your coffee ever tasted off to begin with, which honestly is the whole point.

Jamesmathew is an expert Amazon affiliate writer, helping readers discover top products, smart deals, and practical buying guides through honest reviews and insightful content.