

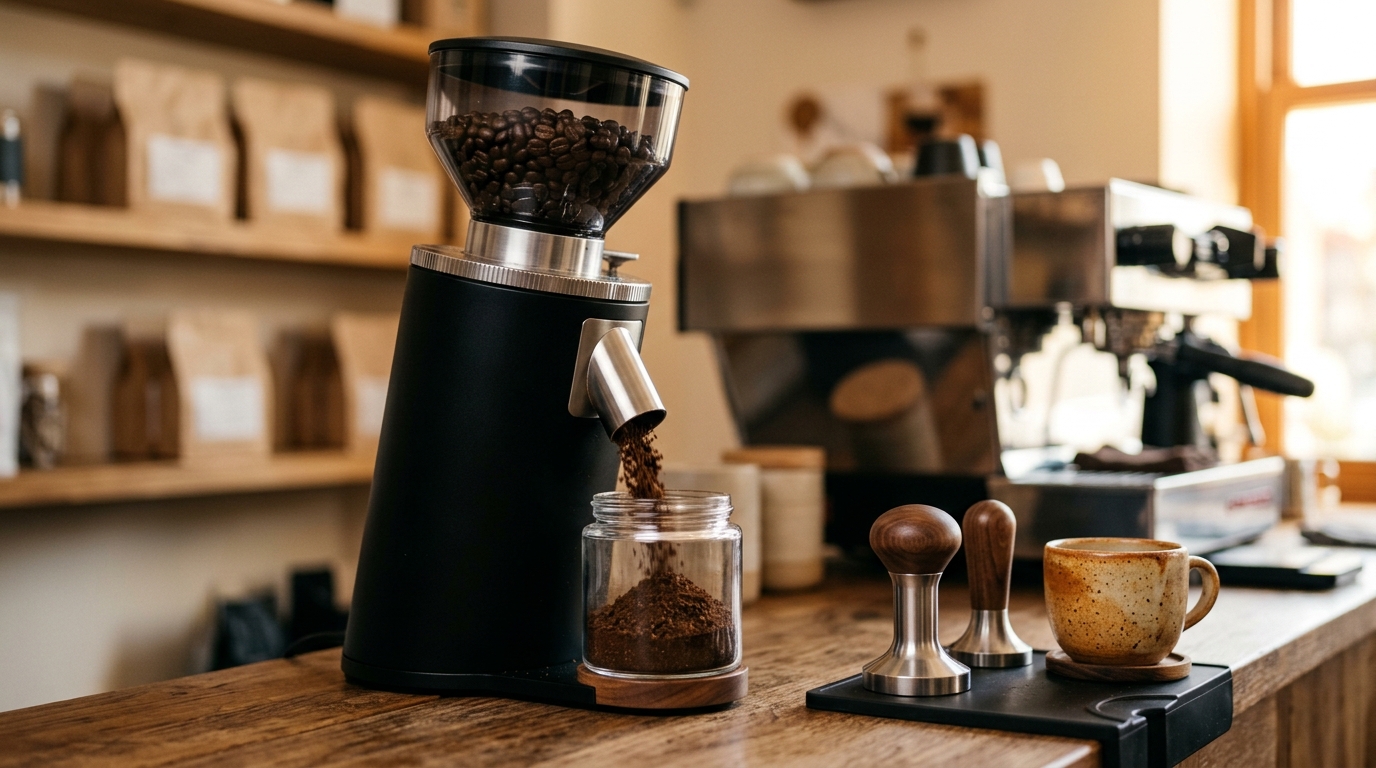
You bought a coffee grinder, you plugged it in, and now you’re just staring at it like it owes you an explanation, right? That’s basically everyone’s first experience, so don’t feel bad about it. Learning how to do the coffee grinder properly isn’t hard once someone actually walks you through it instead of just handing you a manual full of diagrams that make no sense at 6am.
Most people think grinding coffee is just “press button, coffee comes out ground.” And sure, technically that works. But if you’ve ever had a cup that tasted burnt, sour, or just plain flat, theres a decent chance your grind size (or your grinder itself) was the actual culprit, not the beans you bought.
Why the Grind Size Actually Matters So Much
Here’s the thing nobody tells you when you first start out: the size of your coffee grounds changes literally everything about how your coffee tastes. Too fine, and you get over-extraction, which basically means bitter, ashy coffee that tastes like it’s mad at you. Too coarse, and you get under-extraction, which is watery and sour and honestly kind of sad.
According to the National Coffee Association, freshly ground coffee retains significantly more of its aromatic compounds compared to pre-ground coffee that’s been sitting on a shelf for weeks. That’s not just marketing fluff either, its rooted in basic chemistry — once coffee is ground, the surface area exposed to oxygen increases dramatically, and those volatile oils that make coffee smell amazing start evaporating almost immediately.
So yeah, grinding right before you brew isn’t some snobby barista thing. It genuinely makes a difference you can taste.
Types of Coffee Grinders You’ll Run Into
Before we get into the actual how-to part, lets quickly go over what kind of grinder you might be holding right now, because the process is a bit different depending on the type.
| Grinder Type | How It Works | Best For |
|---|---|---|
| Blade Grinder | Spinning blade chops beans unevenly | Beginners on a budget, but inconsistent results |
| Burr Grinder (Conical) | Two burrs crush beans at a set distance | Most home brewing methods, very consistent |
| Burr Grinder (Flat) | Flat discs grind beans evenly | Espresso and precision brewing |
| Manual Hand Grinder | You crank it yourself, no electricity | Travel, camping, or people who enjoy a workout with their coffee |
Blade grinders are cheap and everywhere, but honestly they’re kind of the worst option if you actually care about consistency. They chop beans instead of grinding them evenly, so you end up with a mix of coarse chunks and powder dust in the same batch. Burr grinders fix this problem because they crush beans between two surfaces at a fixed gap, which gives you way more uniform particles.
Step-by-Step: How to Do the Coffee Grinder the Right Way
Okay so lets actually get into it. This isn’t rocket science but there’s definitely a right and wrong way to approach it.
1. Measure Your Beans First
Don’t just eyeball it, even though I know that’s exactly what you want to do. A standard ratio most coffee folks recommend is about 1 to 2 tablespoons of beans per 6 ounces of water, though this obviously depends on how strong you like your coffee. Weighing your beans with a kitchen scale gives you way more consistent results than scooping, if you’re the type who cares about that sort of precision.
2. Pick the Right Grind Setting
This is where most people mess up honestly. Different brewing methods need completely different grind sizes:
- French press needs a coarse grind, kind of like sea salt
- Drip coffee makers want a medium grind, similar to sand
- Pour-over methods usually sit somewhere in between, medium-fine
- Espresso machines need a very fine grind, almost like powdered sugar but not quite that fine
- AeroPress can go either way depending on your brew time
If your grinder has numbered settings (most burr grinders do), start somewhere in the middle and adjust from there based on taste. There’s no universal “correct” number because every grinder calibrates differently, which is annoying but also just how it is.
3. Add the Beans to the Hopper
Pour your measured beans into the top chamber, which is usually called the hopper. Don’t overfill it past the max line, cause that can actually mess with how evenly the beans feed into the grinding mechanism.
4. Turn It On (Or Start Cranking)
For electric grinders, this is usually just a button or a timer dial. For manual grinders, well, you’re gonna be cranking that handle for a solid minute or two depending on how much coffee you’re making. It’s a bit of an arm workout, not gonna lie.
5. Grind in Short Bursts If Using a Blade Grinder
If you’re stuck with a blade grinder for now, don’t just hold the button down continuously. Pulse it in short bursts, shaking the grinder gently between pulses, so the beans distribute more evenly and you don’t end up with that annoying mix of chunks and dust I mentioned earlier.
6. Check the Consistency
Dump a small amount into your palm and take a look. Does it look roughly uniform? Good. Does it look like half powder and half rocks? Adjust your grind setting or your technique and try again.
Common Mistakes People Make (Basically Everyone Does These)
A lot of the frustration around grinding coffee comes from a handful of really common mistakes, and honestly I made most of these myself when I first started.
Grinding way too much coffee at once and storing the extra ground coffee for later is probably the biggest one. Ground coffee goes stale fast, way faster than whole beans do, so you’re basically throwing away flavor if you grind more than you need for that one brew.
Another one is not cleaning the grinder regularly. Old coffee oils build up inside the burrs or blades over time, and they go rancid, which then transfers a stale, off flavor into every batch after that. A quick wipe down or a run of dry rice through the grinder (for blade grinders specifically, not burr ones) every couple weeks helps a ton.
People also tend to ignore the static problem. Ground coffee sticks to the sides of the grinder and to your hands because of static electricity, and it’s genuinely annoying. Some baristas swear by something called the Ross Droplet Technique, where you add a tiny drop of water to your beans before grinding, which apparently reduces static significantly. I’ve tried it and it does seem to help, though results vary a bit depending on humidity where you live.
Does Bean Freshness Actually Change How You Grind?
Kind of, yeah. Fresher beans, especially ones roasted within the last two weeks, tend to be a bit oilier and can clump together more during grinding. Older beans, on the other hand, grind a little drier and more uniformly, but you lose flavor complexity the longer they sit around. Specialty coffee roasters generally recommend using beans within two to four weeks of the roast date for the best balance between grind consistency and flavor.
Quick Troubleshooting Table
| Problem | Likely Cause | Fix |
|---|---|---|
| Coffee tastes bitter | Grind too fine for your method | Go slightly coarser |
| Coffee tastes weak or sour | Grind too coarse | Go slightly finer |
| Grounds are inconsistent | Using a blade grinder | Pulse in short bursts, or switch to burr |
| Grinder is loud or struggling | Beans too oily or grinder needs cleaning | Clean burrs, check for oil buildup |
| Static clinging everywhere | Low humidity, dry beans | Try the Ross Droplet Technique |
Final Thoughts
Learning how to do the coffee grinder correctly really just comes down to paying attention, adjusting based on taste, and not being afraid to mess it up a few times before you land on what works for your specific setup. Every grinder is a little different, every bean roast behaves a little differently, and honestly even the weather where you live can nudge things slightly. Give yourself permission to experiment a bit instead of expecting perfection on the first try, cause even people who’ve been doing this for years still tweak their settings every now and then.
At the end of the day it’s just coffee, but its also kind of the thing that sets the tone for your whole morning, so its worth taking that extra minute to get the grind right.

Jamesmathew is an expert Amazon affiliate writer, helping readers discover top products, smart deals, and practical buying guides through honest reviews and insightful content.