

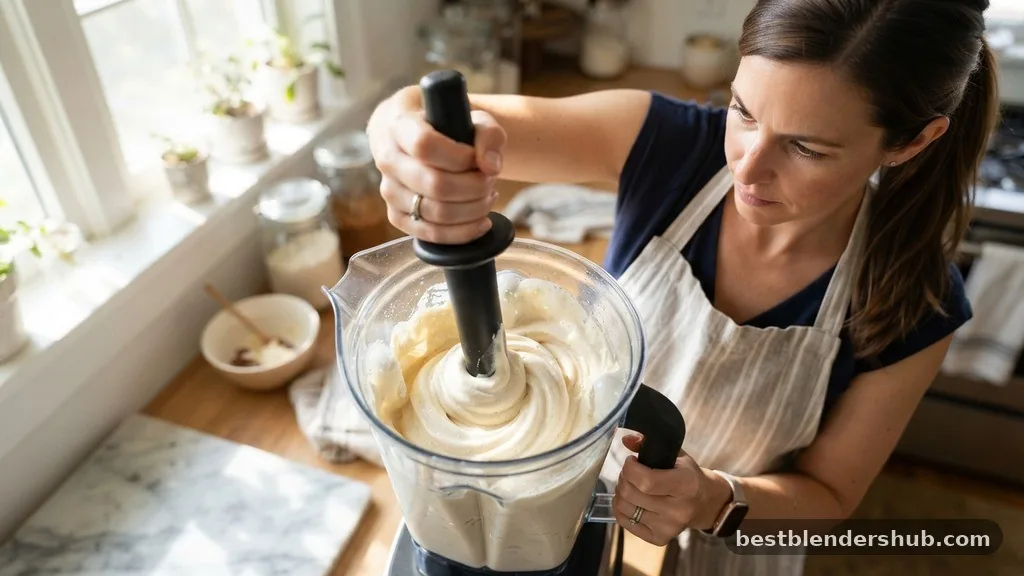
Learning how to make ice cream in blender equipment allows you to bypass expensive churning machines while still achieving a professional result at home. By leveraging the power of a high-speed blender, you can transform simple pantry staples into a decadent frozen treat in minutes.
Whether you are craving a classic vanilla base or a fruit-forward sorbet, the process relies on precise temperature control and the right ratio of fats to sugars. You will find that this method provides a satisfyingly silky texture that rivals store-bought brands, provided you follow a few essential techniques to manage the ice crystals that often plague homemade batches.
The Science Behind Blender-Made Frozen Desserts
When you decide to make ice cream in blender setups, you are essentially mimicking the function of a traditional ice cream maker without the slow, mechanical churning process. In a standard machine, paddles incorporate air and break up ice structures as the mixture freezes. Since a blender lacks these paddles, you must rely on the high-speed blades to create an emulsification of fats and liquids before the freezing phase begins.
The secret lies in the fat content. Using heavy whipping cream or full-fat coconut milk provides the necessary richness to prevent the mixture from turning into a solid block of ice.
If you are using frozen fruit or frozen bananas as your primary base, the blender acts as a high-velocity processor, pulverizing the solid cells of the fruit into a creamy, stable puree. Adding a touch of vanilla extract or a stabilizer like xantham gum can further improve the final mouthfeel, ensuring the dessert stays smooth even after spending time in the freezer.
Essential Ingredients and Equipment
To achieve the perfect ice cream consistency, you need to balance your liquid base with sweetness and fat. While professional shops use complex stabilizers, home cooks can achieve similar results with simple, high-quality ingredients.
- Heavy whipping cream: Provides the fat content necessary for a creamy, non-icy mouthfeel.
- Sweetened condensed milk: Acts as both a sweetener and a thickener, reducing the need for extensive churning.
- Frozen bananas: The ultimate base for dairy-free alternatives; they provide a natural starch that mimics dairy creaminess.
- Vanilla extract: Essential for depth of flavor in standard recipes.
- High-speed blender: Necessary for breaking down frozen solids into a smooth, uniform liquid.
- Freezer-safe container: Used for the final hardening stage to keep the ice cream fresh.
Step-by-Step Method for Blender Ice Cream
Once your ingredients are prepped, the actual assembly takes less than five minutes. Start by adding your liquids to the blender jar first, followed by your frozen components. This layering technique ensures the blades can grab the ingredients without getting stuck.
Blending for the Right Texture
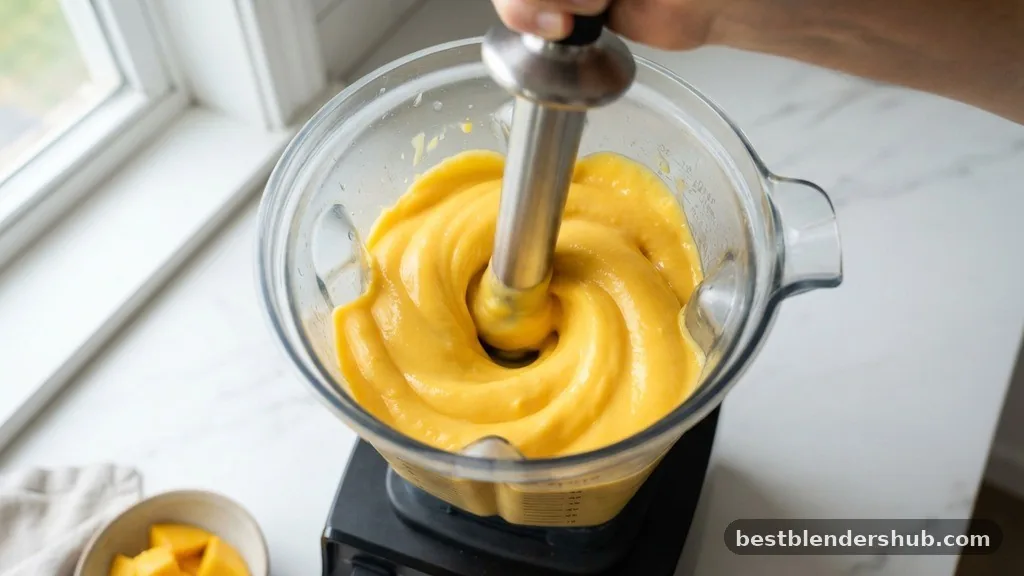
Begin on the lowest setting, slowly increasing the speed until you reach the maximum setting. You want to process the mixture until it looks like thick, soft-serve ice cream. If the blades cavitate, use a tamper to push the ingredients down toward the center.
This action is critical for achieving that silky texture that defines premium ice cream. If you find the mixture is too thin, add more frozen fruit or a small amount of ice cubes to stabilize the structure.
The Hardening Process
After blending, the mixture will be at a soft-serve stage. Transfer it immediately into a freezer-safe container. For the best results, press a piece of parchment paper directly onto the surface of the ice cream before sealing the lid.
This prevents air exposure and limits the growth of ice crystals, which can ruin the texture over time. Freeze for at least four hours, or until the mixture reaches a firm, scoopable consistency.
Comparing Methods: Blender vs. Food Processor
While both machines can produce great results, they perform differently depending on the ingredients used.
| Feature | High-Speed Blender | Food Processor |
|---|---|---|
| Best For | Smooth, liquid-based bases | Thick, fruit-heavy “nice cream” |
| Speed | Very fast, creates air bubbles | Slower, better for chopping chunks |
| Ease of Use | Requires a tamper for thick mixes | Easier to scrape down sides |
| Texture | Extremely silky and smooth | Slightly more rustic or dense |
Addressing Common Texture Issues
Many beginners struggle with ice cream that turns out too icy or rock-hard. This is usually a result of water content being too high. When you make ice cream in blender canisters, ensure you are not adding extra water.
If you are using dairy-free alternatives like almond or soy milk, they lack the fat necessary for a creamy mouthfeel, so consider adding a tablespoon of nut butter or coconut oil to compensate. These fats slow down the freezing process, which prevents large, crunchy ice crystals from forming.
Managing Ice Crystals
If your batch feels gritty, it means the water in your cream or fruit froze too quickly without proper agitation. To mitigate this, ensure your base is as cold as possible before blending. You can even chill your blender jar in the freezer for twenty minutes before starting.
Additionally, high sugar content lowers the freezing point of the mixture, which keeps the ice cream softer. Don’t be afraid to use the recommended amount of sweetened condensed milk or honey, as these sugars are vital for structural integrity.
Creative Flavor Variations
Once you master the base, you can experiment with endless flavor combinations. Incorporating mix-ins is easy, but do not add them directly into the blender unless you want them pulverized. Instead, fold them in by hand after you have finished the blending process.
Fruit and Nut Combinations
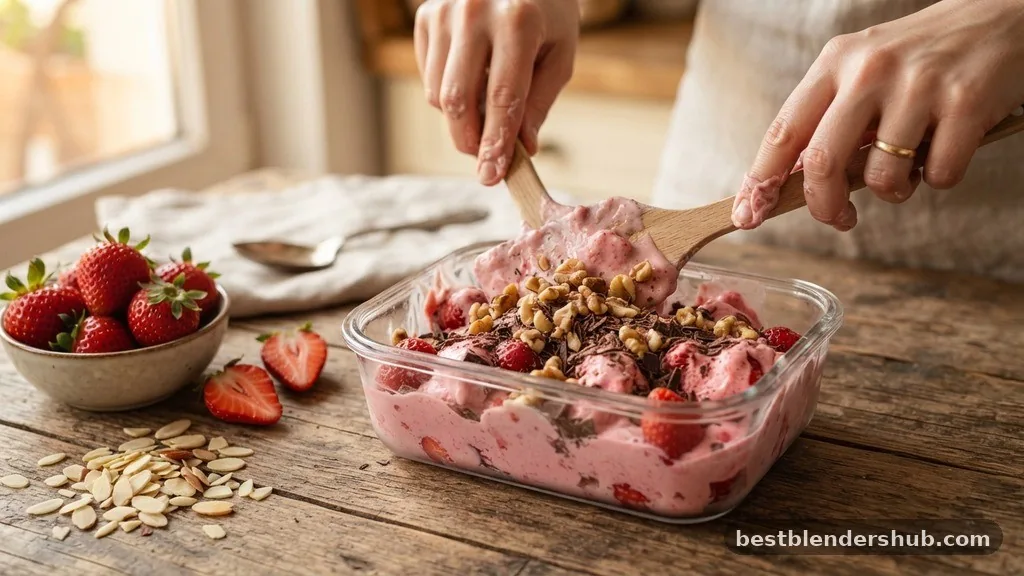
For a classic strawberry ice cream, blend fresh berries with a touch of sugar before adding your cream base. If you prefer a crunch, wait until the mixture is in the container, then fold in chopped nuts, chocolate shavings, or cookie crumbles. This layering technique keeps the textures distinct and prevents the mix-ins from becoming soggy.
Dairy-Free Alternatives
If you are strictly plant-based, focus on high-fat bases like coconut cream or cashew milk. These provide the necessary mouthfeel that almond milk lacks. When using frozen bananas, the result will always be naturally creamy, making them the most reliable choice for a quick, healthy, and dairy-free alternative that feels like genuine ice cream.
Top-Ranking Tips for Success
To ensure your homemade ice cream stands out, pay attention to the temperature of your ingredients. Room temperature liquids will melt the frozen fruit too quickly, resulting in a soup rather than a frozen dessert. Always ensure your heavy whipping cream is ice-cold, and if you are using a base that requires cooking (like a custard), make sure it is completely chilled in the refrigerator before it ever touches the blender.
Refining Your Technique
Consistency is the hallmark of a great ice cream. If you find your batches are inconsistently textured, try weighing your ingredients instead of using volume measurements. A digital scale provides the precision needed for a stable emulsification.
Furthermore, don’t over-blend. Once the mixture is smooth and aerated, stop the machine. Over-blending can heat the mixture up, which is counterproductive when you are trying to create a frozen treat.
Frequently Asked Questions
Can I use a regular blender to make ice cream?
Yes, but you will need to add slightly more liquid and process in shorter, controlled bursts to prevent overheating. Use heavy milk or add a stabilizer like cream cheese to improve the texture of low-fat milk bases.
What is the easiest ice cream recipe for beginners?
The easiest method is blending frozen bananas with a splash of milk and a touch of vanilla extract.
How do I prevent my blender ice cream from becoming icy?
Increase the fat content and ensure your base is thoroughly chilled before blending to reduce crystal formation.
Can I make dairy-free ice cream in a blender?
Absolutely; use full-fat coconut milk or frozen bananas as a base for a rich, creamy, dairy-free dessert.
How long should I keep the ice cream in the freezer?
Freeze for at least four hours to ensure the texture is firm enough for easy, professional-looking scoops.
What is the role of sweetened condensed milk in this process?
It acts as a sweetener and a thickener, providing the sugar and fat needed for a smooth consistency.
Final Thoughts on Blender-Made Desserts
Learning how to make ice cream in blender equipment is a rewarding skill that opens up a world of culinary experimentation. By mastering the balance of fats, sugars, and freezing techniques, you can create professional-grade desserts in your own kitchen without the need for specialized machinery. Remember to keep your base cold, use high-quality ingredients, and focus on the texture during the blending phase to ensure success.
Whether you are experimenting with dairy-free bases or creating rich, cream-based classics, the process is straightforward and fun. Start with a simple vanilla or banana base, and feel free to branch out into your favorite flavor combinations. If you have any questions or unique recipe ideas you have tried, please feel free to share them below to keep the conversation going.

Jamesmathew is an expert Amazon affiliate writer, helping readers discover top products, smart deals, and practical buying guides through honest reviews and insightful content.