

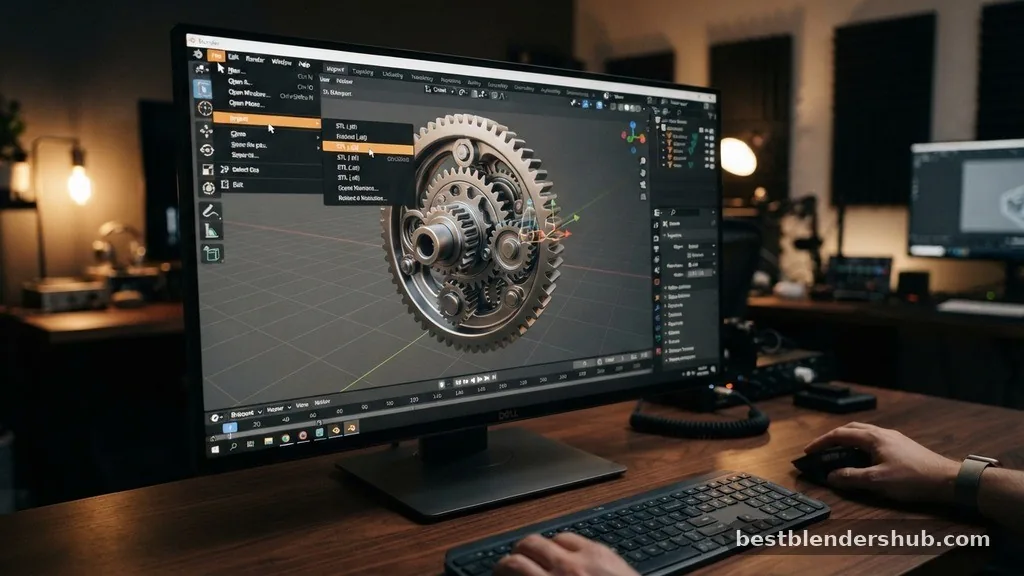
If you have ever wondered whether you can blender open stl files for your 3D modeling projects, the answer is a definitive yes. Blender is a powerful, open-source tool that handles the Standard Tessellation Language format with ease, making it a favorite for 3D printing enthusiasts and digital artists alike.
Whether you are looking to modify an existing design or simply render a model you downloaded from the web, integrating these files into your workspace is a straightforward process. You do not need expensive proprietary software to bridge the gap between a raw 3D scan or design file and a polished, printable asset.
Importing STL Files into Blender
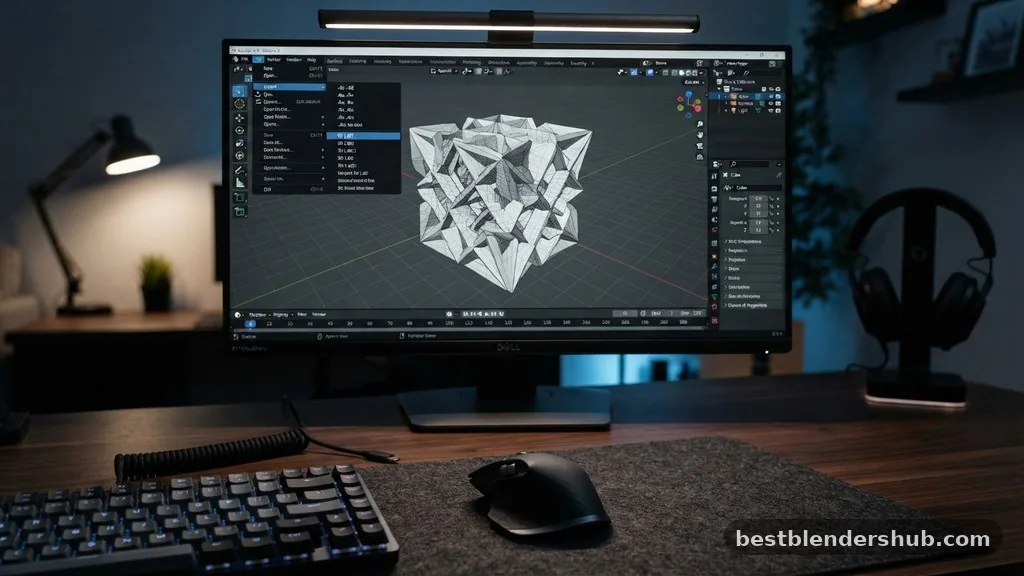
Blender comes with built-in functionality to handle various file formats, and STL is no exception. Because STL files represent the surface geometry of a 3D object as a collection of triangles, they are the industry standard for rapid prototyping. To import your file, follow these steps:
- Open your Blender project or start a new file.
- Navigate to the File menu located in the top-left corner of the interface.
- Hover over the Import option to reveal a dropdown list of supported formats.
- Select Stl (.stl) from the list to open the file browser.
- Locate your specific file on your hard drive, select it, and click Import STL in the bottom-right corner of the window.
Once the file is imported, you might notice that the object appears in your 3D viewport. If it does not appear immediately, it is likely due to the scale or coordinate position of the model. Many exported STL files use different unit systems than Blender’s default, which can lead to visibility issues.
Troubleshooting Common Import Issues
Even though the process is generally smooth, you may occasionally run into problems. The most frequent issue involves the scale and visibility of the object. If you import a file and see nothing in your viewport, it is often because the model is either massive or microscopic.
Handling Scale and Visibility
When you find that your objects are missing or invisible after importing, it is usually because the scale is off. If they are extremely small, increase them uniformly by selecting the object and pressing the S key to scale, or adjust the scale values in the Object Properties tab.
Conversely, if the object is too large, it might be clipping the view. Pressing the period key on your numpad while the object is selected will center your view on the model, effectively “finding” it in 3D space.
Mesh Cleanup and Editing
STL files are often “dumb” geometry, meaning they lack the modifiers and procedural data found in native Blender projects. They are composed entirely of triangles, which can make them tricky to edit using standard subdivision surface workflows. When working with these files, it is good practice to:
| Task | Recommended Action |
|---|---|
| Mesh Integrity | Use the 3D Print Toolbox to check for non-manifold edges. |
| Topology | Apply a Decimate modifier if the polygon count is too high. |
| Orientation | Ensure face normals are pointing outward for clean rendering. |
The 3D Print Toolbox is a native Blender addon that you can enable in the Preferences menu. It provides an automated way to identify holes, thin walls, and overlapping faces, which are common culprits for failed 3D prints. Using these tools helps ensure that your model is “watertight” before you send it to the slicer.
Refining Your Workflow for 3D Printing
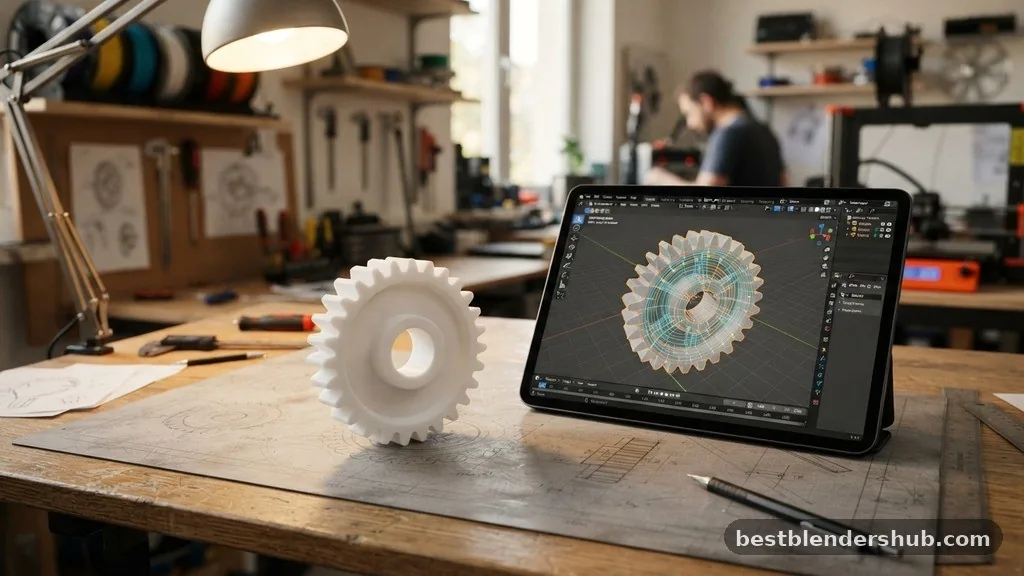
Once your geometry is successfully imported, you are ready to modify it for your specific needs. Since STL files lack parametric data, you are essentially sculpting or manipulating raw vertices. If you need to make precise mechanical adjustments, you might want to use the Edit Mode to select specific vertices or faces.
For more complex changes, such as booleans or cuts, ensure that your mesh is clean. A mesh with intersecting triangles or non-manifold geometry will often cause the boolean modifier to fail.
If you find the mesh is too dense, the Decimate modifier is your best friend. It reduces the triangle count while preserving the overall shape, making the file much more manageable for your computer’s CPU and RAM.
Exporting and Compatibility
After you have finished your edits, you will likely need to save your work. Exporting is just as simple as importing.
Navigate to File, then Export, and choose Stl. You will see a range of settings that allow you to define the scale and orientation of the exported file.
Always double-check your units before exporting. If you are preparing a file for a specific printer, ensure your export settings align with the requirements of your slicer software.
Some slicers prefer millimeters, while others might default to inches. Using the export settings to scale your object by 1000 or 0.001 is a quick way to convert between these units without having to manually resize every object in your scene.
Addressing Topical Gaps
There is often confusion regarding whether Blender handles specific types of STL files, such as those with color data or textures. It is important to clarify that standard STL files do not store color or texture information; they only contain geometry. If you require color or multi-material support, you should look into formats like 3MF or OBJ.
Another gap in common knowledge involves the performance impact of high-poly STL files. When you import a file with millions of polygons, Blender may slow down significantly.
To mitigate this, consider using the “Simplify” setting in your render properties or hiding high-poly objects that you are not actively working on. Keeping your viewport clean will keep your workflow fast and responsive.
FAQ Section
Yes, Blender includes a native importer that handles STL files without requiring any third-party plugins or software.
Why does my STL file look invisible when I import it?
The file is likely scaled incorrectly or located far from the origin; try pressing the period key.
Can I edit the geometry of an STL file in Blender?
Yes, you can use Edit Mode to move vertices, faces, and edges just like any other mesh object.
Does Blender support colored STL files?
No, the STL format only stores geometry; color and texture data are not supported in this file type.
What is the best way to clean up an STL mesh?
Use the 3D Print Toolbox addon to identify and fix non-manifold edges and other common mesh errors.
Is it better to use 3MF instead of STL?
3MF is generally better as it supports more data, including color and units, but STL remains widely compatible.
How do I make an STL file smaller in size?
Apply the Decimate modifier to reduce the polygon count, which makes the file size significantly smaller to handle.
Final Thoughts on Working with STL Files
Mastering the process of importing and editing STL files opens up a world of possibilities for your 3D design projects. While the format is simple, understanding how to manage scale, clean up geometry, and optimize for printing is essential for a professional workflow. By leveraging built-in tools like the 3D Print Toolbox, you can ensure that your models are not only visually correct but also physically sound.
Whether you are modifying parts for a custom project or preparing assets for an additive manufacturing build, knowing that you can blender open stl files with full confidence is the first step toward better results. Start experimenting with your own files today and see how these simple techniques can improve your 3D workflow.

Jamesmathew is an expert Amazon affiliate writer, helping readers discover top products, smart deals, and practical buying guides through honest reviews and insightful content.