

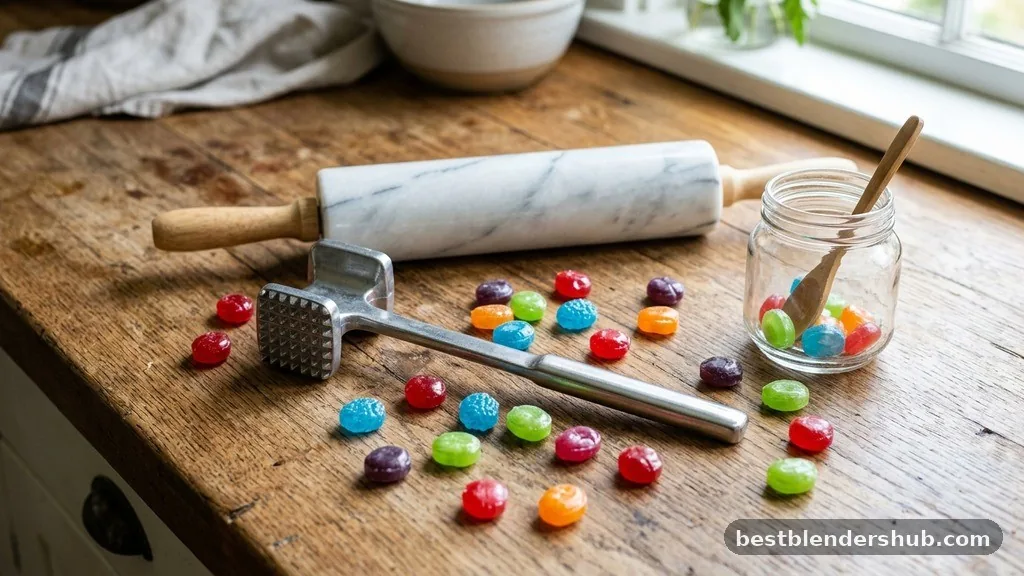
If you have ever tried to bake with hard candy or create a decorative garnish for a dessert, you know that these sugary treats are incredibly resilient. Trying to shatter them by hand can be frustrating, but learning how to crush jolly ranchers without a blender is a surprisingly simple process that saves your appliances from potential damage.
You don’t need expensive equipment to turn these candies into manageable pieces. By using basic household tools and the right technique, you can easily break down the crystalline structure of the candy into uniform pieces or fine powder without needing a heavy-duty food processor.
Selecting the Right Tools for the Job
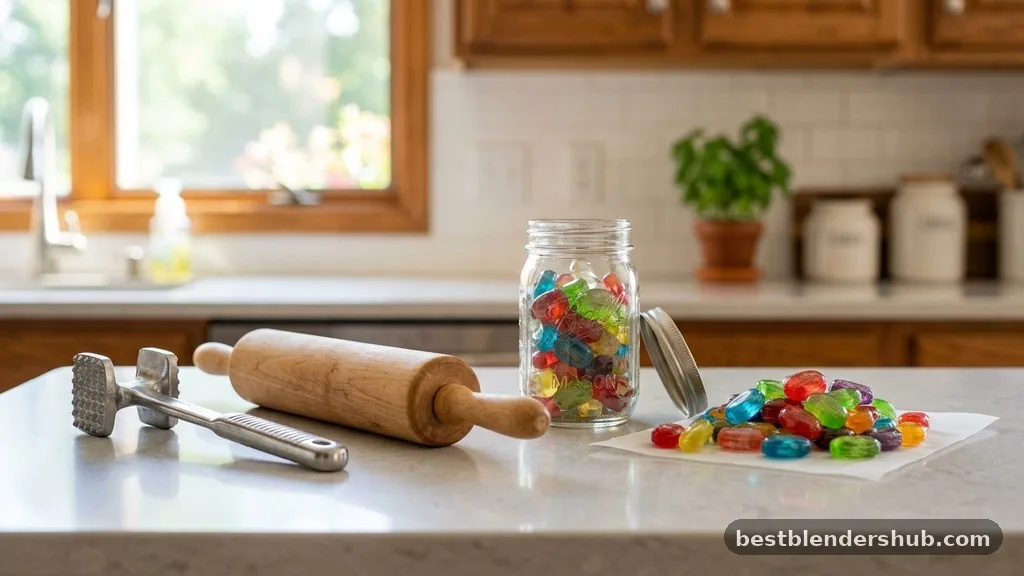
You don’t need professional-grade culinary tools to break down hard candies. In fact, the best results often come from simple items found in most kitchens. The goal is to apply focused pressure to the candy so that it shatters rather than just chipping.
To successfully pulverize your candy, gather these items:
- A heavy-duty ziplock bag or a thick food-grade plastic bag.
- A sturdy rolling pin, mallet, or meat tenderizer.
- A thick kitchen towel to protect your countertops and dampen the sound.
- A flat, stable work surface like a butcher block or granite countertop.
Using a heavy-duty bag is critical because it prevents shards from flying across your kitchen. A thin sandwich bag will rip instantly under the pressure required to break the candy. Always ensure the bag is sealed completely, with as much air pushed out as possible, to prevent it from ballooning and popping during the process.
Preparing the Candy for Crushing
Before you start swinging a mallet, you need to prepare the candy properly. If you put too many pieces in the bag at once, the force of your impact will be dissipated across the entire surface area, making it harder to break them down effectively.
Place only a single layer of candies inside your bag to ensure each piece receives the full force of the impact. If you want candy shards for a stained-glass cookie effect, you only need to strike the candy a few times. For those aiming to create sugar dust or a fine powder, you will need to apply consistent pressure over a longer period.
Using a Rolling Pin Effectively
A rolling pin is often the most accessible tool for this task. It allows you to distribute weight evenly across the candies, which is safer and more controlled than using a hammer.
Place your sealed bag on a flat surface and cover it with a kitchen towel. This layer acts as a buffer, preventing the bag from sliding around and keeping the candy contained if the plastic happens to tear. Apply firm, downward pressure while rolling back and forth.
If you encounter a particularly stubborn piece, use the end of the rolling pin to apply a quick, sharp tap directly onto the candy. This method is excellent for creating consistent textures without turning everything into a fine, unusable powder.
The Mallet and Meat Tenderizer Method
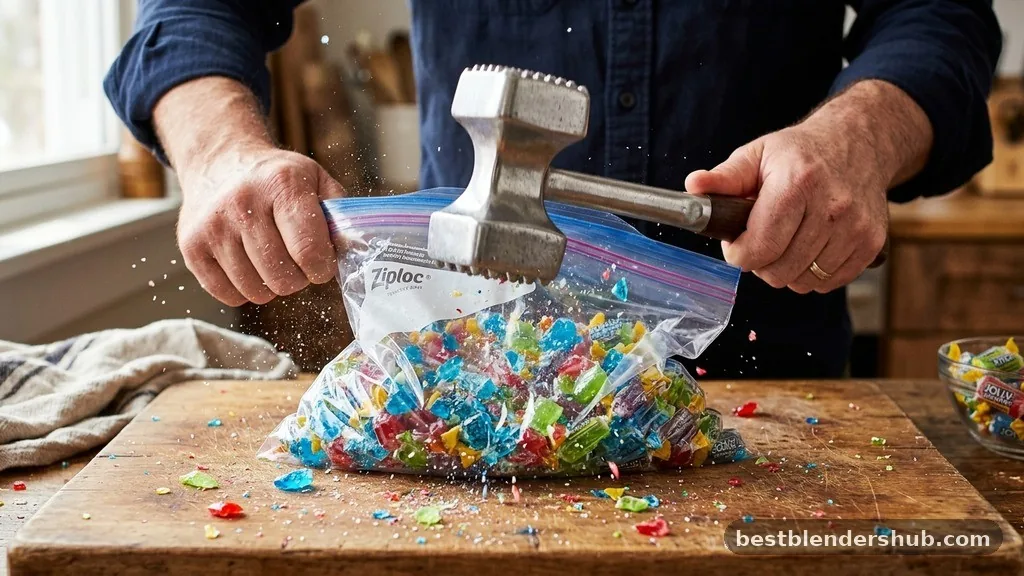
When you require a more aggressive approach, a meat tenderizer or a rubber mallet is your best friend. These tools allow you to apply significant force to specific points, which is ideal if you are trying to break down a large batch of confectionery quickly.
Use the flat side of the tenderizer rather than the spiked side to avoid puncturing the plastic bag. Start by striking the center of the candy pieces, then work your way outward. Because of the heat sensitivity of the sugar, try not to work in a room that is too warm.
If the candy gets too warm, it may become slightly tacky or sticky, making it difficult to achieve a clean break. If you find the candy is sticking to the bag, place it in the freezer for about ten minutes before continuing your work.
Addressing Common Challenges and Topical Gaps
Many people wonder if they can achieve the same results with a mortar and pestle. While a mortar and pestle is a traditional tool for grinding spices, it is highly effective for reducing hard candy to a fine consistency. The weight of the pestle provides enough force to shatter the candy, while the bowl keeps the debris contained.
Another common question involves the cleanup process. If you find sticky residue inside your bag, don’t throw the bag away immediately. You can often rinse the bag with warm water to dissolve the remaining sugar, or simply use a new bag for every batch to ensure you aren’t cross-contaminating flavors.
| Tool | Best For | Effort Level |
|---|---|---|
| Rolling Pin | Uniform shards | Low |
| Meat Tenderizer | Rapid breaking | Moderate |
| Mortar and Pestle | Fine powder | High |
| Kitchen Towel | Surface protection | N/A |
Safety Precautions During Processing
Safety is paramount when you are dealing with brittle, sharp objects. Even though you are keeping the candy inside a bag, it is easy for a small piece to pierce the plastic and fly onto your floor or counter.
Always wear eye protection if you are using a mallet to crush the candy, especially if you are working with a large volume. Ensure children and pets are kept at a safe distance, as the candy shards can be quite sharp. Furthermore, make sure your work surface is stable.
Crushing candy on a glass table or a flimsy surface can lead to accidents or damage to your furniture. Always prioritize a solid, wooden cutting board or a sturdy granite countertop.
Exploring Alternative Methods
If you do not have a rolling pin or a mallet, you can use other heavy household objects. A heavy-bottomed frying pan or even a thick, heavy book can work in a pinch. The key is to ensure the surface of the object you are using is flat and clean.
Some people choose to wrap the candy in a clean kitchen towel before placing it in the bag. This provides an extra layer of protection and makes the entire process quieter.
If you are aiming for a very fine powder, you can perform the crushing in stages. Start with larger, heavy blows to break the candy into shards, then switch to a rolling motion to grind those shards into a fine, sandy texture.
FAQ: Crushing Hard Candy Without a Blender
Is it safe to use a hammer for this process?
Yes, a clean hammer works well, but be careful not to strike too hard and damage your countertop.
How can I stop the candy from sticking to the bag?
Place the candy in the freezer for fifteen minutes before you begin to keep it firm and cold.
What if the plastic bag rips during the process?
Stop immediately, transfer the candy to a new, thicker bag, and wipe down your surface to remove shards.
Can I crush different flavors together?
Yes, mixing flavors is a fun way to create unique color swirls and flavor profiles for your baked goods.
Does the size of the candy matter?
Standard hard candies work best; if they are jumbo-sized, you may need to strike them harder to initiate cracks.
How fine can I get the powder?
With a mortar and pestle, you can achieve a very fine, flour-like consistency perfect for decorating sugar cookies.
What is the best surface to work on?
A sturdy wooden cutting board is ideal because it absorbs some of the shock and protects your kitchen counter.
Conclusion
Mastering the art of breaking down candy without a blender allows for more creativity in the kitchen while keeping your appliances safe. Whether you are aiming for large, decorative candy shards or a fine, uniform sugar dust, the methods described—using a rolling pin, mallet, or mortar and pestle—are more than capable of handling the task. By keeping your workspace clean, using high-quality bags, and observing basic safety precautions, you can easily manipulate the crystalline structure of any hard candy.
Next time you need to prepare a recipe that calls for pulverized sweets, skip the blender and try these manual techniques instead. They are efficient, effective, and require very little cleanup. Reach out if you have any other kitchen tips you would like to explore.

Jamesmathew is an expert Amazon affiliate writer, helping readers discover top products, smart deals, and practical buying guides through honest reviews and insightful content.