

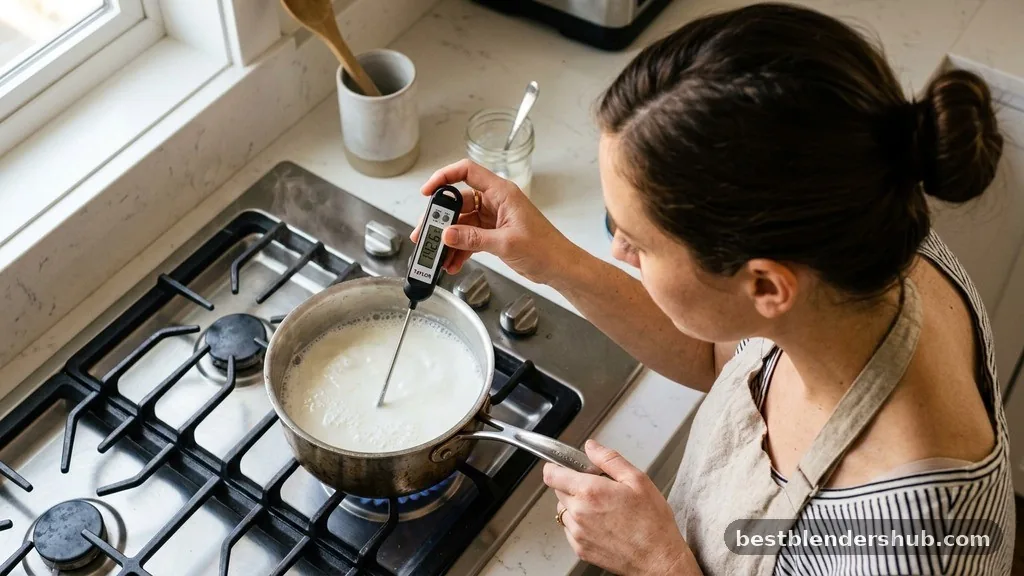
Achieving that velvety, cafe-style texture in your morning coffee doesn’t require an expensive espresso machine or a dedicated electric frother. Mastering the art of frothing milk with a blender is a surprisingly simple skill that utilizes equipment you likely already have sitting on your kitchen counter.
By applying the right heat and agitation, you can transform ordinary liquid into a rich, creamy foam suitable for lattes or cappuccinos. This method relies on basic fluid dynamics to incorporate air, providing a cost-effective way to upgrade your home coffee experience without needing professional-grade gear.
The Science Behind Blender Milk Frothing
At its core, milk aeration is the process of forcing air bubbles into the liquid to create a stable structure. When you use a blender, the blades spin at high speeds, which physically pulls air into the milk and breaks it down into tiny, consistent bubbles.
This process creates microfoam, the holy grail for anyone wanting that silky, paint-like texture on top of their beverage. Achieving this requires more than just speed; it requires the right milk temperature to ensure the proteins and fats are pliable enough to hold those air bubbles in place.
The physics of the blender creates a vortex that draws air down into the center of the liquid. If the temperature is too cold, the foam will be thin and dissipate quickly. If the temperature is too high—typically above 160 degrees Fahrenheit—the proteins break down, the milk scalds, and the foam loses its structural integrity.
Ideally, you want to aim for a temperature range between 140 and 150 degrees Fahrenheit. This range allows the fats to soften and the proteins to trap the air effectively, resulting in a dense, long-lasting foam.
Selecting the Best Milk for Optimal Froth
Not all liquids react the same way to mechanical agitation. The protein content and fat percentage play a massive role in how stable your foam will be. While many people assume heavy cream froths the best, the truth is that it often becomes too thick or heavy.
* Whole milk: The gold standard for home frothing due to its balanced fat-to-protein ratio.
* Oat milk: Frequently considered the best dairy-free alternative because it contains stabilizers that mimic the behavior of cow’s milk.
* Almond milk: Often lacks the necessary protein to hold a stable foam, leading to larger, faster-collapsing bubbles.
* Skim milk: Produces a very dry, airy foam that disappears almost instantly because it lacks the fat to coat the bubbles.
Step-by-Step Procedure for Blender Frothing
Before you begin, ensure your blender jar is clean and free of any leftover residue from previous recipes. You will need a way to heat the milk, as cold milk does not froth well in a standard blender. Using a stovetop heating method is usually the most reliable way to control the temperature before transferring the liquid to the blender.
Preparation and Heating
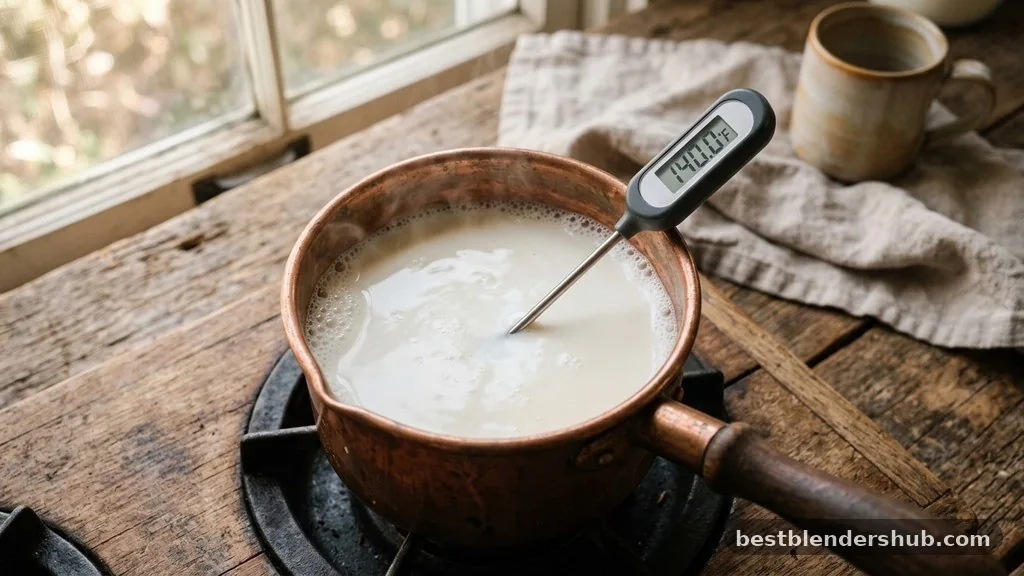
Pour your desired amount of milk into a small saucepan. Heat it over medium heat, keeping a close eye on the thermometer. Once it hits 140 degrees Fahrenheit, remove it from the heat immediately. If you don’t have a thermometer, look for small bubbles forming around the edges of the pan and a light steam rising from the surface, but never let it reach a full rolling boil.
The Blending Process
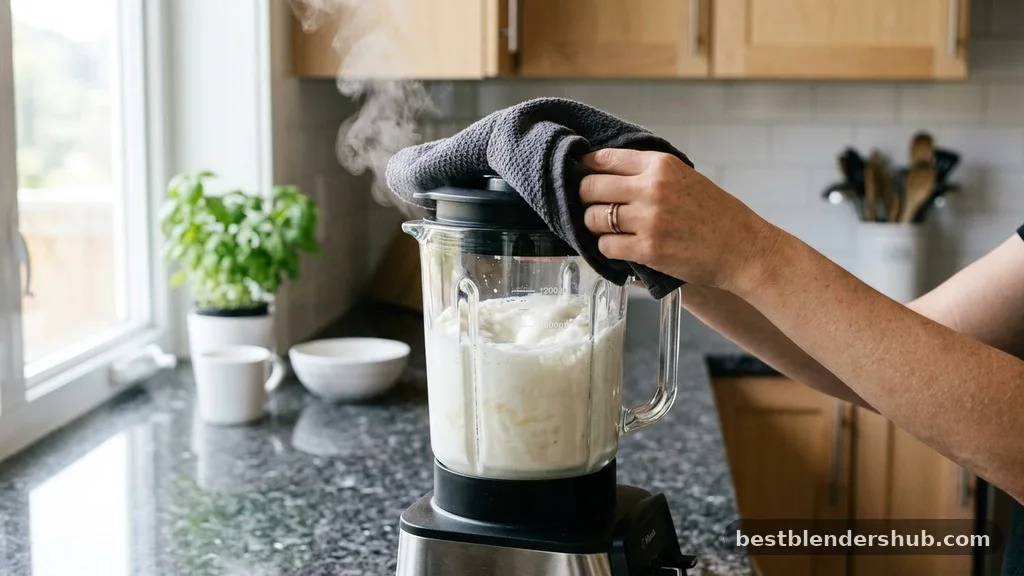
Pour the heated milk into your blender jar. If you are using a standard countertop blender, remove the small center cap from the lid to allow steam to escape and place a thick kitchen towel over the opening to prevent splashes. Start on the lowest speed setting to get the liquid moving, then quickly increase to a medium-high speed. Use the blender pulse setting for the first few seconds to gauge how much air you are incorporating. Let it run for 20 to 30 seconds until the volume has roughly doubled and the surface looks glossy.
Finishing the Texture
Once you stop the blender, you might notice a few larger bubbles on the surface. Tap the blender jar firmly against the counter two or three times to pop these larger, unwanted bubbles. Swirl the milk gently in the jar to ensure the microfoam is evenly distributed. You are now ready to pour the milk into your coffee, using a barista technique of pouring slowly and steadily to maintain the separation between the liquid milk and the creamy froth.
Comparing Frothing Methods
Different tools provide different results. While a blender is excellent for volume, other tools might be better suited for specific textures.
| Method | Texture Quality | Ease of Cleaning |
|---|---|---|
| Countertop Blender | Very High (Microfoam) | Moderate |
| Immersion Blender | High (Silky) | Easy |
| French Press | Medium (Dense) | Moderate |
| Manual Hand Whisk | Low (Large Bubbles) | Easy |
Addressing Common Challenges and Topical Gaps
Many home baristas struggle with the consistency of their foam. One common issue is cavitation, where the blades spin in a pocket of air without actually moving the milk. This happens if the jar is too wide or you are using too little liquid.
To fix this, always ensure your milk level is at least an inch above the blade assembly. If you are using a high-powered blender, be careful not to over-blend; if you run it for too long, the friction will actually start to break down the foam you just created.
Another gap often overlooked is the importance of the container material. If you prefer to heat your milk in the microwave, ensure you are using a heat-safe glass vessel. Plastic containers can absorb flavors and may warp under high heat, which can negatively impact the taste of your coffee.
Furthermore, if you find your foam is collapsing, check your milk source. Ultra-pasteurized milk sometimes behaves differently than standard pasteurized milk due to the heat treatment it undergoes during processing.
Achieving Latte Art with Blender Foam
Creating designs on the surface of your coffee requires a specific consistency of microfoam. When you successfully froth milk with a blender, the goal is to create a texture that looks like melted ice cream.
If your foam is too stiff, it will sit on top of the coffee like a dollop of whipped cream, making it impossible to pour patterns. If it is too thin, it will simply disappear into the espresso.
To improve your chances at patterns, focus on the “grooming” phase. After blending, let the pitcher sit for ten seconds.
This allows the milk to separate slightly, creating a denser layer of microfoam on top. When pouring, start high above the cup to let the milk dive beneath the surface, then lower the pitcher close to the surface as you finish to allow the white foam to rise and create contrast.
Frequently Asked Questions
Can you use a blender as a milk frother?
Yes, a blender is an effective tool for aerating milk into a stable, creamy microfoam for coffee.
What is the trick to frothing milk?
The secret is heating the milk to 140 degrees Fahrenheit before blending to ensure the best protein stability.
What can I use to froth milk if I don’t have a frother?
You can use a standard blender, an immersion blender, a French press, or even a simple glass jar.
What common mistake should be avoided when frothing milk?
Avoid overheating the milk, as boiling it destroys the proteins required to hold the air bubbles in place.
Does the type of blender matter?
A high-speed blender creates finer bubbles, but almost any blender with sharp blades will work for milk aeration.
Can you froth cold milk in a blender?
You can, but the foam will be thin and lose its shape quickly because the fats are not softened.
How do I clean the blender after frothing?
Add a drop of dish soap and warm water to the jar, then blend for 30 seconds to clean.
Conclusion
Mastering the process of frothing milk with a blender empowers you to produce professional-quality beverages from the comfort of your own kitchen. By paying close attention to your milk temperature and ensuring you have the right amount of liquid for your specific blender jar, you can achieve that elusive microfoam consistency. Whether you are experimenting with whole cow’s milk or exploring various dairy-free alternatives like oat or almond, the fundamental principles of aeration remain the same.
Start with small batches to get a feel for how your specific equipment handles the process, and don’t be afraid to experiment with your pouring technique. Once you have the rhythm down, you will find that a high-end appliance is entirely optional for your daily coffee ritual. Happy brewing, and enjoy experimenting with your new skills.

Jamesmathew is an expert Amazon affiliate writer, helping readers discover top products, smart deals, and practical buying guides through honest reviews and insightful content.