

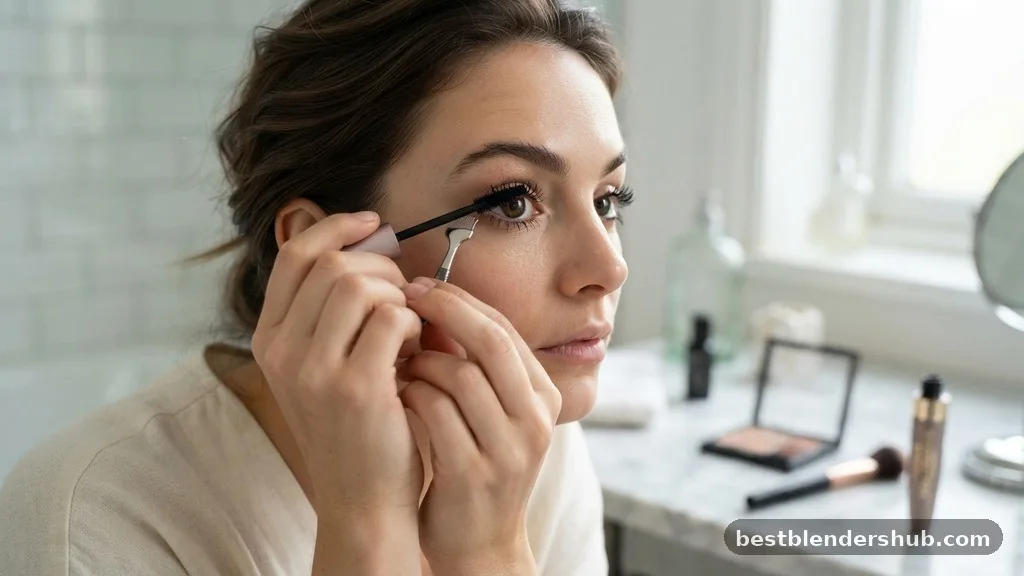
Mastering the art of applying mascara is one of the most effective ways to open up your eyes, add definition to your face, and complete any makeup look. Whether you are aiming for a subtle, natural flutter or a dramatic, voluminous effect, the technique you use makes all the difference.
While it may seem straightforward, achieving a clump-free, smudge-proof finish requires attention to detail, the right tools, and an understanding of your unique lash structure. By refining your application routine, you can avoid common pitfalls like messy eyelids and spiky, uneven lashes, ensuring that your eyes look bright and refreshed every time you step out the door.
Preparing Your Lashes for Optimal Results
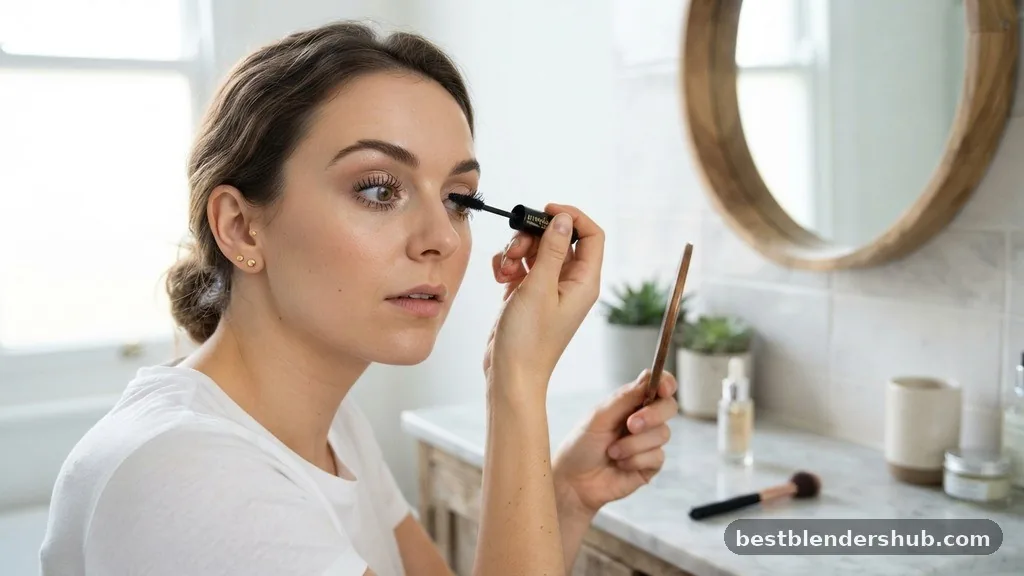
Before you even reach for your mascara tube, preparation is key to a flawless application. Many people overlook the importance of starting with a clean, dry canvas, but residual oils or leftover makeup from the previous day can interfere with how the product grips your lashes. If your lashes are coated in a thin layer of natural sebum, the mascara will struggle to adhere, leading to premature flaking or smudging throughout the day.
To prep, use a gentle cleanser or a micellar water to wipe away any debris. Once cleaned, ensure your lashes are completely dry. Applying wet mascara to damp lashes can cause the formula to run and prevents the curl from holding.
Another vital step in your preparation phase is the use of a lash curler. For those who want to maximize the impact of their mascara, a curler is non-negotiable. It creates an upward lift that makes the eyes appear more awake and helps the mascara distribute evenly across the length of the lash.
To use it correctly, place the curler at the very base of your lashes—being careful not to pinch the skin—and hold for about five to ten seconds. Do not pump the curler aggressively, as this can crimp or even break your delicate lashes.
Instead, use a gentle, firm pressure. If you have particularly straight lashes, you might also benefit from a heated lash tool, which can help lock in that upward curve before you deposit any color.
Understanding Different Mascara Formulas
Not all mascaras are created equal, and knowing what is inside your tube can change how you apply it. Most modern formulas fall into a few primary categories: volumizing, lengthening, and tubing. Volumizing formulas are typically thicker and designed to coat each lash in a dense, pigment-heavy layer to create the illusion of fullness.
These often contain waxes and sometimes synthetic fibers that build bulk. Lengthening mascaras, by contrast, usually contain polymers that stretch the appearance of the lash. If you are dealing with short lashes, a lengthening formula is often your best bet, as it focuses on extending the tips rather than building thickness at the roots.
Tubing mascara is a unique alternative that has gained significant popularity due to its smudge-proof nature. Unlike traditional waxes, tubing formulas wrap each individual lash in water-resistant polymers that form tiny “tubes.” Because these tubes do not dissolve with oil or sweat, they are less likely to end up as dark circles under your eyes.
However, they require a different removal process; instead of using a standard oil-based makeup remover, you simply use warm water and gentle pressure to slide the tubes off. Understanding whether your mascara is waterproof or water-soluble is also critical for your daily routine. Waterproof formulas are excellent for long-wear or humid conditions but are notoriously difficult to remove, often requiring a specialized oil-based cleanser to avoid damaging the lashes during the cleaning process.
Mastering the Wand Wiggle Technique
The “wand wiggle” is perhaps the most widely recommended professional trick for a reason: it works. When you pull the mascara wand directly from the base of your lashes to the tip in a single, straight motion, you often end up with product only on the ends, which can weigh the lashes down and make them look sparse. To achieve a full, fanned-out look, start by placing your wand at the very lash base.
As you begin to move the wand upward, introduce a slight horizontal wiggling motion. This motion wiggles the bristles into the gaps between your lashes, ensuring that the roots are thoroughly coated.
By concentrating the pigment at the lash base, you create a natural “tightline” effect that makes the lash line appear thicker and more defined. This is especially helpful if you aren’t wearing eyeliner. After you have wiggled the wand at the roots, pull it through to the tips in a slow, steady motion.
As you reach the ends of the lashes, you can gently rotate the wand to separate them and prevent clumping. If you notice any stubborn clumps forming, do not try to add more product immediately.
Instead, take a clean, dry spoolie brush and comb through the lashes while the mascara is still slightly tacky. This simple step removes excess product and ensures that each lash remains distinct and separated.
Navigating the Inner Corners and Lower Lash Line
The inner corners and the lower lash line are often the most challenging areas for makeup enthusiasts. Because these areas are tight and delicate, it is very easy to accidentally smudge mascara onto your skin. For the inner corners, use the very tip of your wand.
Most wands are tapered or designed with a smaller brush head at the end specifically for this purpose. If your wand is large and clunky, hold it vertically so that you are only using the tip of the bristles. This precision allows you to reach those tiny, often overlooked lashes near the tear duct without getting product on your nose bridge or inner eyelid.
Applying mascara to the lower lash line is a stylistic choice that can significantly change the look of your eyes. While some prefer a bare, clean lower lid for a modern, minimalist vibe, others enjoy the balance that lower-lash mascara provides. If you decide to apply it, use a very light hand.
Since the lashes on the bottom are usually finer and shorter, they require much less product than the top lashes. You can even use a small, disposable mascara wand or a fan brush dipped into the formula to achieve a more controlled application. If you are worried about smudging during the day, consider applying waterproof mascara only on the lower lashes, as this area is more prone to oil transfer from the skin throughout the day.
Avoiding Clumping and Spider Lashes

Clumping is the most common frustration when it comes to mascara application. It usually occurs when the formula is too old, the brush is overloaded with product, or you are applying too many layers before the previous one has dried. To prevent this, always start by wiping excess product off the wand onto a tissue before you touch your lashes.
It is better to apply two thin coats than one thick, heavy layer. When you apply too much product at once, the lashes stick together, creating the dreaded “spider leg” look.
If you do find your lashes sticking together, the aforementioned spoolie brush is your best friend. Always keep one in your makeup bag for quick touch-ups.
Another factor contributing to clumping is the age of your product. Mascara tubes are generally designed to last about three months. Beyond that, the formula begins to dry out and thicken, which inevitably leads to a clumpy, uneven application.
If your mascara starts to smell off, feels dry, or is becoming difficult to work with, it is time for a replacement. Additionally, be mindful of how you handle the wand.
Avoid “pumping” the brush in and out of the tube, as this pushes air into the container, causing the mascara to dry out much faster than it should. Instead, gently swirl the wand inside the tube to pick up the product.
Layering Techniques for Maximum Impact
The question of how many layers of mascara you should wear is subjective, but there is a point of diminishing returns. Generally, two coats are sufficient for a daytime look. Apply the first coat to both eyes, let it sit for about thirty seconds, and then apply the second coat.
If you wait too long—until the mascara is completely dry and brittle—adding another layer will cause the dry mascara to flake or pull, which looks messy. If you are aiming for a high-glam, evening look, you can build up to three coats, but ensure that you are using the wand to comb through the lashes between each application to keep them separated.
Some makeup artists recommend using a primer before your mascara. A white or clear lash primer acts as a base, giving the mascara more surface area to cling to, which can result in significant increases in both volume and length. Primers are especially useful if you have thin or light-colored lashes.
When using a primer, ensure it is fully coated by your mascara; otherwise, you might see white spots at the roots. If you don’t have a primer, you can achieve a similar effect by using a “buildable” mascara formula that is designed to be layered without becoming crunchy. The key is consistency and patience, allowing each layer to grip the lashes without overloading them.
The Role of Mascara in Different Eye Shapes
Tailoring your mascara application to your specific eye shape can elevate your look from standard to professional. For those with hooded eyes, focus your product toward the center and the outer corners. This creates a “lifted” appearance that counteracts the heavy feeling of the hood.
If you have deep-set eyes, be careful not to apply too much product on the lower lashes, as this can make your eyes look even deeper or shadowed. Instead, keep the focus on the upper lash line to make the eyes pop forward.
For almond-shaped eyes, you have the most versatility. You can apply mascara evenly across the entire lash line to accentuate the natural shape. If you have round eyes and want to achieve a more elongated, “cat-eye” effect, apply more coats to the outer corners of your lashes.
By angling your wand toward the outer corner of your eye as you apply, you pull the lashes in that direction, which helps to elongate the appearance of the eye. This technique mimics the effect of a winged eyeliner look without requiring the precision of liquid liner. Experimenting with these placements can help you find what truly flatters your unique features.
Handling Mistakes and Smudges Like a Pro
Even the most experienced makeup artists make mistakes. If you accidentally get a dot of mascara on your eyelid, do not panic and do not try to wipe it away immediately. If you rub wet mascara, you will only smear it across your eyeshadow, ruining your work.
Instead, let the mascara dry completely. Once it has hardened, it becomes much easier to remove. Use a clean, dry cotton swab to gently flick the dried mascara off your skin.
Because the formula is dry, it will flake off cleanly without leaving a black streak behind. If a bit of concealer is needed afterward, you can dab a tiny amount over the area to blend it back into your makeup.
If you find that your mascara smudges under your eyes by the end of the day, it is likely due to the oils in your skin or your moisturizer. To combat this, try “baking” the area under your eyes with a translucent setting powder before applying your mascara. This creates a dry barrier that prevents oil from transferring to your lower lashes.
Additionally, if you have very long lashes that touch your brow bone or cheekbones, you may want to invest in a smudge-proof or tubing formula. These formulas are specifically engineered to withstand the friction and moisture that cause traditional mascaras to migrate during the day.
Trends and the Future of Lash Care
There has been much discussion in recent years about the popularity of lash extensions and lash lifts, leading some to question if traditional mascara is losing its relevance. While many people have opted for these semi-permanent solutions, mascara remains the most accessible, affordable, and versatile way to enhance lashes. One major trend is the shift toward “clean beauty” formulations that prioritize lash health.
Modern mascaras often include nourishing ingredients like panthenol, vitamin E, and castor oil, which condition the lashes while providing pigment. This is a significant improvement over older formulas that could leave lashes feeling brittle and dry.
Furthermore, the “natural” look has become a dominant aesthetic. Instead of striving for extreme, spiky volume, many are opting for a “my lashes but better” approach. This involves using brown or soft-black mascaras that define the eyes without looking overly heavy.
If you prefer this natural look, focus on the base of the lashes and use a light, feathery touch at the tips. Regardless of the trends, the fundamentals remain the same: use a clean tool, work in thin layers, and prioritize the health of your lashes by removing the product every night. By treating your lashes with care and following a consistent application method, you ensure that your eyes look their best regardless of the latest fashion cycles.
Always remember that your lashes are delicate; gentle removal with an oil-based makeup remover or a warm-water soak for tubing formulas is just as important as the application itself. Over time, this level of care will result in stronger, healthier lashes that hold product better, making your daily routine easier and more effective.

Jamesmathew is an expert Amazon affiliate writer, helping readers discover top products, smart deals, and practical buying guides through honest reviews and insightful content.