

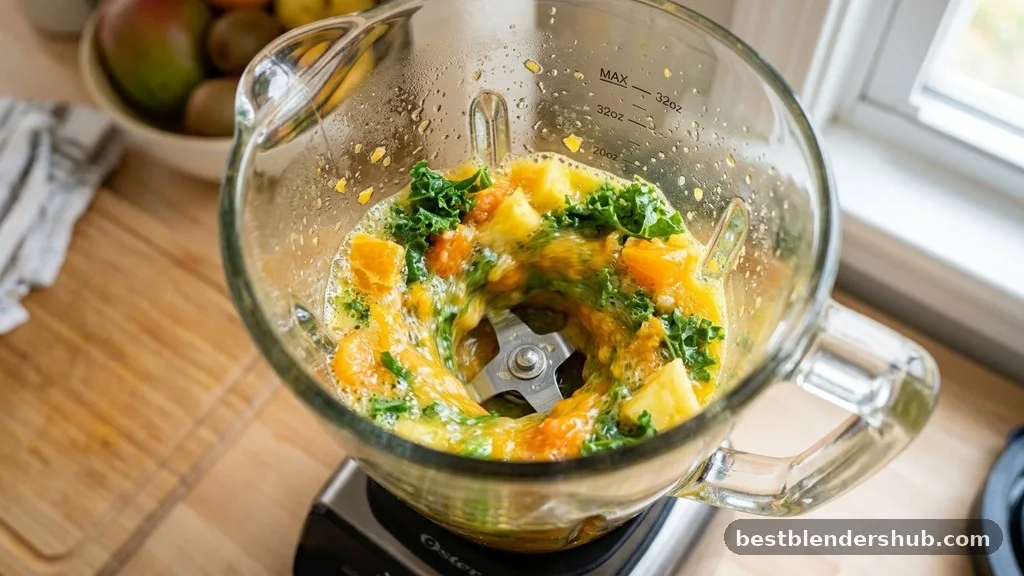
Many people wonder if they can make juice in a blender without needing to purchase an expensive, dedicated appliance. The short answer is yes, you can absolutely create fresh, nutrient-dense beverages using the blender already sitting on your kitchen counter. While the mechanics differ significantly from a dedicated centrifugal or masticating machine, the results are surprisingly similar if you follow the right process.
By combining high-speed blending with a proper straining technique, you can enjoy homemade juices that retain excellent flavor and nutritional value. Understanding the limitations and the necessary extra steps will help you decide if this method fits your daily routine.
The Mechanics of Blender Juicing
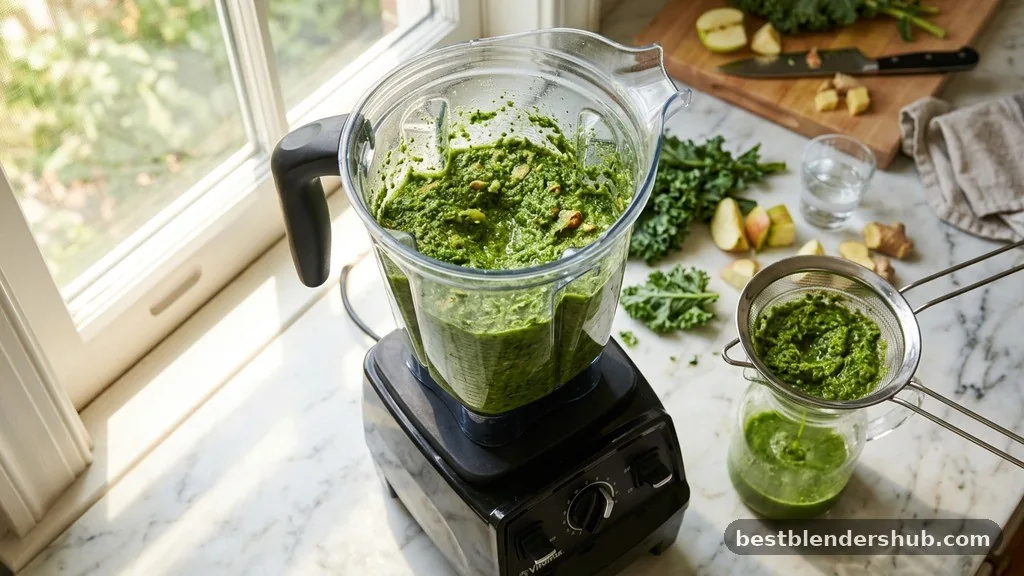
When you ask yourself if you can make juice in a blender, it helps to understand the difference between blending and juicing. A juicer is specifically engineered to separate the liquid from the fibrous produce automatically.
A blender, by contrast, pulverizes the entire ingredient. To achieve a juice-like consistency, you must perform the pulp extraction step manually.
The process involves creating a puree and then filtering out the solids. Because a high-speed blender is designed to break down cell walls efficiently, it can actually be quite effective at releasing the water content trapped inside fruits and vegetables. You aren’t losing the juice; you are simply integrating the dietary fiber into a smoothie-like mixture before removing it.
Tools Required for Success
To transform your blender into a temporary juicing station, you need a few essential supplies. You cannot simply blend and pour, as the texture would be too thick and pulpy for a traditional juice experience.
* Nut milk bag: This is the gold standard for straining. Its fine mesh allows liquid to pass through while trapping even the smallest particles of fiber.
* Cheesecloth: A budget-friendly alternative that works well, though it can be slightly harder to clean after use.
* Fine-mesh strainer: Useful for catching large chunks before you use a bag, but rarely effective on its own for smooth juice.
* Large mixing bowl: Essential for catching the liquid as you squeeze the bag.
Step-by-Step Juicing Process
Achieving a clean, pulp-free juice requires a systematic approach. Start by selecting ingredients that have a high water content, such as cucumbers, celery, oranges, or watermelons.
First, wash and chop your produce into small, uniform pieces. Add them to the blender jar along with a small amount of filtered water to help the blades catch the ingredients.
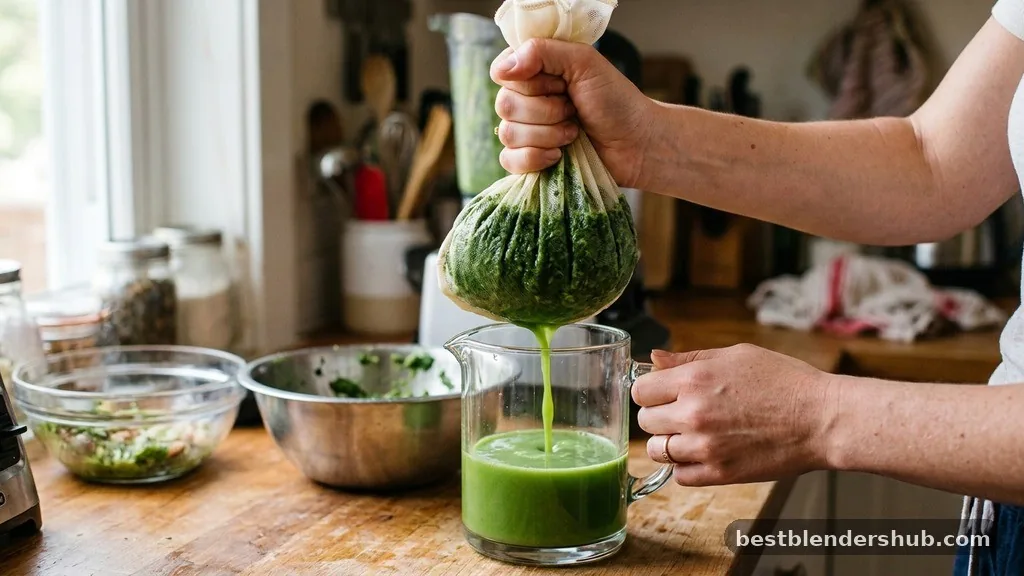
Use the blender pulse function in short bursts to break down the produce without heating it up. Once you have a uniform puree, pour the mixture into your nut milk bag positioned over a large bowl.
Apply firm pressure to the bag to squeeze out the liquid. This manual pulp separation is the most labor-intensive part of the process, but it ensures you get the maximum yield from your fruits and vegetables. The remaining solids in the bag are essentially concentrated insoluble fiber, which can be composted or added to soups and baking recipes.
Blender vs. Dedicated Juicing Machines
Choosing between a blender and a dedicated machine depends on how often you plan to juice and what types of ingredients you prefer.
| Feature | Blender Method | Centrifugal Juicer | Masticating Juicer |
|---|---|---|---|
| Pulp Extraction | Manual (Straining) | Automatic | Automatic |
| Preparation Time | High (includes cleanup) | Low | Medium |
| Leafy Greens | Excellent | Poor | Excellent |
| Nutrient Retention | High | Medium |
Addressing Common Juicing Challenges
One of the biggest concerns with using a blender is the heat generated by the motor. If you blend for too long, the friction can increase the temperature of the liquid, which might impact the vitamin retention of heat-sensitive nutrients. Keep your blending cycles short—usually 30 to 45 seconds is sufficient to liquefy most soft produce.
Another common issue is the liquid-to-solid ratio. If you are juicing dense vegetables like carrots or beets, they will not produce much liquid on their own.
You must add a base liquid, such as coconut water, plain water, or even apple juice, to facilitate the blending process. Without this added moisture, your blender blades may struggle to spin, potentially causing the motor to overheat or the ingredients to stick to the sides of the jar.
Optimizing for Leafy Greens
Many people look for ways to incorporate leafy greens like kale, spinach, or parsley into their diet through juicing. Blenders are actually superior to many lower-end centrifugal juicers when it comes to greens. Because the blender macerates the leaves completely, you can extract more chlorophyll and micronutrients than a machine that might simply spit out shredded, un-juiced leaf fragments.
To get the best results, place your liquid base at the bottom of the blender first, then layer the greens on top. This ensures the blades hit the liquid and create a vortex that pulls the leaves down into the mixture. If you find your juice is too bitter, balance the greens with a sweet fruit like pineapple or green apple.
Maximizing Nutrient Density
To ensure you are getting the most out of your homemade juice, focus on freshness. Since the blender method exposes more surface area of the produce to oxygen during the blending process, it is best to drink your juice immediately. If you must store it, use an airtight glass container and fill it to the brim to minimize air exposure.
You can also enhance the nutritional profile by adding superfoods that don’t require juicing. A teaspoon of chia seeds or a scoop of hemp hearts can be added to your finished juice to increase the healthy fats and protein content. While these additions won’t be strained out by the nut milk bag, they add texture and essential nutrients that make the juice more satiating.
The Practicality of Manual Pulp Separation
The necessity of manual pulp separation often leads people to wonder if they can skip the straining step. If you enjoy a thicker, smoothie-like consistency, you can certainly skip the bag. However, this technically makes it a smoothie rather than a juice.
The distinction lies in the digestion process. Removing the fiber allows your body to absorb the vitamins and minerals much faster, which is the primary draw for many juicing enthusiasts.
If you find the manual process tedious, consider making larger batches in advance. While fresh is best, a batch of juice kept in a sealed glass bottle in the refrigerator will stay fresh for 24 to 48 hours. This allows you to perform the labor-intensive straining process only once every few days rather than every morning.
Frequently Asked Questions
Can I use a regular blender for daily juicing?
Yes, a regular blender works fine, provided you are willing to strain the pulp manually with a bag.
Which blender is best for making juice?
A high-speed blender is ideal because it pulverizes fibers more thoroughly, leading to a higher yield of liquid.
How do I turn my blender into a juicer?
You don’t change the hardware; you simply blend your produce into a puree and strain through a bag.
What is the best way to clean a nut milk bag?
Rinse it immediately with warm water and soap, then hang it to dry to prevent mold growth.
Can I juice hard vegetables like carrots in a blender?
Yes, but you must add water or another liquid base and chop the carrots into very small pieces.
Is blender juice as healthy as juicer-made juice?
It is just as healthy, provided you consume it promptly to minimize nutrient loss from oxidation and heat.
Does blending destroy the fiber in fruits?
Blending breaks the fiber into smaller particles, but it remains in the mixture unless you manually strain it.
Wrapping Up the Juicing Experience
Creating fresh juice at home is entirely possible with the equipment you likely already own. By utilizing a high-speed blender and a quality straining bag, you can produce high-quality, nutrient-dense beverages that rival those from specialized machines. While it requires a bit more hands-on effort, the ability to control exactly what goes into your glass makes it a worthwhile habit for any health-conscious kitchen.
Start with simple combinations like cucumber, apple, and ginger to get a feel for the process. As you become more comfortable, you can experiment with complex blends of greens and roots, tailoring your homemade juice to your exact taste preferences and nutritional goals. Feel free to share your favorite blender-juice recipes and tips with others looking to get started.

Jamesmathew is an expert Amazon affiliate writer, helping readers discover top products, smart deals, and practical buying guides through honest reviews and insightful content.