
Can you make powdered sugar in a blender when you’re halfway through baking and suddenly realize the store-bought one is just not there… yeah, that exact moment of panic hits different, like you’re already committed and now the cake is judging you. You probably stand there thinking if this is one of those kitchen myths or actually something people do without ruining their blender or ending up with weird gritty snow instead of real icing sugar.
And honestly, you’re not alone in that confusion.
A lot of home cooks quietly try it at least once, usually late at night, slightly impatient, hoping granulated sugar will magically transform into that soft white powder you see in frosting recipes. Sometimes it works, sometimes it kinda works, and sometimes it just makes your blender sound like it’s questioning your life choices.
Why people even try making powdered sugar in a blender
Most people don’t plan this, it just happens. You’re mid-recipe and realize powdered sugar is missing, or it’s overpriced at your local shop, or you just don’t feel like running out again.
Powdered sugar (also called confectioners’ sugar or icing sugar in some countries) is basically super finely ground sugar mixed with a tiny bit of anti-caking agent like cornstarch. According to general food industry standards, commercial powdered sugar usually contains about 3% cornstarch, which keeps it from clumping into weird sugary bricks.
But here’s the funny part—regular granulated sugar crystals are already pretty small, roughly 0.5 mm in size, so in theory they can be broken down further with enough blending power. That’s why the blender idea even exists in the first place.
Still, theory and reality… don’t always behave like best friends in your kitchen.
What actually happens when you blend granulated sugar
When you throw sugar into a blender, a few things start happening at once:
- The blades smash crystals into smaller particles
- Friction heats the sugar slightly
- Fine sugar dust starts floating around inside
- Some crystals refuse to break properly and hang around like stubborn guests
If your blender is strong enough, you’ll get something close to powdered sugar. Not perfect, but usable in many cases.
But here’s the catch people don’t always expect: homemade powdered sugar is often a bit inconsistent. Some particles are ultra-fine, others slightly gritty. That’s why frosting made with it sometimes feels a bit different—less silky, more “homemade rustic sugar vibe.”
A food science explanation from general baking references like King Arthur Baking often notes that commercial powdered sugar is milled in industrial machines far finer than home appliances can achieve. So yeah, your blender is good, but not factory-level good.
Still, good enough? Most of the time yes.
Step-by-step: how to make powdered sugar in a blender
If you’re gonna do it, there’s a slightly less chaotic way to go about it. Rushing usually just gives you uneven powder and a frustrated blender.
Here’s a simple method:
What you need
- 1 cup granulated sugar (or more if needed)
- 1 tablespoon cornstarch (optional but recommended)
- A dry, clean blender (very important, like seriously dry)
How to do it
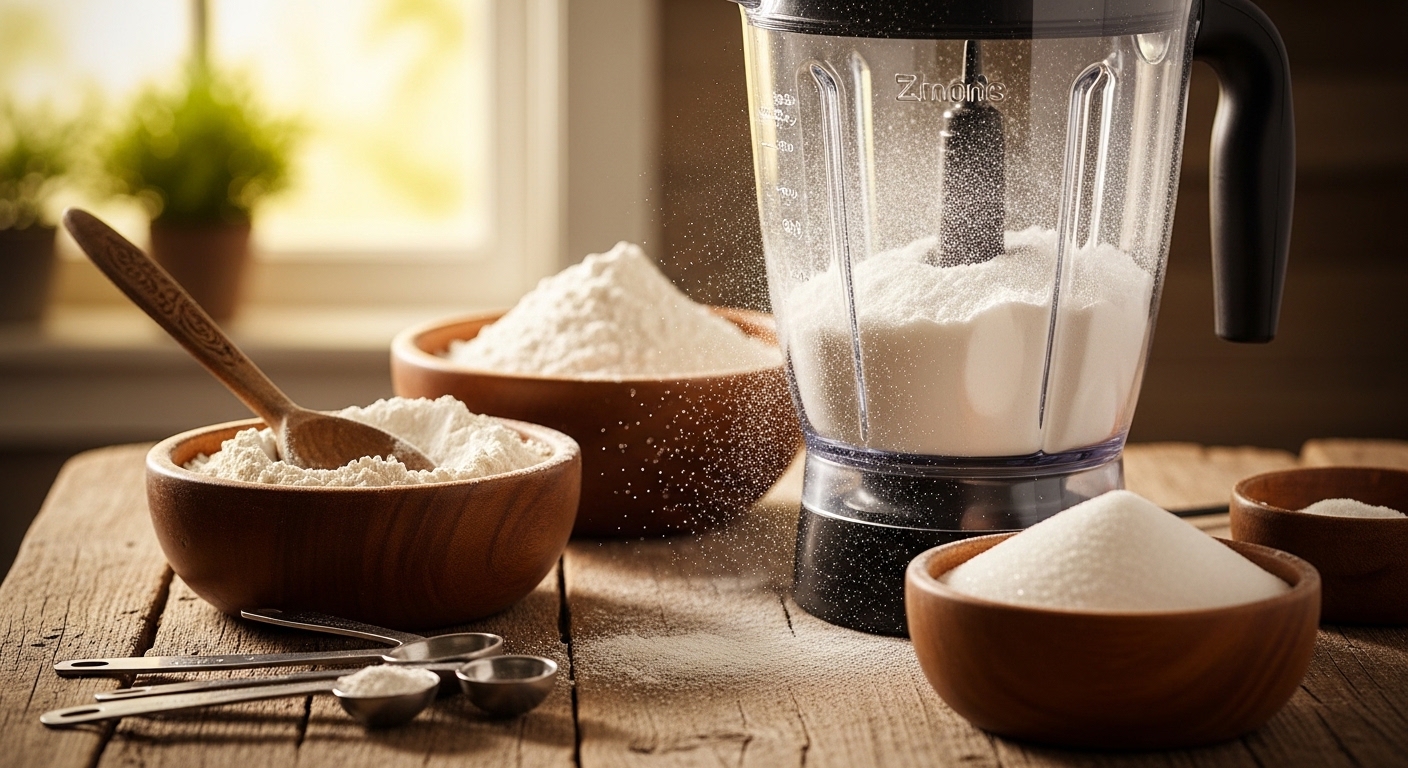
- Pour sugar into the blender jar
- Add cornstarch if you want stability and less clumping
- Cover the lid tightly (otherwise sugar dust will escape like a tiny storm)
- Pulse in short bursts instead of continuous blending
- Shake the blender lightly between pulses
- Blend for about 30–60 seconds total, depending on your blender strength
- Let the dust settle before opening the lid unless you enjoy coughing politely
You’ll know it’s done when the sugar looks like soft flour or very fine snow, not crunchy sand.
Small mistake people make: they blend too long and the sugar starts warming up and slightly clumping. Yeah, that happens more than you’d think.
Blender types matter more than you think
Not all blenders behave the same way with sugar, and this is where expectations usually break a bit.
| Blender Type | Result Quality | Notes |
|---|---|---|
| High-speed blender | Very fine, closest to store-bought | Works best, but still not perfect |
| Standard kitchen blender | Medium fine, slightly gritty | Usable for baking, not ideal for icing |
| Personal smoothie blender | Inconsistent | May leave chunks |
| Food processor | Not great | Sugar just spins around |
High-speed blenders (like the ones used for smoothies and nut butters) are your best bet. Lower power ones just don’t create enough force to break crystals evenly.
A small but important detail: dry blending matters more than power. Even a strong blender will fail if there’s moisture inside.
Common mistakes people mess up
Let’s be real, most failures come from tiny mistakes, not big ones.
Here are the usual suspects:
- Blender is slightly wet → sugar turns clumpy instantly
- Over-blending → sugar warms up and sticks together
- Opening lid too fast → sugar cloud attack
- Using too much sugar at once → uneven grinding
- Expecting perfect bakery-level texture → disappointment
There’s also one weird thing people don’t expect: sugar dust can stick to blender walls and make it look like it didn’t work at all, even when it did.
When it doesn’t work (and why)
Sometimes, no matter how confident you feel, it just doesn’t come out right.
That usually happens because:
- Blender motor isn’t powerful enough
- Sugar crystals are too coarse or uneven
- You didn’t pulse, just ran it continuously
- Heat built up too quickly
Industrial powdered sugar is made using milling machines that grind crystals under controlled temperature and pressure. Your kitchen blender is basically improvising in comparison.
A baking educator from America’s Test Kitchen once loosely explained that “home grinding can approximate confectioners’ sugar, but cannot replicate the uniform fineness of commercial milling.” That’s a polite way of saying: close, but not identical.
Better alternatives if you don’t have a blender
If your blender is weak or just not cooperating, don’t worry, there are other slightly old-school tricks.
You can try:
- Coffee grinder (actually one of the best methods)
- Mortar and pestle (slow but surprisingly effective)
- Rolling pin + zip bag (good for emergency situations)
- Buying it pre-made (sometimes the least stressful option, honestly)
The coffee grinder method is especially underrated. It produces a very fine powder faster than most blenders, but you have to clean it well afterward unless you want sugary coffee later.
Storage and texture science
Homemade powdered sugar behaves a bit differently than store-bought versions.
Because it lacks perfectly controlled anti-caking processing, it tends to:
- Absorb moisture faster
- Clump if left open
- Settle unevenly in storage containers
If you add cornstarch (around 1 tablespoon per cup of sugar), it helps reduce clumping significantly. That’s why commercial versions almost always include it.
Storage tip that people ignore: airtight container matters more than fridge. Moisture is the real enemy here, not temperature.
Also, powdered sugar doesn’t really “expire” in the traditional sense, but it can harden into lumps if humidity sneaks in.
Real-world uses + quick recipes
Once you manage to make it, you can use it in way more things than just frosting.
Here’s where it actually shines:
- Cake icing and glaze
- Dusting desserts like donuts or pancakes
- Whipped cream stabilization
- Quick buttercream frosting
- Thickening dessert sauces
Quick glaze idea
Mix:
- 1 cup homemade powdered sugar
- 2–3 tablespoons milk
- A drop of vanilla
Stir until smooth. It should look glossy and slightly runny, not thick like paste.
Simple buttercream trick
- 1/2 cup butter
- 2 cups powdered sugar (blended)
- splash of milk
Beat it until fluffy. It won’t be bakery-perfect, but it’ll absolutely save a cake situation.
So… can you make powdered sugar in a blender?
Yeah, you can. Not perfectly, not industrial-grade smooth, but definitely good enough for most home baking emergencies. It’s one of those kitchen hacks that sits in the “works if you’re slightly careful” category.
The truth is, your blender is doing its best impression of a milling machine, and sometimes that’s enough to get you through a recipe without running to the shop at the worst possible time.
And once you’ve done it a couple times, it stops feeling like a hack and starts feeling like just another slightly chaotic kitchen skill you quietly keep in your back pocket.

Jamesmathew is an expert Amazon affiliate writer, helping readers discover top products, smart deals, and practical buying guides through honest reviews and insightful content.