
how to turn on ninja blender is something you’d think is instant and obvious… until you’re standing there pressing buttons like something is secretly supposed to click but it just doesn’t. And yeah, it happens more often than people admit, especially first few uses when everything still feels a bit unfamiliar in your hands, like you’re not fully “bonded” with the machine yet.
You might even be checking the lid twice, or wondering if the jar is sitting wrong by just a tiny bit (it usually is that tiny bit, honestly). And the funny part is most Ninja blenders are built to be very simple, but safety locks, alignment systems, and mode buttons can make it feel slightly confusing at the start. So if you’re stuck right now, you’re not alone in that weird moment of doubt where you’re thinking “did I buy a complicated machine or what”.
Let’s break it down in a real, no-nonsense way so you can actually get your blender running without guessing.
How to Turn On Ninja Blender (Basic Idea You Need First)
Before anything else, the core idea of how to turn on Ninja blender models is this: they don’t turn on until everything is locked properly. It’s not like a light switch. It’s more like a safety-checked system that refuses to start if something is slightly off.
Most Ninja blender units (especially Auto-iQ models) require:
- Base plugged into power
- Pitcher or cup locked into the base
- Lid fully secured (on pitcher models)
- Correct mode or power button pressed
It sounds simple but the “lock alignment” part is what trips people up.
Some users even think the blender is broken when actually it’s just not sitting in the exact right position. A tiny twist can be the difference between silence and full blending power.
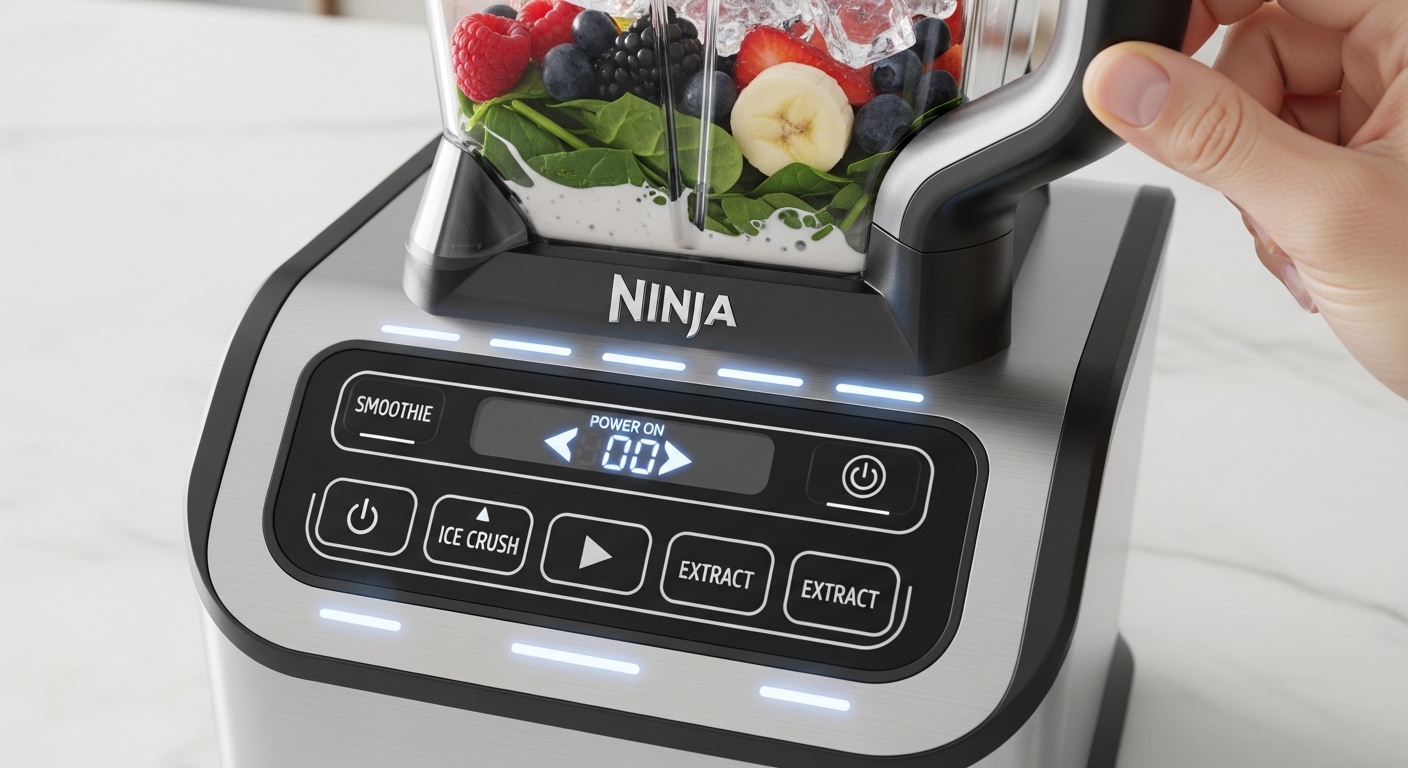
Understanding Your Ninja Blender Controls Before Turning It On
Before pressing anything, it helps to know what you’re looking at. Ninja blenders don’t all look identical, but the control patterns are usually similar.
You’ll often see:
- Power button
- Auto-iQ preset buttons (like smoothie, ice crush, puree)
- Manual speed controls (low, medium, high)
- Pulse button
On some newer models, there’s even a “start/stop” logic instead of a traditional ON switch.
A small but important detail: many Ninja blenders are technically “on standby” when plugged in, but not active until a mode is selected. That confuses a lot of people who expect a visible ON/OFF state.
As per general guidance from Ninja kitchen appliance manuals, the system is designed so the motor only engages when both safety lock and program selection are completed.
Step-by-Step Guide: How to Turn On Ninja Blender Properly
Let’s go step by step, slow and real, like someone is standing beside you explaining it.
Step 1: Place the Base Correctly
Put the blender base on a flat surface. If it wobbles even slightly, stop and fix that first. These motors can go up to around 1000 to 1200 watts in many Ninja models, so stability actually matters more than people think.
Step 2: Attach the Jar or Cup
Now place the pitcher or single-serve cup on the base. Rotate it gently until it locks.
You’ll usually hear or feel a soft click. If you don’t get that click, don’t move forward yet. That’s the most common mistake.
Step 3: Add Ingredients (Don’t Overthink It)
Add your ingredients, but don’t overload it. Ninja blenders are powerful but still need space for blade movement.
A rough guideline:
- Liquids first (helps blending flow)
- Soft ingredients next
- Frozen items or ice on top
Step 4: Secure the Lid
This step matters more than people expect. If the lid isn’t fully locked, the blender simply won’t start. It’s a built-in safety feature.
Sometimes people press buttons here and nothing happens… and it’s just the lid slightly misaligned.
Step 5: Plug In the Blender
Now plug it into power. You might see lights blink depending on model type.
Step 6: Select a Mode or Speed
Press:
- Auto-iQ mode (for preset blending)
- Or manual speed
Then press start or pulse depending on model.
At this point, your blender should come alive.
If it doesn’t, don’t panic yet—we’ll troubleshoot that below.
Why Your Ninja Blender Won’t Turn On (Very Common Issues)
This is where most confusion happens. When people search how to turn on Ninja blender, what they actually mean is “why is it NOT turning on”.
Here are the most common reasons:
1. Misaligned Jar or Cup
Even a millimeter off alignment can block activation.
2. Lid Not Locked
Ninja blenders are strict about safety. No lock = no power.
3. Overfilled Container
If ingredients exceed max line, the system sometimes refuses to start.
4. Power Outlet Issues
Sometimes it’s not the blender at all. A loose socket or extension issue is common in home kitchens.
5. Motor Overheat Protection
If you used it recently, it may temporarily disable itself to cool down.
6. Faulty Button Press Timing
Some models require holding the button for a second or two, not just tapping.
Ninja Blender Models and Turning On Differences
Not all Ninja blenders behave exactly the same. Here’s a simple comparison:
| Model Type | Turning On Method | Notes |
|---|---|---|
| Ninja Professional Blender | Manual speed + power button | Simple control layout |
| Ninja Auto-iQ | One-touch presets | Uses smart blending cycles |
| Ninja Foodi Blender | Digital panel start | More advanced locking system |
| Personal Cup Blender | Twist-lock + pulse | Cup must lock firmly |
One interesting thing: Auto-iQ models feel more “automatic”, but they are actually more strict about lid and jar alignment than basic ones.
Safety Mechanism Behind Turning On Ninja Blender
Ninja didn’t design these blenders to frustrate you (even if it feels like that sometimes). The safety system is actually there to prevent accidental motor engagement.
A quote commonly referenced in appliance safety manuals:
“Blender motor operation is enabled only when container and lid are properly secured.”
This is especially important because high-speed blades can rotate extremely fast—often thousands of RPM depending on model—so safety interlocks are not optional.
It’s one of those situations where annoyance = protection.
Troubleshooting Checklist (Quick Fix Guide)
If your blender still won’t turn on, go through this quick mental checklist:
- Is the base plugged in properly?
- Is the jar clicked into place?
- Is the lid fully locked?
- Did you press the correct button?
- Is the container overfilled?
- Has the motor been used too recently?
- Is the power socket working?
Most issues get solved in the first 2–3 checks honestly.
Real-Life Example (Why People Get Confused)
A lot of users think their blender is defective on day one. One common scenario goes like this:
You unpack it, wash everything, assemble it quickly, press “smoothie”… nothing happens. You press again. Still nothing. Then you start doubting the entire machine.
But in reality, the pitcher is rotated just slightly off its locking groove. That’s it. One tiny twist fixes everything.
It’s not mechanical failure—it’s alignment sensitivity.
Quick Table: What Happens vs What It Means
| Problem | Likely Meaning |
|---|---|
| No power at all | Plug or outlet issue |
| Lights on but no start | Lock not engaged |
| Stops mid-use | Overheat protection |
| Clicking sound only | Misalignment |
| Works sometimes | Loose lid or jar fit |
FAQ: How to Turn On Ninja Blender
Why is my Ninja blender not turning on at all?
Usually it’s the safety lock system not being engaged properly. Check jar and lid alignment first.
Do Ninja blenders have an ON switch?
Some do, but many rely on mode buttons instead of a traditional ON/OFF switch.
Can I turn it on without the lid?
No, most models won’t start without a locked lid for safety reasons.
Is it normal for it to feel stiff when locking?
Yes, that stiffness is part of the safety mechanism, especially in newer models.
Final Thoughts on How to Turn On Ninja Blender
Once you understand the locking system, how to turn on Ninja blender models becomes almost automatic, like muscle memory. The first few tries might feel slightly awkward, maybe even annoying in a small way, but after that it turns into one of those kitchen tasks you don’t even think about anymore.
It’s less about “pressing power” and more about “correct assembly first, then power follows”. And once that clicks in your mind, the whole process suddenly feels way simpler than it did five minutes ago.

Jamesmathew is an expert Amazon affiliate writer, helping readers discover top products, smart deals, and practical buying guides through honest reviews and insightful content.