
how to work a ninja blender is something you end up googling at 11 pm when you’ve already thrown fruits in the jar and the machine just sits there like it’s judging you. And yeah, you’re probably thinking you’re doing everything right, but somehow it still feels like the blender has its own mood swings or something. Been there honestly.
You’re not alone in that slightly confused kitchen moment where the lid is on, the base is plugged in, and still nothing feels intuitive. Ninja blenders are powerful, kinda aggressive machines compared to old-school mixers, and they don’t always “ease into” things. Once you understand their logic though, it gets weirdly simple, like almost too simple that you feel silly for struggling earlier.
This guide walks you through everything in a real, no-fancy-talk way so you can actually get smoothies, sauces, or crushed ice without guessing every step. And yeah, there might be a few small quirks in wording here and there, because nobody actually explains this stuff like a robot in real life.
Getting started with how to work a ninja blender without confusion
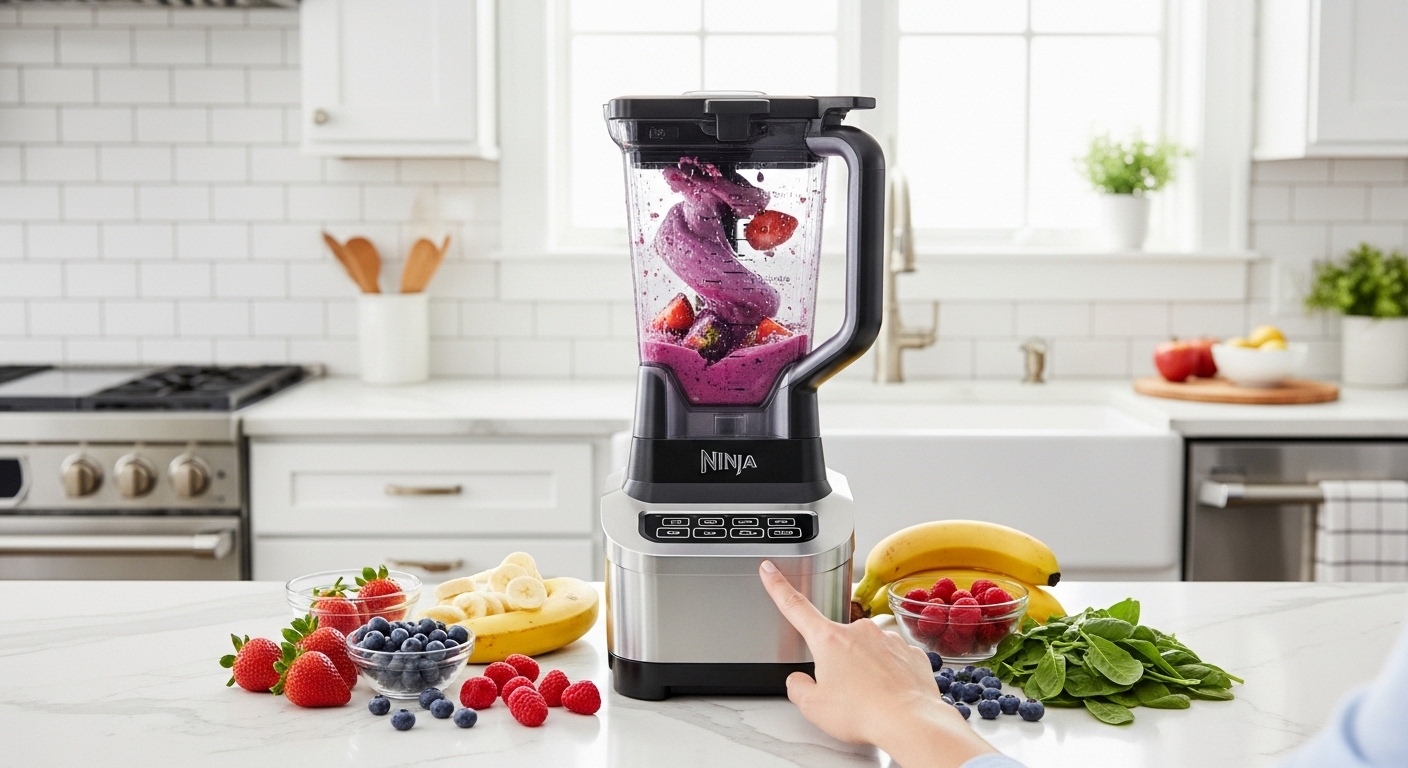
Before you even press a button, it helps to understand what you’re dealing with. Most Ninja blenders (like the popular Ninja Professional series or Ninja Foodi models made by SharkNinja) are built with high-speed motors that range roughly between 1000 to 1200 watts in standard home versions. That’s strong enough to crush ice into snow in seconds, if you do it right.
You’ll usually get these parts in the box:
- Motor base (the heavy bottom part)
- Pitcher or cup
- Blade assembly (very sharp, handle carefully pls)
- Lid with locking system
- Sometimes single-serve cups or extra attachments
A small but important thing people miss: the blender will NOT run unless everything is locked properly. It has safety interlocks, so if the jar is slightly off, it just won’t start at all. No error message, nothing, just silence. Kinda annoying but also good for safety.
How to work a ninja blender step-by-step (the actual part you came for)
Step 1: assemble it properly (seriously don’t rush)
First thing, place the blade assembly into the pitcher. It should sit flat and stable. Then screw it or lock it depending on your model.
Next, add ingredients. And this part matters more than people think.
A rough order that works better:
- Liquids first (milk, water, juice)
- Soft ingredients (banana, yogurt)
- Frozen fruits or ice on top
This layering helps avoid that “air pocket” where blades spin but nothing moves. That happens alot more than people admit.
Then lock the lid tightly. If your model has a twist-lock feature, you should hear a slight click. If you don’t hear it, don’t assume it’s fine.
Step 2: place it on the base
Now place the pitcher onto the motor base. Align it properly. Most Ninja models won’t start unless it’s perfectly seated, so don’t force it.
Plug it in after everything is set, not before (small habit but kinda important).
Step 3: choose your blending mode
Most Ninja blenders come with simple buttons like:
- Low
- Medium
- High
- Pulse
- Auto programs (on newer models)
Here’s a quick breakdown that actually helps:
| Mode | What it’s for | Real-life use |
|---|---|---|
| Low | Gentle mixing | sauces, soft fruits |
| Medium | balanced blending | smoothies |
| High | heavy crushing | ice, frozen fruit |
| Pulse | short bursts | chopping, control |
| Auto (if available) | pre-set cycles | smoothie bowls, nut butter |
A lot of people just slam it on High immediately. That works sometimes, but it also makes ingredients stick to the sides and spin without mixing properly.
Step 4: start blending and observe
Press the button and don’t walk away instantly. Watch for 5–10 seconds.
If you see ingredients stuck on top, stop and shake slightly or use a tamper (if included). Ninja’s design often creates a vortex, but only when liquid ratio is correct.
A small quote often found in user manuals says something like:
“Do not exceed the max fill line and ensure sufficient liquid for proper blade circulation.”
Which basically means: don’t overfill it and don’t go dry-heavy.
Common mistakes when learning how to work a ninja blender
This is where most frustration comes from, not the machine itself.
1. Not enough liquid
If you try blending frozen fruit with barely any liquid, it just jams. The blades spin, but nothing moves properly.
2. Overfilling the pitcher
Ninja blenders look big, so people assume “more is fine.” It’s not. You need space for circulation.
3. Wrong order of ingredients
Ice at the bottom = bad time. Always go liquid first.
4. Not locking the lid fully
This one is sneaky. It looks closed but isn’t fully aligned, so nothing happens.
5. Running it too long nonstop
Even powerful motors heat up. Most Ninja blenders are designed for short bursts, not 10-minute continuous runs.
What you can actually make once you know how to work a ninja blender
Once it clicks, you start using it for way more than smoothies.
Here’s what people commonly make:
- Smoothies (obviously)
- Frozen cocktails (non-alcohol versions too)
- Nut butters (peanut, almond)
- Soups (hot blending via friction on high-speed models)
- Pancake batter
- Chutneys and sauces
- Crushed ice desserts
A surprising fact: high-speed blenders like Ninja units can reach blade speeds that generate enough friction to slightly warm liquids during long blending cycles. Not boiling hot, but noticeable warmth in soups.
Real-world example: many home users report making restaurant-style smoothies in under 45 seconds once they learn correct layering.
Cleaning and maintenance after using a ninja blender
Cleaning is where people either love or hate the machine.
Good news: it’s easier than it looks.
Quick cleaning method
- Fill pitcher halfway with warm water
- Add a drop of dish soap
- Run blender on low for 20–30 seconds
- Rinse thoroughly
That’s it.
For blades, be careful. They’re extremely sharp even after use.
Deep cleaning once in a while
- Remove blade assembly carefully
- Wash with soft brush
- Dry fully before reassembling
Manufacturer guidance from SharkNinja also emphasizes not soaking motor base in water, which sounds obvious but people still do it somehow.
Speed and power behavior explained simply
Ninja blenders often use something called “stacked blade technology,” where multiple blades are placed at different heights.
This design helps:
- Pull ingredients downward
- Reduce need for stirring
- Improve crushing efficiency
But it also means you shouldn’t assume it behaves like a normal blender. It’s more aggressive, less forgiving.
Many models (like Ninja Professional BL610 series) operate around 1000 watts, which is enough for heavy-duty blending at home level.
Troubleshooting when your ninja blender feels like it’s not working
Sometimes it just refuses to start or behaves weirdly.
Here’s what to check:
- Is the pitcher locked properly?
- Is the lid fully sealed?
- Is the base plugged in (yes this happens)
- Is the overload protection triggered? (let it cool for 10–15 mins)
- Are you using too little liquid?
If it stops mid-way, it’s usually overheating protection kicking in, not a breakdown.
Small real-life tips that make a big difference
- Don’t fill above 2/3 for best blending flow
- Add a bit more liquid than you think you need
- Pulse before full blending for frozen items
- Clean immediately after use (dry food sticks fast)
- If smoothie is too thick, blend again with small water splash
One user once described it like this:
“It’s not that the blender is hard, it’s just very picky about order of things, like a stubborn friend.”
Kind of accurate honestly.
Final thoughts on how to work a ninja blender without stress
Once you stop treating it like a normal blender and start respecting its “rules,” everything becomes smooth. The machine isn’t confusing, it just expects structure: liquids first, proper locking, and correct speed choices.
After a few uses, you’ll probably stop thinking about instructions at all and just throw stuff in naturally. That’s usually the point where it finally clicks and you wonder why it felt complicated earlier.
And yeah, the learning curve is real but short. A couple of tries, maybe one messy smoothie incident, and you’re good.

Jamesmathew is an expert Amazon affiliate writer, helping readers discover top products, smart deals, and practical buying guides through honest reviews and insightful content.