

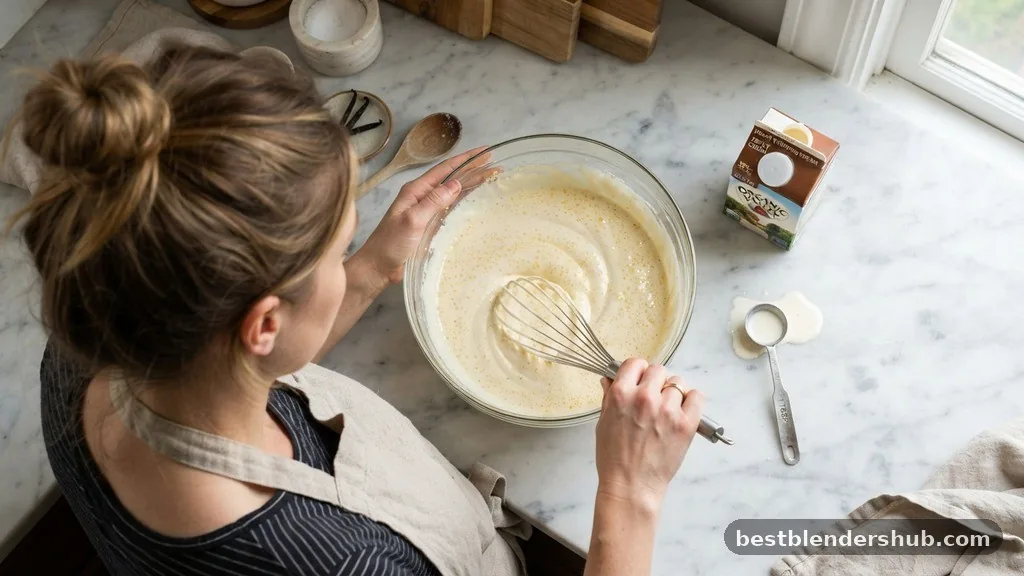
Making ice cream with a blender is a surprisingly effective way to create a creamy, decadent dessert without needing an expensive churner. By leveraging the power of high-speed blades and the right ratio of fats to sugar, you can transform simple pantry staples into a scoopable treat in minutes.
Whether you are craving a classic vanilla bean base or experimenting with vibrant berry blends, understanding the science behind the process ensures your final result is smooth rather than icy. This approach focuses on achieving the perfect balance of ingredients to mimic the professional quality usually reserved for dedicated ice cream machines, all from the comfort of your kitchen.
The Science of Blender Ice Cream
To understand how to make ice cream with a blender, you first need to recognize how texture is created. Professional machines churn air into the base while simultaneously freezing it, which prevents large, crunchy ice crystals from forming. A blender performs the emulsification process differently; it relies on the thickness of your base and the temperature of your ingredients to minimize crystal growth.
The Role of Emulsification and Fat
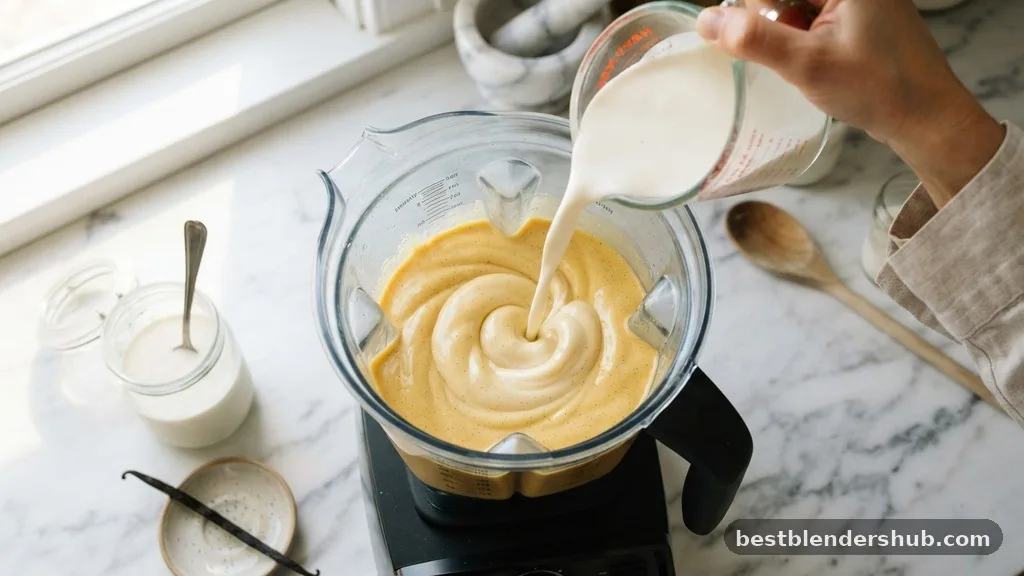
Emulsification is the process of mixing two liquids that usually don’t want to stay together, like fat and water. When you use heavy whipping cream, the fat globules coat the air bubbles and prevent them from collapsing.
If your base is too watery, the water molecules will bond during the freezing process, resulting in a block of ice rather than a creamy dessert. High-fat content is your best friend when you aren’t using a machine to churn.
Managing Ice Crystals
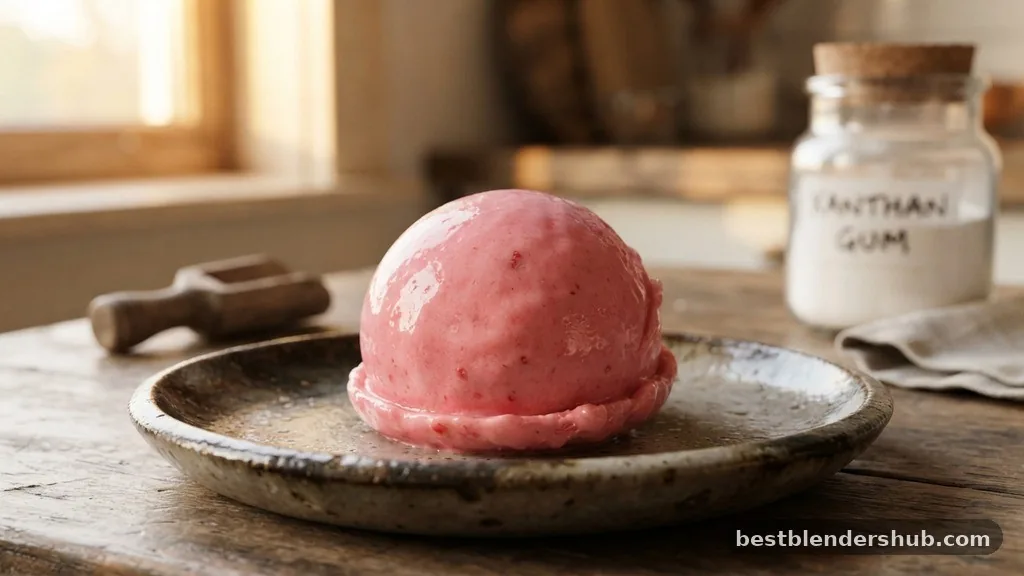
Large ice crystals are the enemy of smooth homemade ice cream. To prevent them, you need to manage the freezing point depression of your mixture.
Sugar and alcohol lower the freezing point, which keeps the mixture from turning into a solid rock. If you find your blender creations are a bit grainy, adding a tiny pinch of xanthan gum can act as a stabilizer, binding the water and fat together to create a smoother, more uniform texture consistency.
Essential Ingredients for Success
You don’t need a pantry full of stabilizers and additives to get great results. The secret to a successful blender-based dessert lies in the quality of your primary ingredients.
- Heavy whipping cream: Provides the necessary fat for a luxurious mouthfeel.
- Sweetened condensed milk: Adds both sugar and a thick, syrupy texture that prevents ice crystals.
- Vanilla extract: Essential for providing a deep, rounded flavor profile.
- Frozen fruit: Acts as the primary freezing agent, allowing you to serve the ice cream almost immediately.
- Dairy-free alternatives: Ingredients like coconut milk can replace dairy, provided they have a high enough fat content.
Choosing the Right Equipment
While the technique is straightforward, the tool you choose determines how much effort you will exert and the final smoothness of the product.
| Equipment Type | Best For | Performance Note |
|---|---|---|
| High-speed blender | Smooth, silky bases | Excellent at breaking down frozen fruit into a puree. |
| Immersion blender | Small, quick batches | Requires a narrow container to maintain proper suction. |
| Food processor | Thick, chunky mix-ins | Better for “nice cream” using very hard frozen ingredients. |
High-Speed vs. Standard Blenders
A high-speed blender is ideal because it creates a powerful vortex that pulls ingredients toward the blades. This constant motion is key to achieving a stable emulsion.
If you are using a standard blender, you may need to stop and scrape down the sides more frequently to ensure all ingredients are fully incorporated. If the motor struggles, add a tablespoon of liquid at a time to help the blades move freely.
Step-by-Step Preparation Method
Follow these steps to ensure your blend is ready for the freezer or immediate consumption.
1. Chill your blender jar in the freezer for ten minutes before starting.
2. Combine your liquid base, such as heavy whipping cream and sweetened condensed milk, in the jar.
3.
Add your flavorings, such as vanilla extract or cocoa powder.
4. If using frozen fruit, add it gradually while the blender is on a low setting.
5.
Increase the speed slowly to reach maximum velocity until the mixture is thick and smooth.
6. Pour the mixture into an airtight container to prevent frost buildup on the surface.
Addressing Common Texture Issues
Many people struggle with their first few attempts at blender-made ice cream. If your result is too hard, you likely didn’t include enough sugar or fat. If it’s too soft, the base didn’t have enough time to chill before blending.
Always aim for a “soft serve” consistency right out of the blender. If you want a scoopable texture, place the mixture in an airtight container and freeze it for at least four hours. The presence of sweetened condensed milk is particularly helpful here, as it contains proteins that stabilize the mixture and keep it from becoming brittle.
Exploring Dairy-Free Alternatives
Not everyone wants to use dairy, and fortunately, the blender method works exceptionally well with plant-based fats. Full-fat canned coconut milk is the gold standard for dairy-free blender ice cream because it mimics the fat content of heavy cream. When using nut milks, you may need to add a tablespoon of nut butter or a bit of avocado to boost the fat content, ensuring the final product remains creamy rather than icy.
Frequently Asked Questions
Can I make ice cream using a blender?
Yes, you can create delicious ice cream by blending high-fat bases and freezing the mixture until firm.
How do I prevent ice crystals in blender ice cream?
Use high-fat ingredients, incorporate sugar or condensed milk, and add a pinch of xanthan gum for stability.
Can I use an immersion blender for this?
An immersion blender works well for smaller batches, provided you use a deep, narrow cup for mixing.
Is a food processor better than a blender?
A food processor is superior for recipes using dense frozen chunks, while blenders excel at smooth, creamy bases.
How long does blender ice cream last?
Store it in an airtight container in the freezer for up to one week for the best quality.
What is the best way to serve blender ice cream?
Let the container sit on the counter for five minutes to soften before scooping for the best texture.
Can I add mix-ins to the blender?
It is best to fold in chunky mix-ins by hand after blending to maintain their texture and crunch.
Final Thoughts on Homemade Treats
Mastering the art of making ice cream with a blender opens up endless possibilities for quick, customized desserts. By focusing on the balance of fats and sugars, you can consistently produce a treat that rivals store-bought versions. Remember that the quality of your ingredients directly impacts the final result, so don’t be afraid to experiment with high-quality vanilla, fresh fruit, or rich nut butters.
Once you have the technique down, you will find that a blender is often all you need to satisfy a craving for something sweet and cold. Grab your favorite ingredients, fire up the blender, and enjoy the process of crafting your own unique flavors at home.

Jamesmathew is an expert Amazon affiliate writer, helping readers discover top products, smart deals, and practical buying guides through honest reviews and insightful content.