

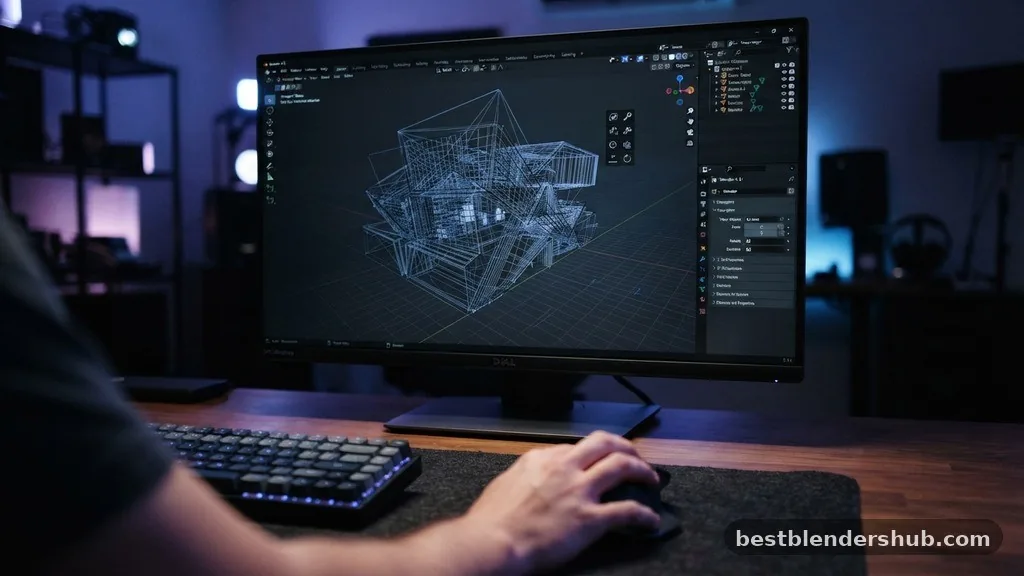
Mastering the art of moving the camera in Blender is the first step toward creating professional 3D visuals. Whether you are a total beginner or transitioning from other software, understanding how to manipulate your perspective within the 3D viewport is essential for effective scene composition.
By learning the right navigation shortcuts, you can stop fighting the interface and start focusing on your creative vision. This article breaks down the most efficient ways to control your viewpoint, manage your camera object, and achieve the perfect shot for your next project.
Mastering Viewport Navigation Basics
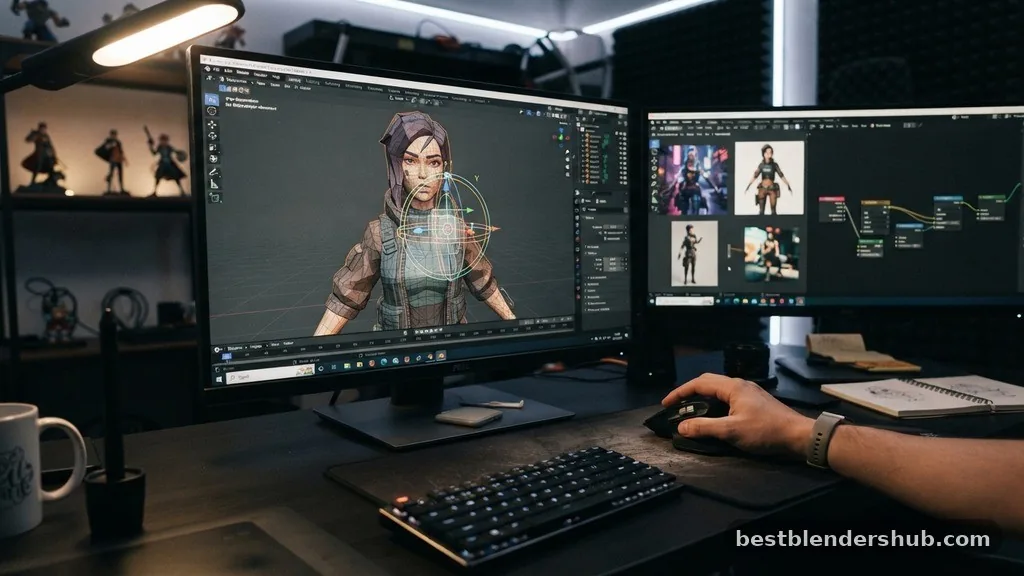
The most fundamental way to interact with the 3D viewport is through your mouse. Most users rely on the middle mouse button to control their primary orientation.
Clicking and dragging the scroll wheel allows you to orbit around your scene, which is the standard way to inspect models from different angles. If you find yourself needing to shift your perspective laterally, holding the Shift key while dragging the middle mouse button activates the pan function.
Zooming in and out is equally intuitive, as you simply scroll the middle mouse button to move closer to or further away from your subject. For those working on a laptop without a dedicated mouse, Blender offers an emulation mode in the preferences that maps these functions to keyboard combinations. Mastering these three basic movements—orbit, pan, and zoom—gives you total command over your workspace.
Utilizing Numpad Shortcuts for Precision
If your keyboard includes a numpad, you have access to a powerful suite of preset viewing angles. These navigation shortcuts allow you to instantly jump to specific perspectives that are crucial for accurate modeling and scene alignment.
You can press 1 for the front view, 3 for the side view, and 7 for the top view. Adding the Ctrl key to these numbers will flip the view to the exact opposite side, such as Ctrl+1 for the back view.
The 5 key on your numpad is another essential tool, as it toggles between perspective and orthographic projection. Orthographic views are invaluable when you need to align objects perfectly or perform precise modeling without the visual distortion caused by perspective. If you are using a compact keyboard without a numpad, you can still access these views by enabling “Emulate Numpad” in the User Preferences menu, which maps these commands to your top-row number keys.
Advanced Camera Movement Techniques
Once you have positioned your view, you often need to lock that perspective to the actual camera object in your scene. The most popular method is to press N to open the transform panel, navigate to the View tab, and check the box labeled lock camera to view.
When this is active, any movement you make in the viewport—orbiting, panning, or zooming—is directly applied to the camera. This makes framing your scene incredibly fast and intuitive.
For more cinematic control, Blender includes fly navigation and walk navigation modes. These modes function similarly to first-person video games, allowing you to move through 3D space using WASD keys.
To activate fly mode, use the shortcut Shift+` (the tilde key). Once active, your mouse controls the direction of your view while your keyboard handles the movement, providing a fluid way to scout your scene or position a camera for an animation path.
Addressing Common Navigation Hurdles
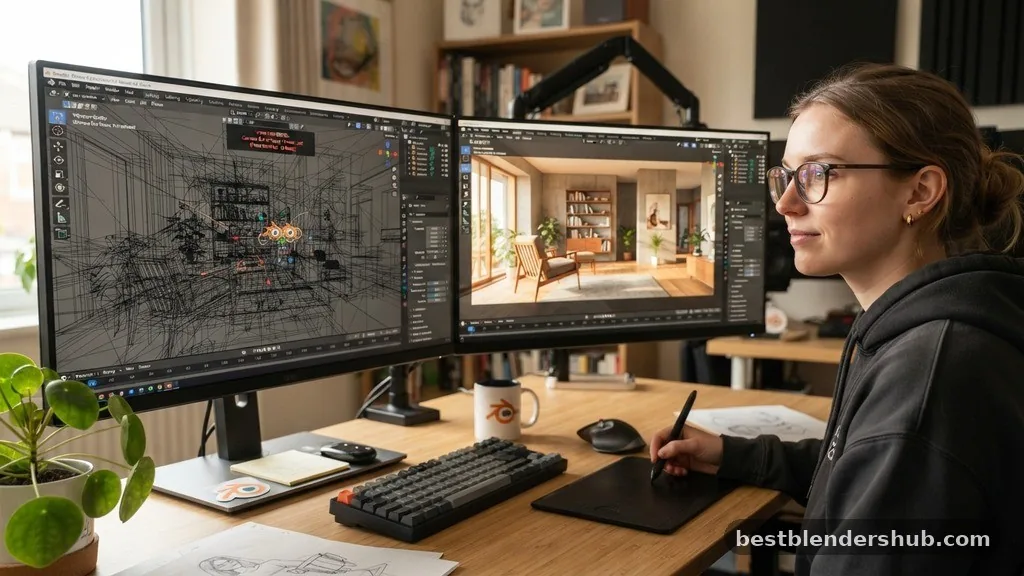
Beginners often struggle when the camera feels “stuck” or when the rotation pivot seems off. If your view feels erratic, it is usually because the pivot point is too far away.
You can reset your focus by selecting an object and pressing the period key on the numpad (or the tilde key to bring up the pie menu and selecting “View Selected”). This centers your view on the active object, making it much easier to orbit around your specific area of interest.
Another common issue is the clipping plane, where objects disappear when you zoom in too close or move too far away. You can adjust this by opening the transform panel (N) and changing the “Clip Start” and “Clip End” values under the View tab. Increasing the “Clip End” allows you to see distant objects, while decreasing “Clip Start” lets you get incredibly close to small details without the mesh vanishing from your view.
| Movement Type | Standard Shortcut | Description |
|---|---|---|
| Orbit | Middle Mouse Button | Rotates the view around the pivot point. |
| Pan | Shift + Middle Mouse Button | Slides the view horizontally or vertically. |
| Zoom | Scroll Wheel | Moves the camera closer or further away. |
| View Selected | Numpad Period (.) | Centers the view on the selected object. |
Managing Camera Settings and Focal Length
Moving the camera isn’t just about position; it is about how the lens interprets the scene. The focal length setting is found within the camera data properties.
A lower focal length, such as 18mm or 24mm, creates a wide-angle effect that exaggerates depth and makes spaces feel larger. A higher focal length, such as 85mm or 100mm, compresses the scene and is ideal for portraits or product shots.
You should also be aware of the gimbal orientation when rotating your camera manually. In the transform panel, you can adjust the rotation values directly to ensure your camera is perfectly level. Sometimes, simply rotating the camera on the Z-axis while in the “Lock Camera to View” mode is enough to fix a horizon line, but using the numerical inputs provides the level of precision required for professional architectural or product visualization.
- Select your camera object and press G to grab and move it freely.
- Press G followed by Z twice to move the camera along its local axis.
- Use the “Camera to View” toggle to align your framing instantly.
- Adjust the sensor size to change the crop factor of your composition.
- Use depth of field settings to blur the background for a cinematic look.
Topical Gaps in Camera Control
A frequently overlooked aspect of moving the camera in Blender is the difference between moving the camera as an object versus moving the view. Users often confuse the two, leading to frustration when they try to animate a camera that isn’t actually selected. Remember that when you move the viewport, you are simply changing your eyes; you must select the camera object itself to move the actual render perspective.
Another gap involves resetting the camera rotation. If you accidentally rotate your camera and cannot get it back to a flat, level position, you can clear the rotation by pressing Alt+R.
This resets the camera to its default orientation, which is a lifesaver when you have accidentally tilted your view and ruined your shot alignment. Similarly, Alt+G resets the position, and Alt+S resets the scale, allowing you to return to the origin point instantly.
Conclusion
Developing a strong command over your viewport and camera is the foundation of every great 3D project. By mastering the navigation shortcuts and understanding how to manipulate your camera object effectively, you eliminate the technical barriers that often slow down the creative process. Whether you prefer the precision of the numpad or the fluidity of fly navigation, Blender offers a toolset that adapts to your unique workflow.
Keep experimenting with these techniques to find the method that feels most natural to you. As you gain confidence in moving the camera in Blender, you will find that your ability to compose complex scenes improves significantly, allowing you to focus on the artistry rather than the mechanics.
Frequently Asked Questions
How do I orbit the view in Blender?
You orbit by holding down the middle mouse button and dragging your mouse across the viewport.
Can I move the camera like a video game?
Yes, press Shift+` to enter fly navigation mode, allowing you to move using your WASD keys.
What does Shift+C do in the viewport?
Shift+C resets your view to show all objects in the scene and centers the 3D cursor.
How do I fix a camera that won’t move?
Ensure “Lock Camera to View” is enabled in the transform panel or that the camera is unlocked.
How do I move the camera on a laptop?
Enable “Emulate Numpad” and “Emulate 3-Button Mouse” in Preferences to use keyboard keys for navigation.
What is the best way to reset camera rotation?
Select the camera object and press Alt+R to clear all rotation values and reset the camera.
How do I change the camera lens in Blender?
Select your camera, go to the Object Data properties, and adjust the focal length numerical value.

Jamesmathew is an expert Amazon affiliate writer, helping readers discover top products, smart deals, and practical buying guides through honest reviews and insightful content.