

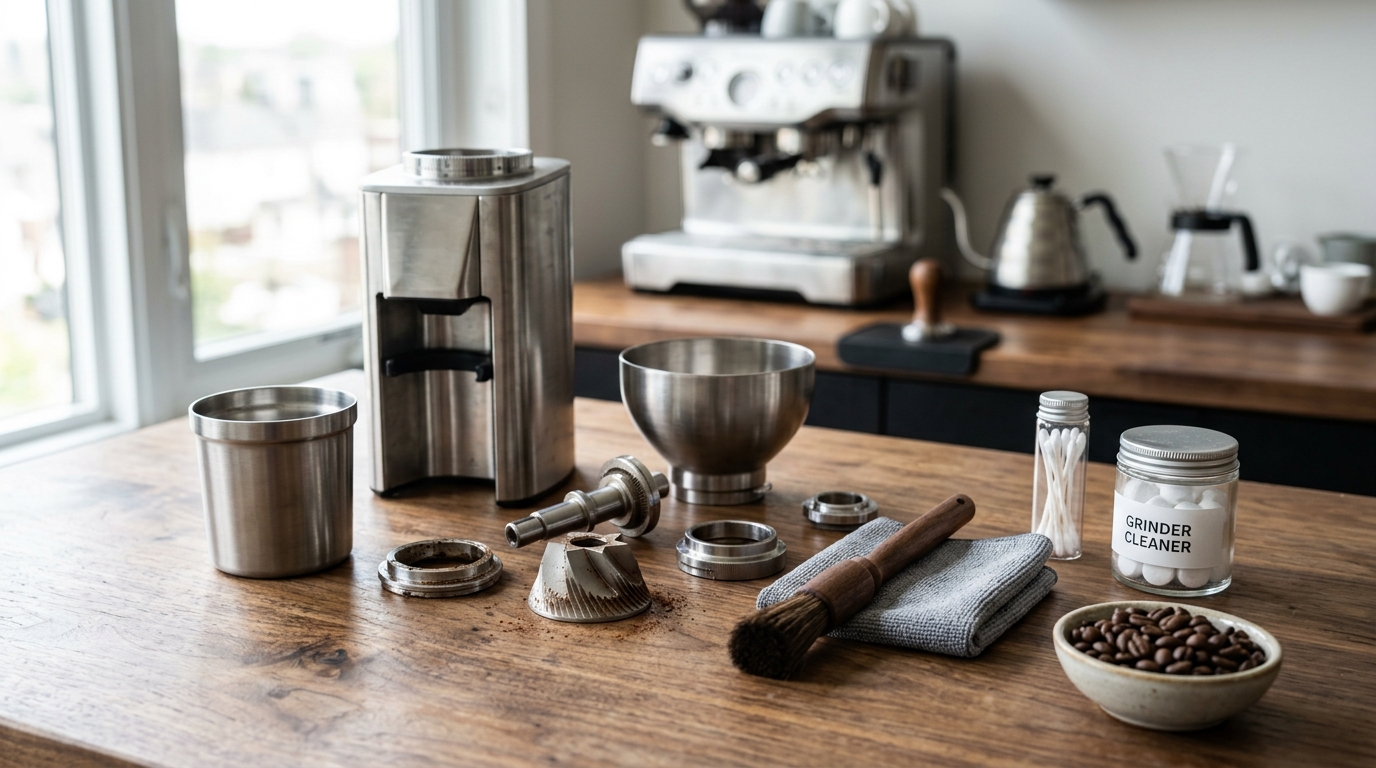
If you’re trying to figure out how to clean Breville coffee grinder without taking half the machine apart or accidentally making it worse, you’re honestly not alone. Maybe your morning coffee suddenly tastes a bit flat, maybe the grinder sounds rougher than it did last month, or maybe you noticed oily coffee bits hiding in places you didn’t even know existed. It sneaks up on you, kinda. One day everything’s fine, next thing the espresso tastes oddly bitter and you’re wondering what happened.
The funny thing is, coffee grinders don’t really stop working overnight because of dirt. They slowly collect coffee oils, fine grounds, and tiny particles that cling to burrs and corners. After a while those old coffee residues start affecting flavor, consistency, and even the grinder’s lifespan. The good news? Cleaning a Breville coffee grinder is much easier than many people expect, provided you know what to touch and what to leave alone.
Whether you own a Breville Smart Grinder Pro, Dose Control Pro, Barista Express, Barista Pro, or another model with built-in burrs, the cleaning principles stay surprisingly similar.
Why Cleaning Your Breville Coffee Grinder Actually Matters
Most people think leftover coffee grounds are harmless. They sort of are…until they aren’t.
Coffee beans naturally contain oils. Dark roast beans especially leave oily residue behind every single time they’re ground. Those oils slowly become rancid after exposure to oxygen. That stale residue then mixes with fresh coffee, making every cup just a little less enjoyable.
According to the Specialty Coffee Association (SCA), grinder cleanliness plays an important role in maintaining consistent extraction and preserving coffee flavor.
A neglected grinder can cause:
- Uneven grind sizes
- Slower grinding performance
- Blocked burrs
- Inconsistent espresso shots
- Strange burnt or stale flavors
- Increased motor strain
It’s one of those maintenance jobs that doesn’t seem urgent until you’ve done it. Then you notice your coffee tastes brighter almost instantly.
How Often Should You Clean a Breville Coffee Grinder?
The answer depends on how much coffee you actually make.
| Usage | Recommended Cleaning |
|---|---|
| 1–2 cups daily | Light cleaning every week |
| 3–5 cups daily | Weekly cleaning plus monthly deep clean |
| Heavy home use | Deep clean every 2–3 weeks |
| Commercial or office use | Clean almost daily |
If you mostly use dark roasted beans, you’ll probably need to clean more often because they leave much more oil behind.
Things You’ll Need Before You Start
Luckily, there isn’t some expensive cleaning kit required.
You’ll want:
- Soft microfiber cloth
- Small cleaning brush
- Soft paintbrush or pastry brush
- Vacuum with brush attachment (optional)
- Wooden toothpick
- Dry microfiber towel
- Grinder cleaning pellets (optional)
Avoid using water inside the grinding chamber unless the manufacturer specifically instructs otherwise.
Step-by-Step: How to Clean Breville Coffee Grinder Properly
Now comes the part everybody searches for.
Step 1: Unplug the Grinder
This sounds obvious, yet people skip it surprisingly often.
Always disconnect power before removing burrs or reaching inside the grinding chamber.
Even if the grinder appears switched off, unplugging removes any chance of accidental activation.
Step 2: Empty All Remaining Beans
Remove every bean from the hopper.
If beans remain inside, grind them out first.
You don’t want coffee beans getting trapped while removing the burr assembly.
Step 3: Remove the Bean Hopper
Most Breville grinders allow the hopper to unlock with a simple twist.
Turn it according to the markings until it lifts free.
Wash the hopper separately using warm water and mild dish soap.
Don’t reinstall it until it’s completely dry.
A tiny bit of moisture left behind can actually damage fresh coffee beans later on.
Step 4: Remove the Upper Burr
This is where many people get nervous.
Don’t be.
Breville designed the upper burr to come out for routine maintenance.
Usually you’ll:
- Unlock the burr.
- Lift it straight upward.
- Set it somewhere clean.
Take a second to notice how it fits before removing it. Reassembly becomes much easier afterward.
Step 5: Brush Away Coffee Grounds
Use the included Breville cleaning brush if you still have it.
If not, any soft brush works surprisingly well.
Brush:
- Upper burr
- Lower burr
- Grinding chamber
- Coffee chute
- Corners where grounds collect
You’ll probably find much more coffee hiding inside than expected.
It’s honestly a little impressive.
Step 6: Vacuum Loose Grounds
A small handheld vacuum makes this part incredibly satisfying.
Use gentle suction.
Avoid pressing hard against the burrs.
You’re simply removing loose particles rather than scrubbing the mechanism.
Step 7: Wipe Accessible Surfaces
Take a dry microfiber cloth.
Wipe around:
- Hopper connection
- Exterior housing
- Grind adjustment collar
- Grounds container
- Lid
Never spray cleaner directly into the grinder.
If necessary, lightly dampen the cloth first.
Step 8: Clean the Coffee Exit Chute
This step often gets ignored.
Yet it’s one of the biggest reasons people experience clogging.
Coffee fines build inside the exit chute over weeks.
Use:
- Cleaning brush
- Wooden toothpick
- Dry cotton swab
Remove packed grounds gently.
Don’t force sharp metal objects inside.
Step 9: Reassemble Everything
Once everything is clean:
- Replace upper burr
- Lock burr securely
- Install hopper
- Refill with fresh beans
- Plug grinder back in
Run a tiny amount of coffee through before making your first drink.
This clears away any remaining loose particles.
Can You Use Grinder Cleaning Tablets?
Yes.
Products made from food-safe grain materials are designed specifically for burr grinders.
These cleaning pellets absorb coffee oils while passing through the burrs.
They’re especially useful if:
- You frequently grind oily beans
- Switching between flavored and regular coffee
- Haven’t cleaned the grinder in months
One important note though.
Cleaning tablets don’t replace physical brushing.
They’re more like extra help rather than a complete solution.
Mistakes People Make While Cleaning
Some mistakes look harmless but actually shorten the grinder’s life.
Avoid doing these:
- Washing metal burrs in water
- Using soap inside grinding chamber
- Spraying cleaners directly inside
- Using compressed air aggressively
- Forgetting to dry the hopper fully
- Using sharp knives or screwdrivers to scrape coffee oils
Those burr edges are precisely engineered.
Scratches can affect grind consistency.
Signs Your Breville Grinder Needs Cleaning
Sometimes the grinder tells you before you even think about cleaning.
Watch for these symptoms:
- Coffee tastes bitter unexpectedly
- Grinding becomes slower
- Beans feed unevenly
- Static increases
- Grounds clump together
- Motor sounds louder
- Grind size changes without adjusting settings
If two or three of these appear together, a thorough cleaning usually helps.
Built-In Breville Models Need Cleaning Too
Owners of machines like the Breville Barista Express often forget the grinder because it’s integrated into the espresso machine.
Unfortunately, built-in grinders collect just as much coffee residue.
The cleaning process remains almost identical:
- Empty hopper
- Remove upper burr
- Brush chamber
- Clean chute
- Wipe surrounding surfaces
- Reassemble
The espresso machine doesn’t magically keep the grinder clean.
Actually, if anything, people tend to neglect it longer.
Does Cleaning Improve Coffee Taste?
In many cases, yes.
Researchers studying coffee freshness have consistently shown that oxidation changes coffee oils rapidly after grinding. Those stale oils cling to burrs and contaminate fresh coffee.
Professional cafés often clean grinders daily because consistency matters enormously in espresso preparation.
Even home users frequently notice:
- Cleaner aroma
- Sweeter flavor
- Better crema
- More consistent extraction
- Reduced bitterness
It isn’t placebo as much as it sounds.
Fresh coffee passing through clean burrs simply encounters fewer stale residues.
Extra Maintenance Tips
Keeping your grinder healthy doesn’t require much effort if you stay ahead of the buildup.
A few useful habits include:
- Store beans in airtight containers.
- Avoid flavored coffee beans whenever possible.
- Use medium or light roasts occasionally if you usually buy oily dark roasts.
- Brush loose grounds after each bag of coffee.
- Deep clean monthly.
- Replace worn burrs according to Breville recommendations.
Those tiny routines save far bigger repairs later.
How Long Do Breville Burrs Last?
Breville’s stainless steel conical burrs are designed to last for hundreds of kilograms of coffee under normal home use.
Many home users report getting five to ten years before noticeable wear appears.
Factors affecting burr life include:
- Coffee volume
- Bean hardness
- Cleaning frequency
- Foreign objects accidentally entering grinder
Small stones hidden among coffee beans, while uncommon, can damage burrs almost instantly.
Final Thoughts
Learning how to clean Breville coffee grinder equipment isn’t complicated once you’ve done it once or twice. The first cleaning might take twenty minutes because you’re being careful. The second one? Maybe ten. Eventually it becomes one of those oddly satisfying little maintenance jobs that quietly rewards you every single morning.
Fresh coffee deserves clean burrs. That’s really the whole story. Regular cleaning keeps flavors clearer, helps the grinder work with less effort, and can extend the life of an appliance that wasn’t exactly cheap to begin with. If your coffee has started tasting dull or inconsistent lately, there’s a decent chance your grinder is asking for attention before it asks for replacement.
Frequently Asked Questions
How do I clean my Breville coffee grinder without taking it apart?
Empty the beans, brush accessible areas, vacuum loose grounds, clean the chute carefully, and wipe exterior surfaces. Perform deeper cleaning periodically for better performance.
Can I wash Breville grinder burrs with water?
No. Metal burrs should stay dry because moisture encourages corrosion and trapped coffee residue. Brush them thoroughly instead of washing with soap or water.
How often should I deep clean a Breville coffee grinder?
Most home users should deep clean every month. Heavy daily coffee drinkers or people using oily dark-roast beans may benefit from cleaning every two weeks.
Are grinder cleaning pellets safe for Breville grinders?
Yes, food-safe grinder cleaning pellets are generally safe when used according to manufacturer instructions. They remove coffee oils but should not replace manual brushing.
Why does my Breville grinder taste bitter after several weeks?
Old coffee oils and trapped grounds become stale over time, affecting flavor. A complete grinder cleaning usually restores fresher, cleaner-tasting coffee within the next brew.

Jamesmathew is an expert Amazon affiliate writer, helping readers discover top products, smart deals, and practical buying guides through honest reviews and insightful content.